| Spoiler alert! This page is either part of the walkthrough for Obduction or contains solutions to puzzles and other information that may be considered as "cheating" the game. |
| Spoiler alert! |
Previous part [Welcome to Hunrath]
Walkthrough - Part 3[]
Once at the river you will find a lock. Actually it is a swing bridge that leads across the river, but the door on the other side is locked. Instead, you want to open the swing bridge.
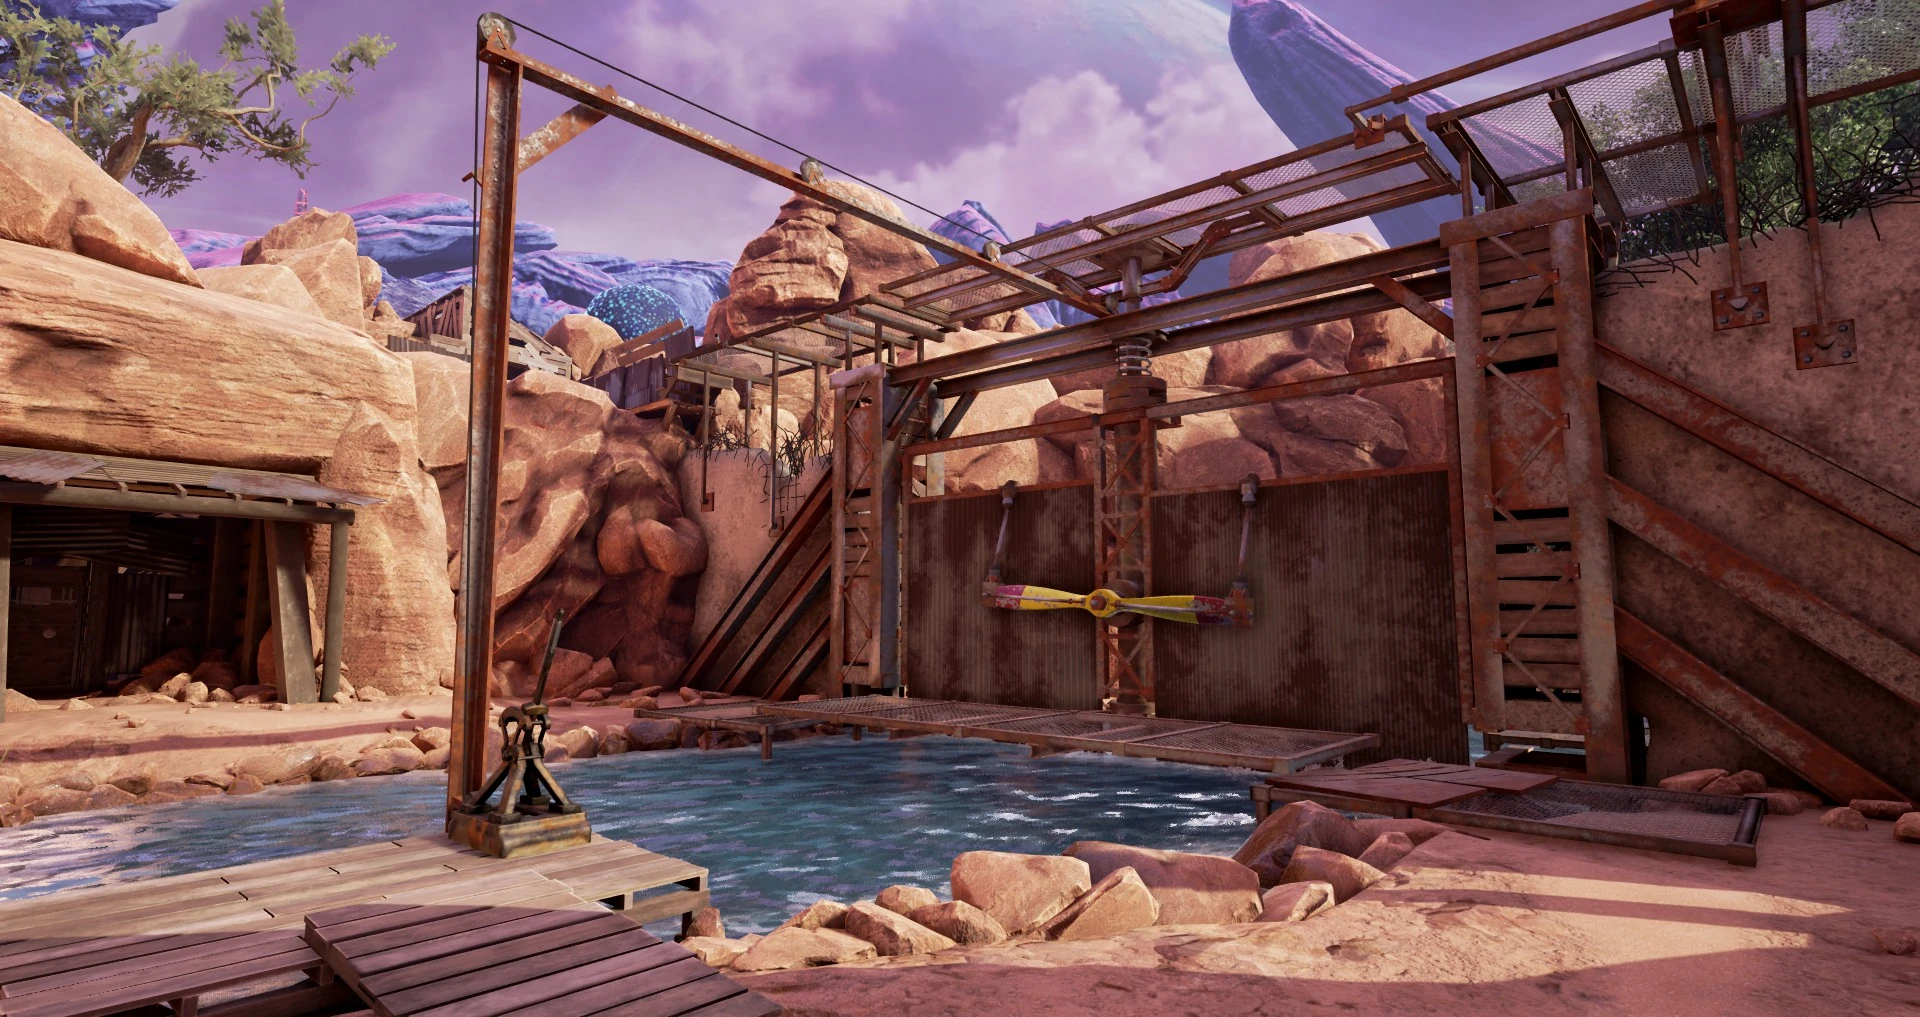
The propeller attached to the lock can be pulled down on either side, which will lower that side into the water. Now that water is flowing in the river, we have enough pressure to rotate the bridge. To do this, you need to lower the right side of the propeller. Then, in order to rotate the bridge, you have to pull the lever.
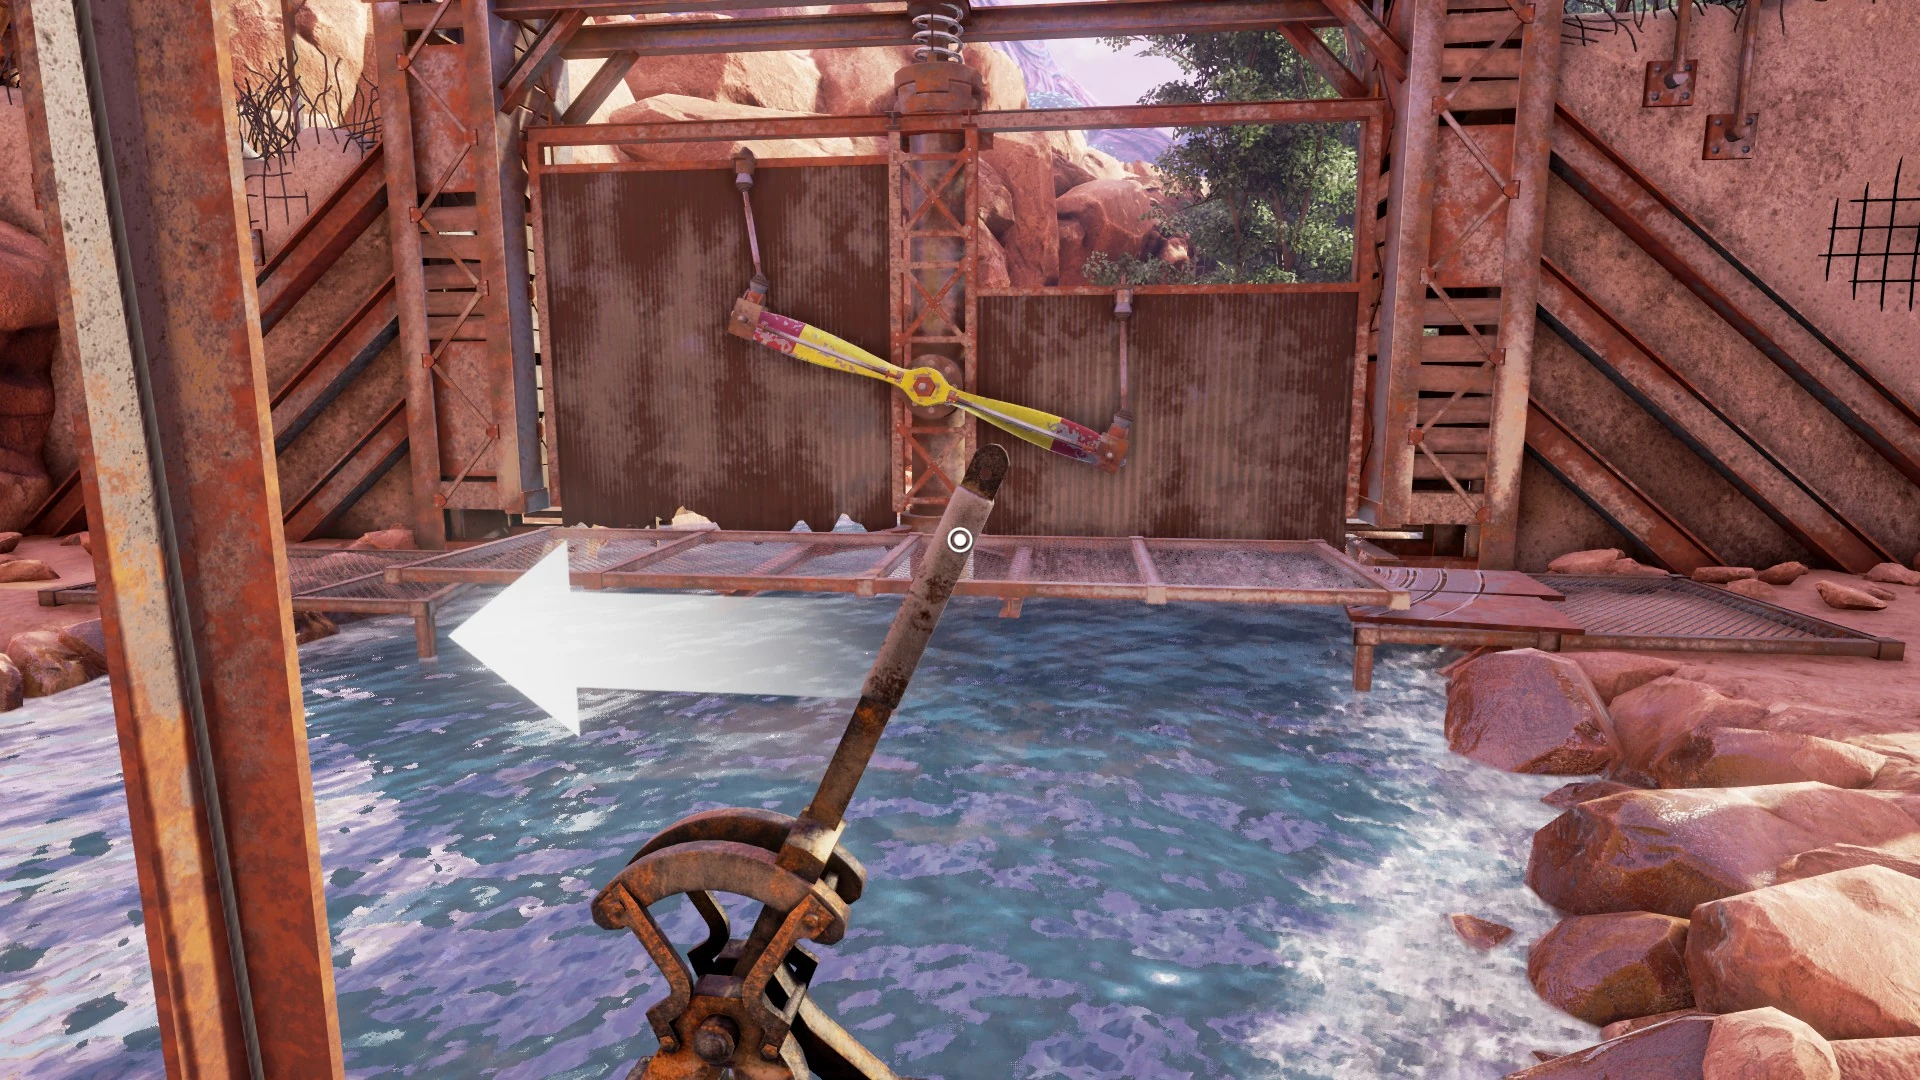
The wall and the platform connected to it will rotate 90° and provide a path for us to skirt around the wall.
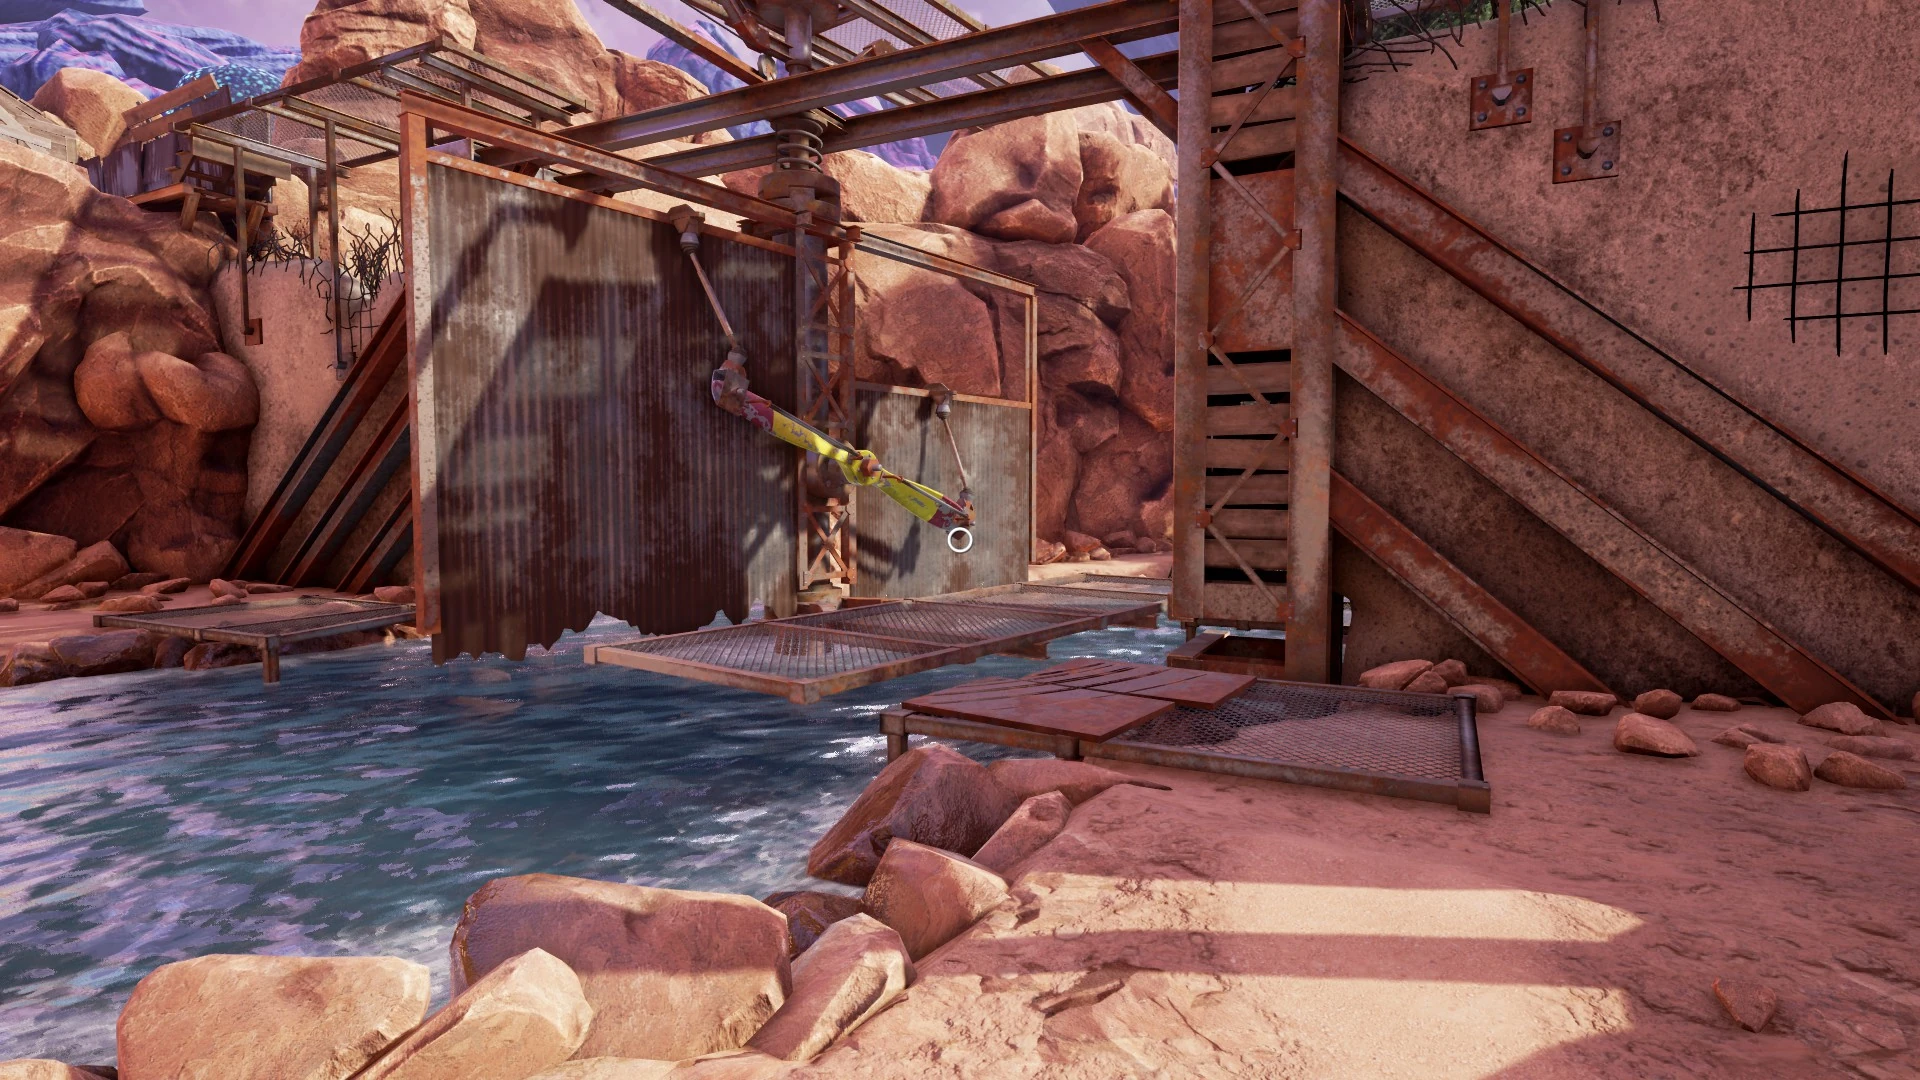
Head around the wall to the other side of the wall.
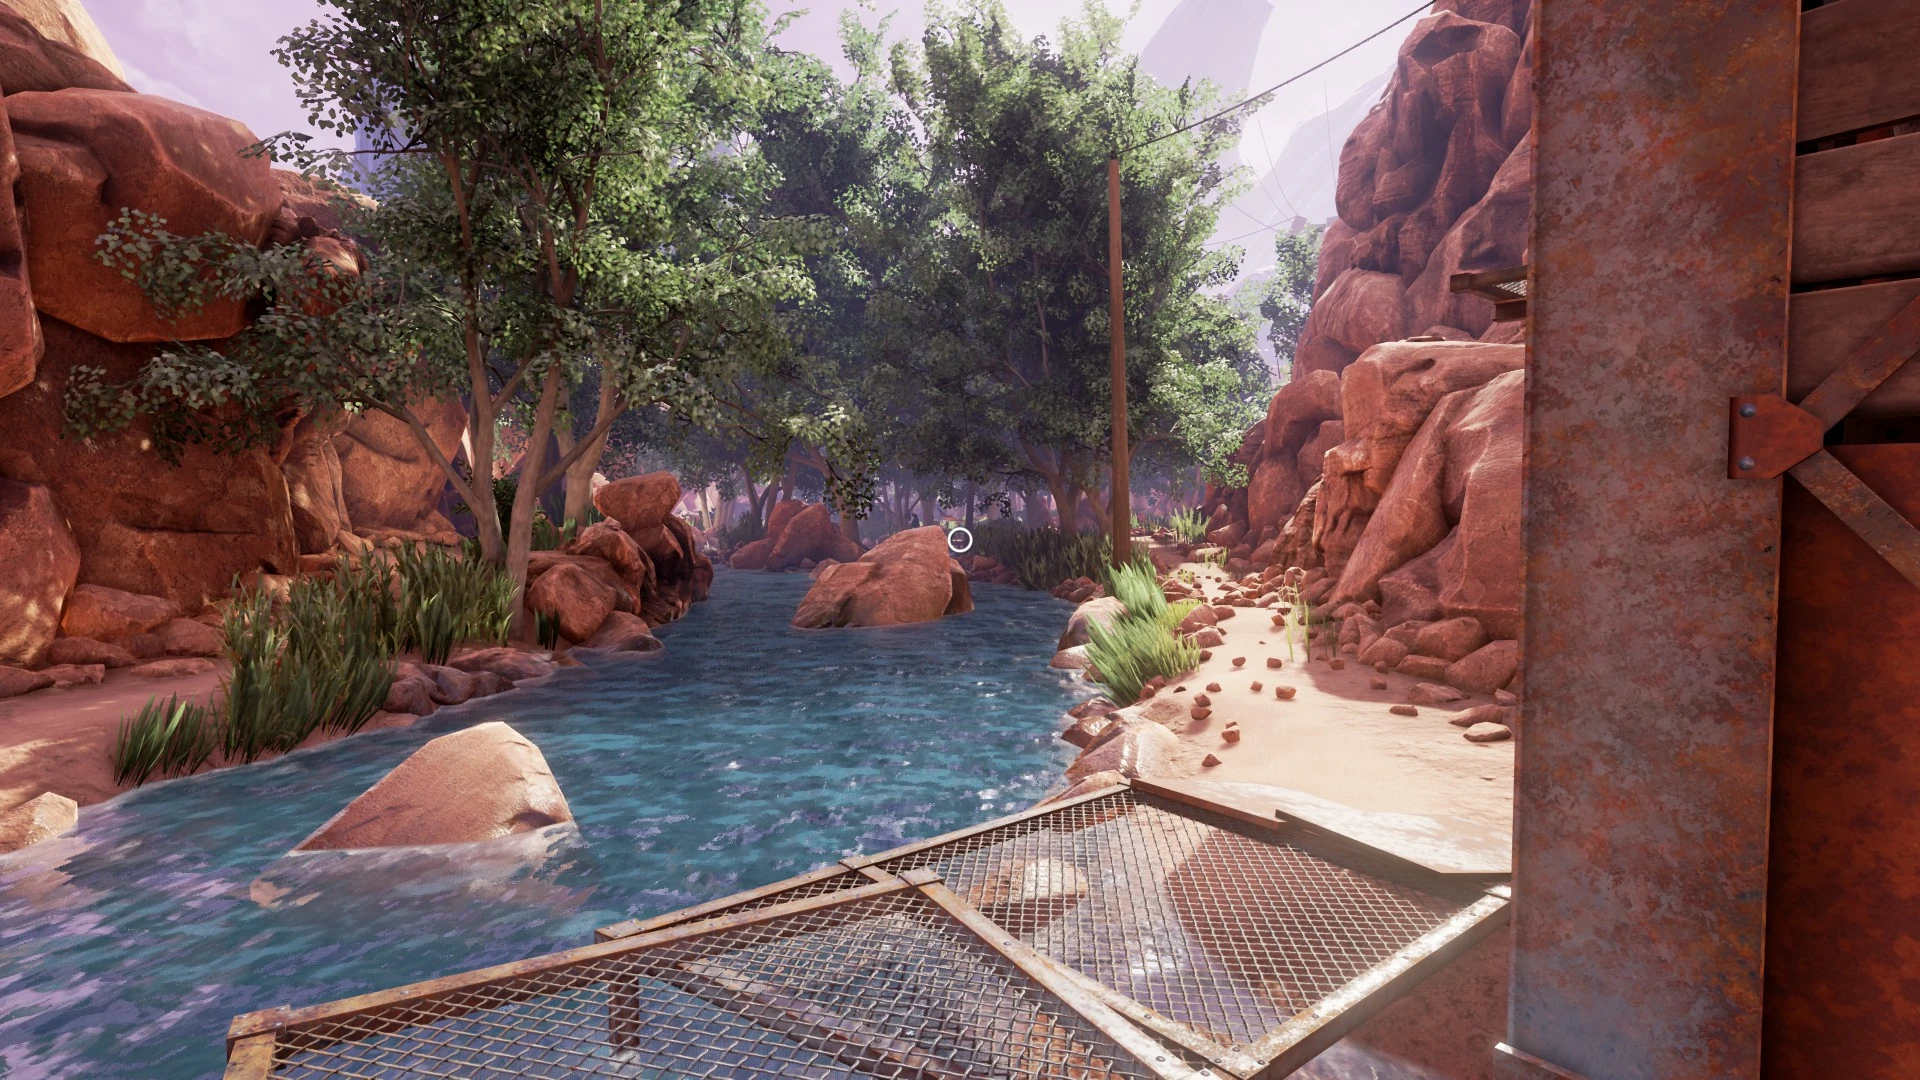
There's a lot to see here, so go exploring. Once you're done, however, you'll want to find the train yard.
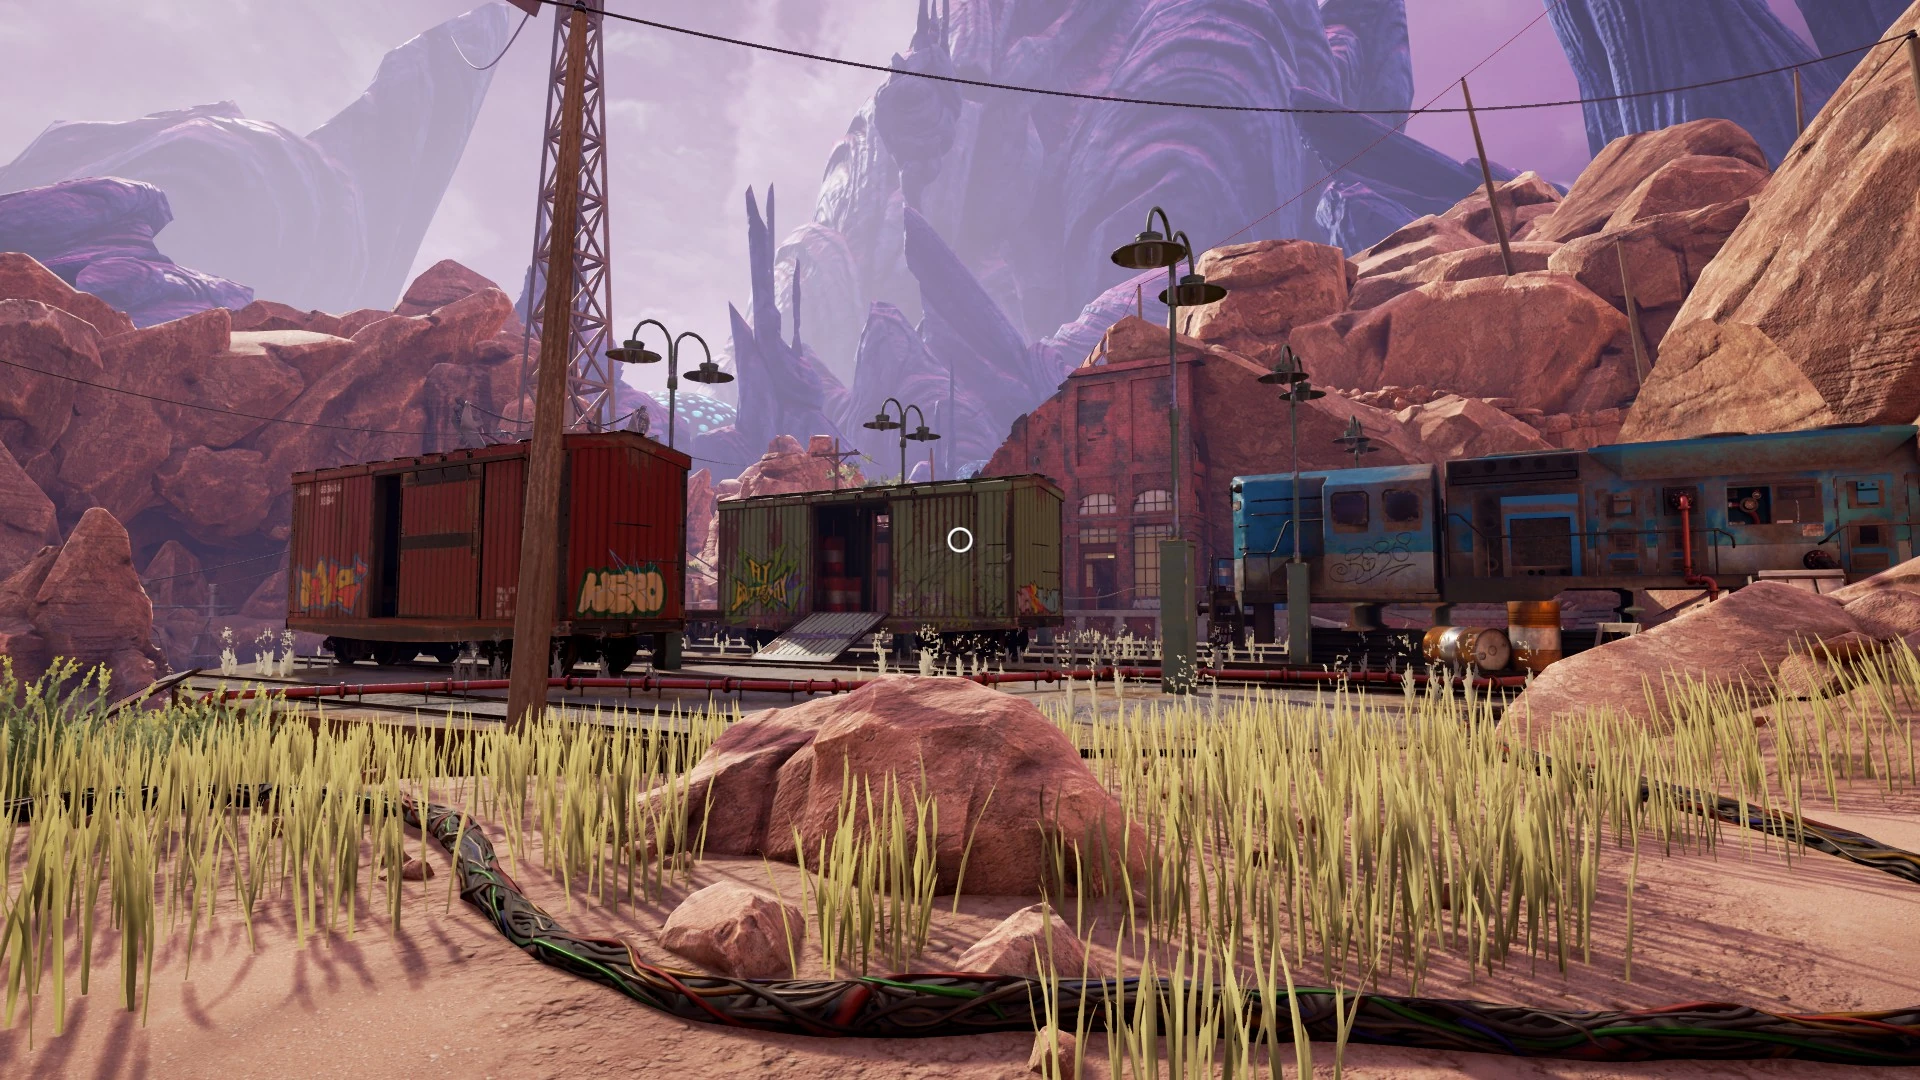
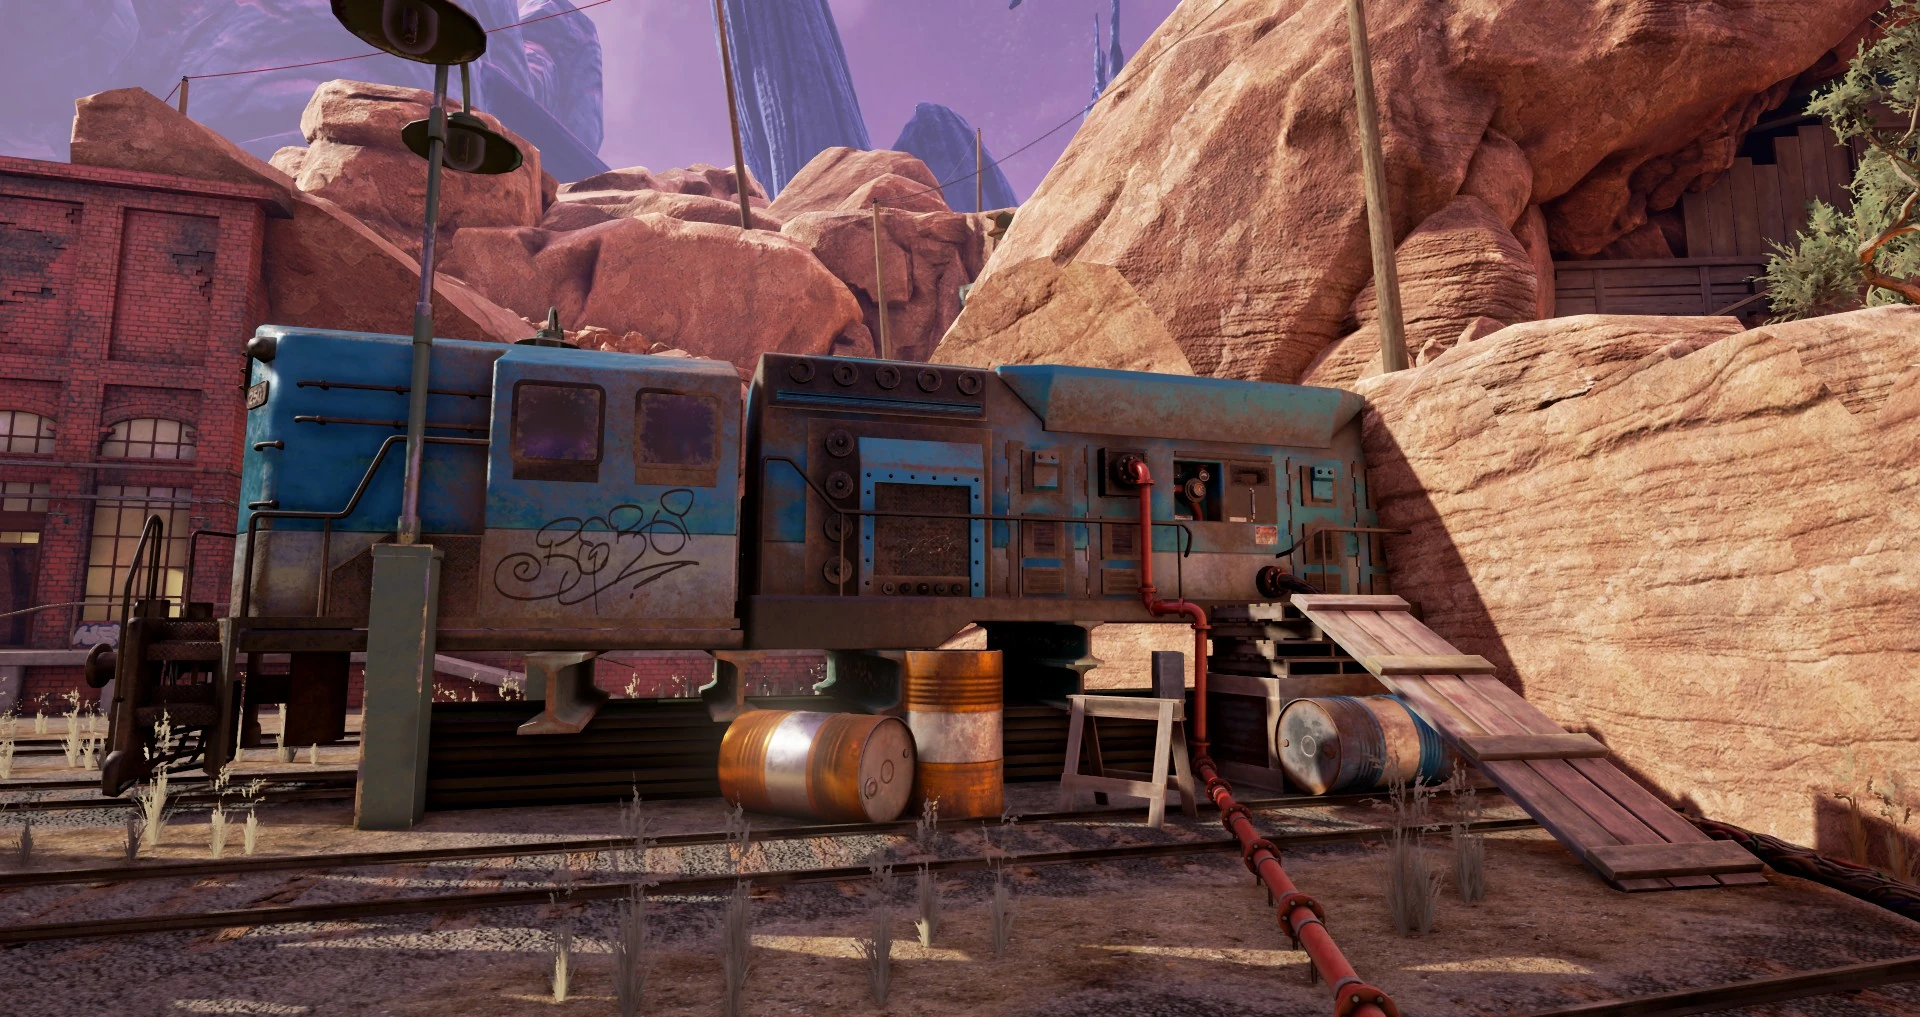
Most of the train carriages just contain junk, but there the blue one has a ramp leading up to it, and is connected to a hose and a thick bunch of cables. This is our generator. Head up the ramp to look at the controls.
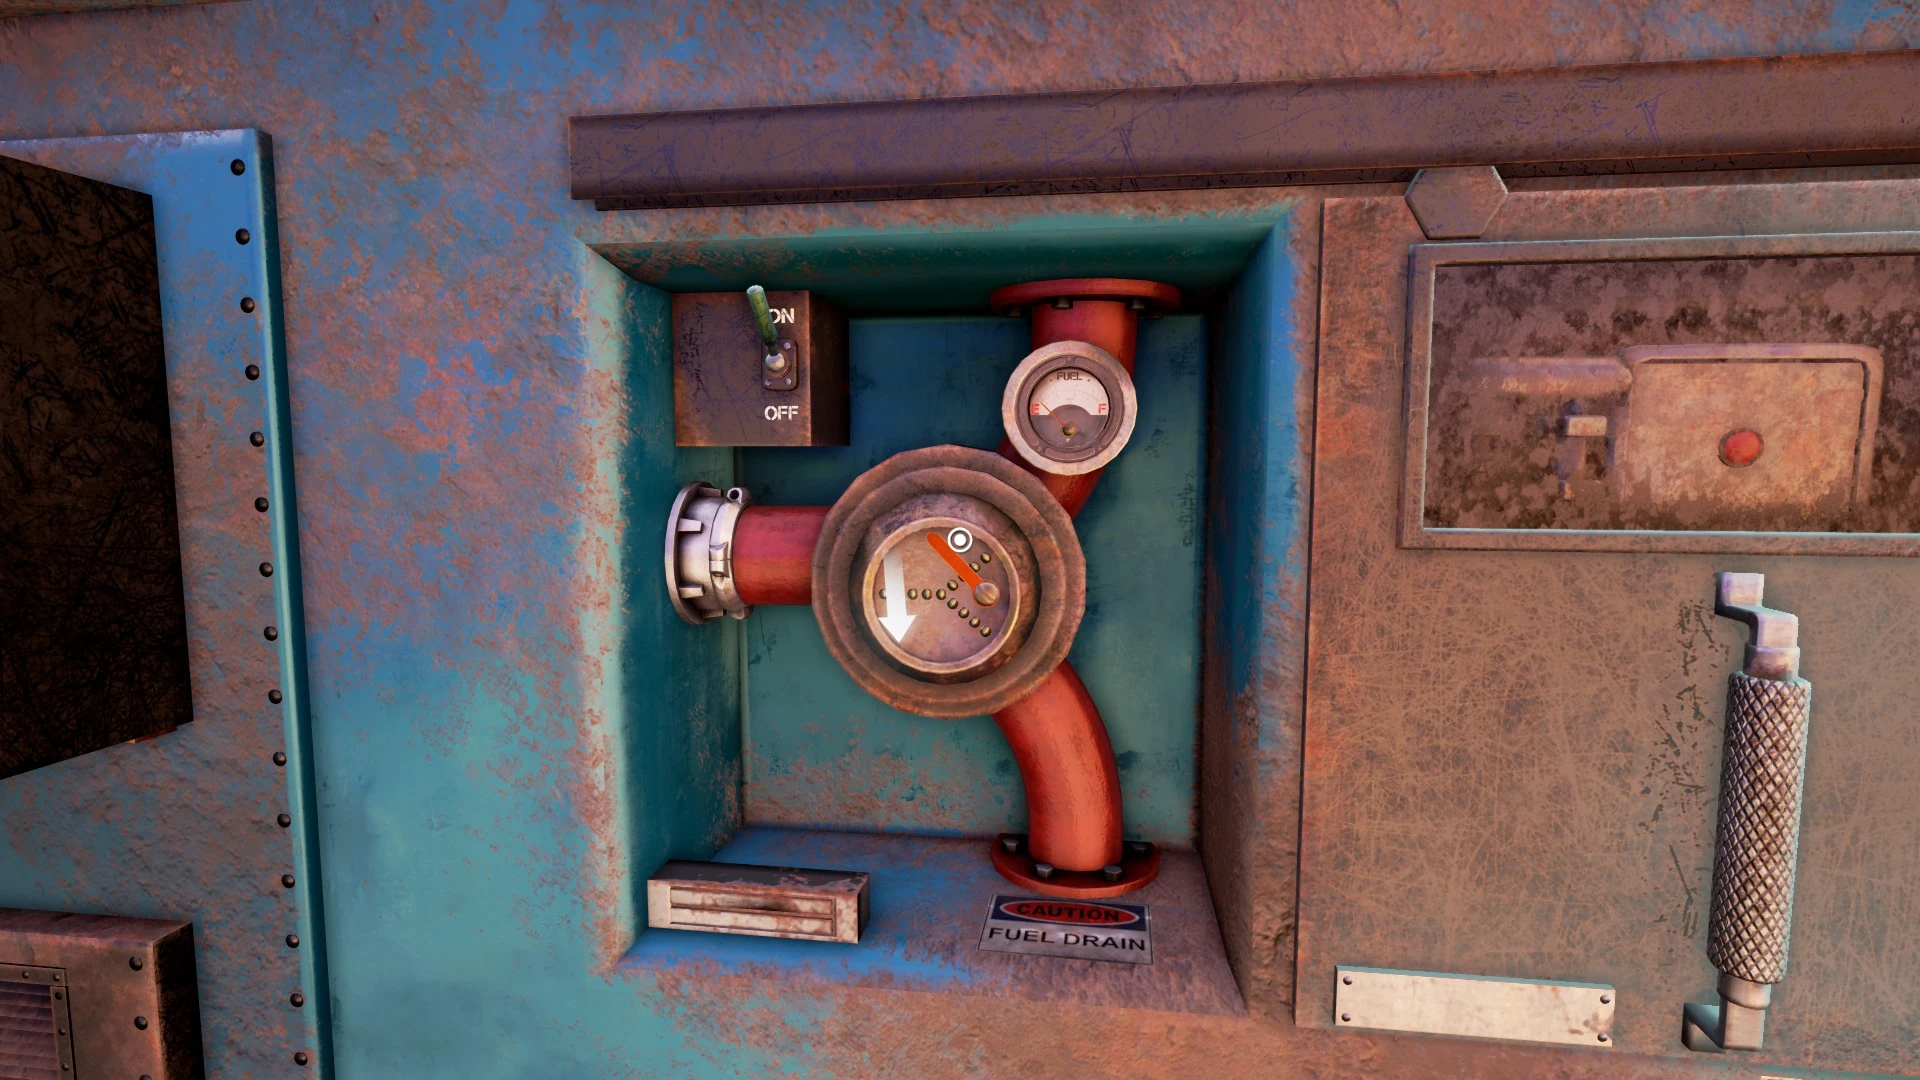
On the left we have a switch to turn the flow of liquid on and off, and we a have lever we can switch to redirect the flow. Go ahead and flip the switch on. Since the bottom is labeled "fuel drain," flip the lever down in order to redirect the fuel up into the engine's fuel tank.
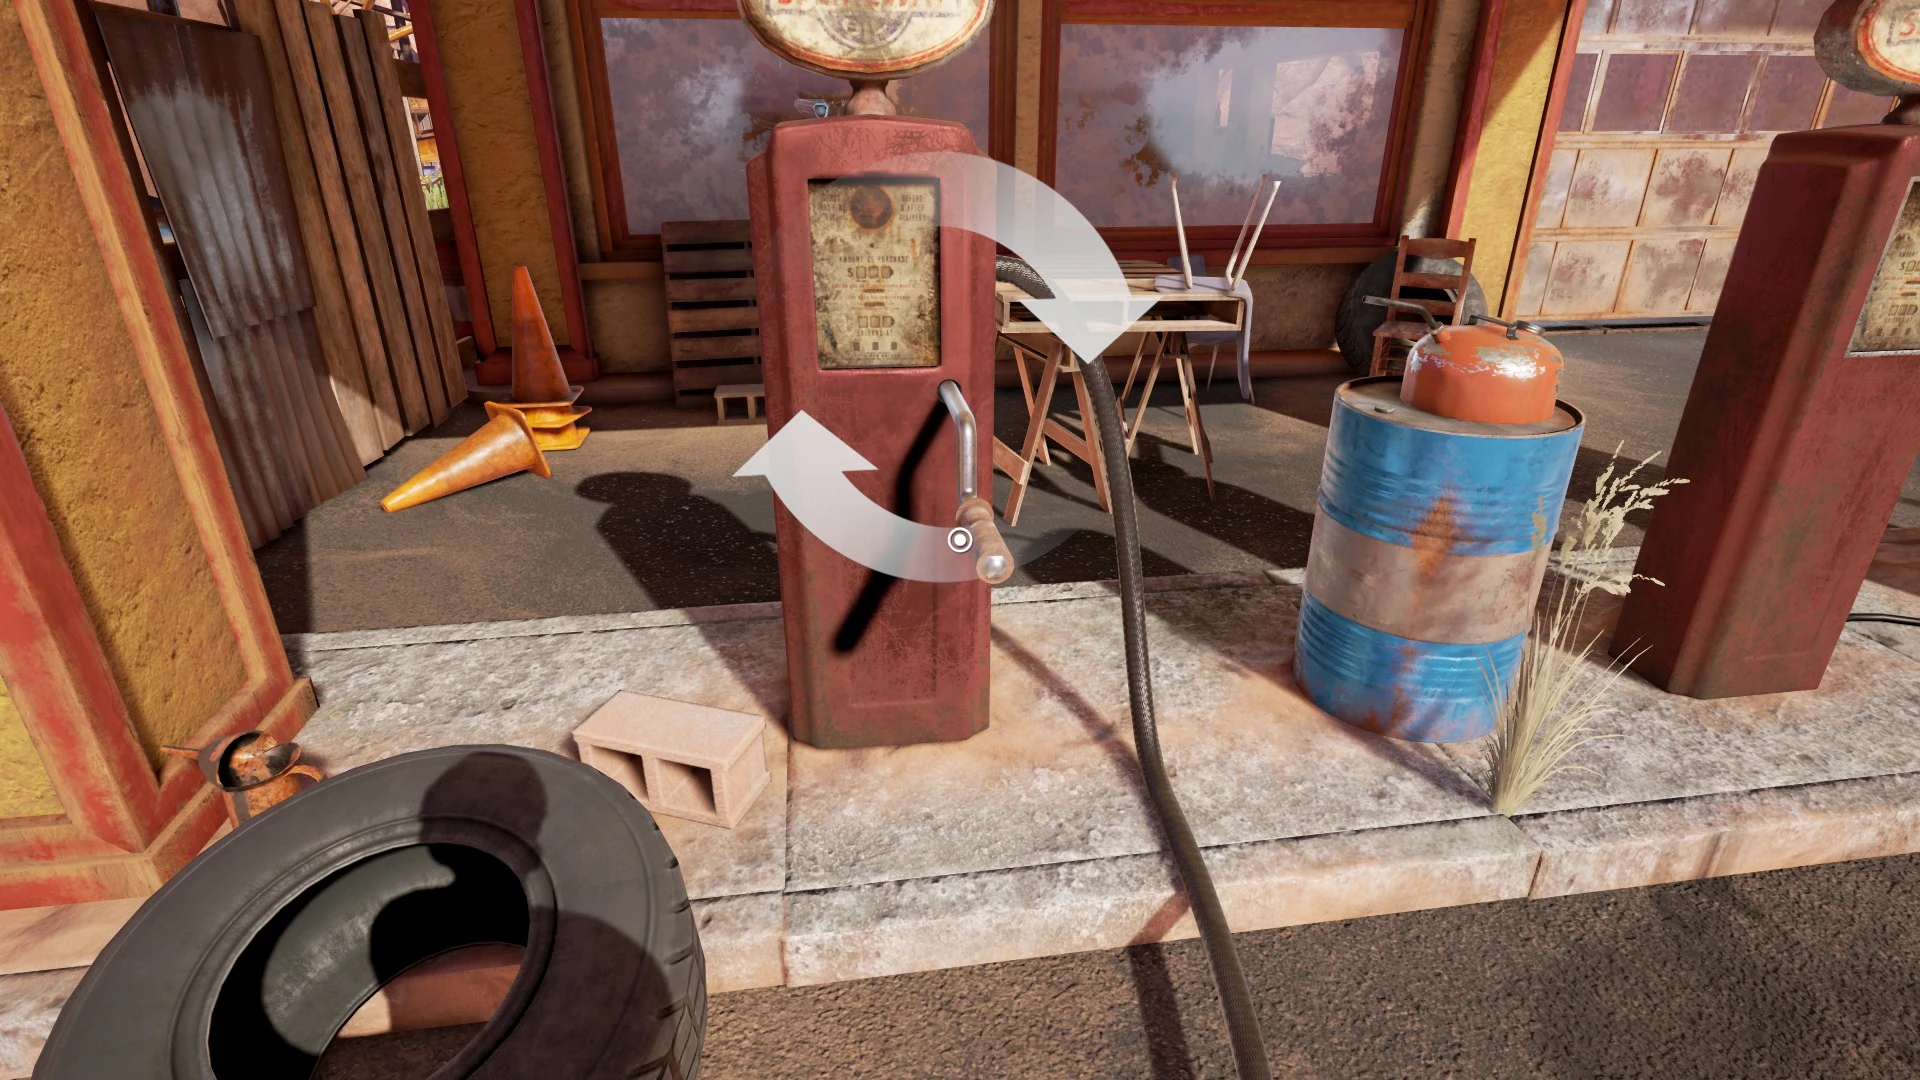
Now that the generator is ready to accept fuel, follow the hose back to a petrol station. Here we see τηατ it connects to a pump. Turn the hand crank to pump fuel. You might have to turn it more than once; simply go back to the generator to check whether the fuel tank is full or not. Once it is, you're going to turn on the generator.
Look at the controls on the train. Ensure that the fuel gauge now reads "Full". Then, slide the cover over to the left.
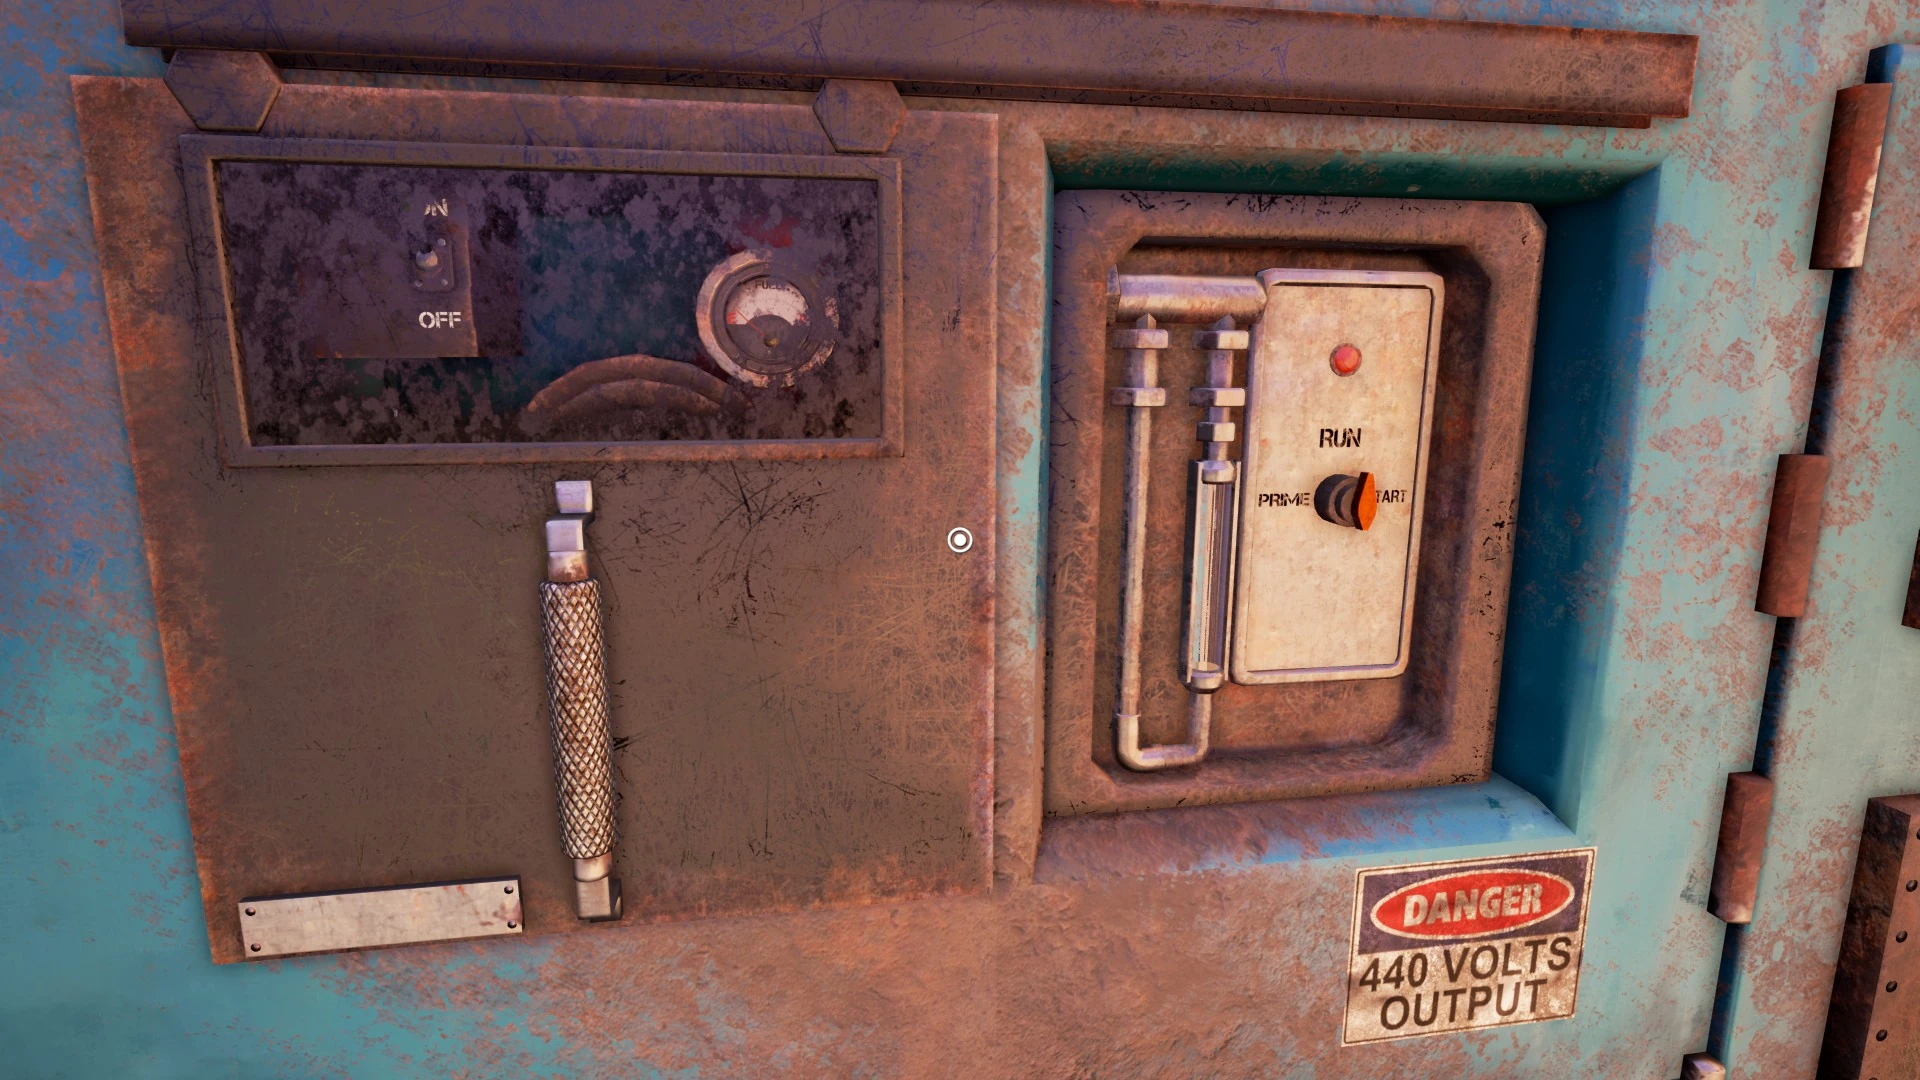
Here you'll see a switch labeled "prime" and "start" along with a little light that should be red at the moment. There's also a clear tube to the left. Turn and hold the switch to the left (prime) until the clear tube is completely filled with petrol and the "priming sound" stops. Once the tube is full the light should switch to yellow. Turn and hold the switch to the right (start) until the light turns green.
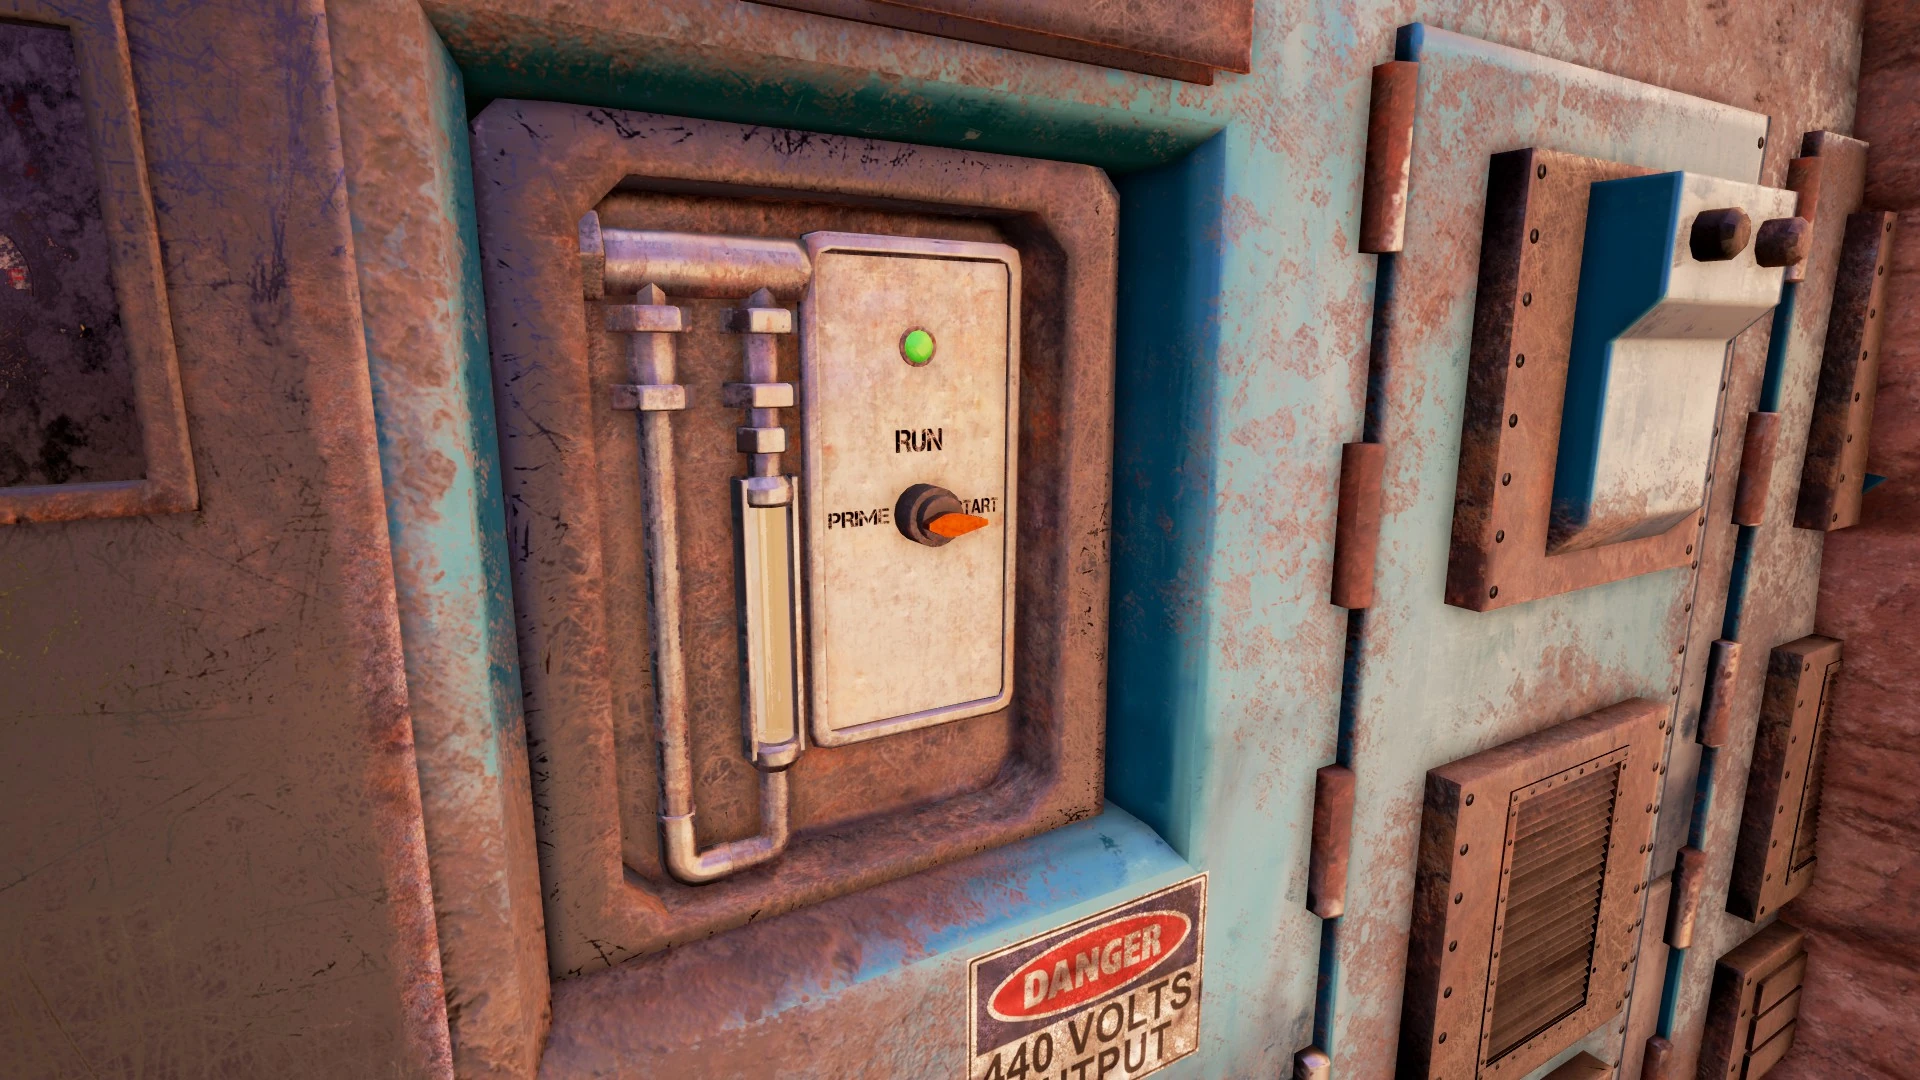
You should hear the engine start up which means we now have power flowing. Don't take my word for it though. Follow the power cable to a panel with a map.
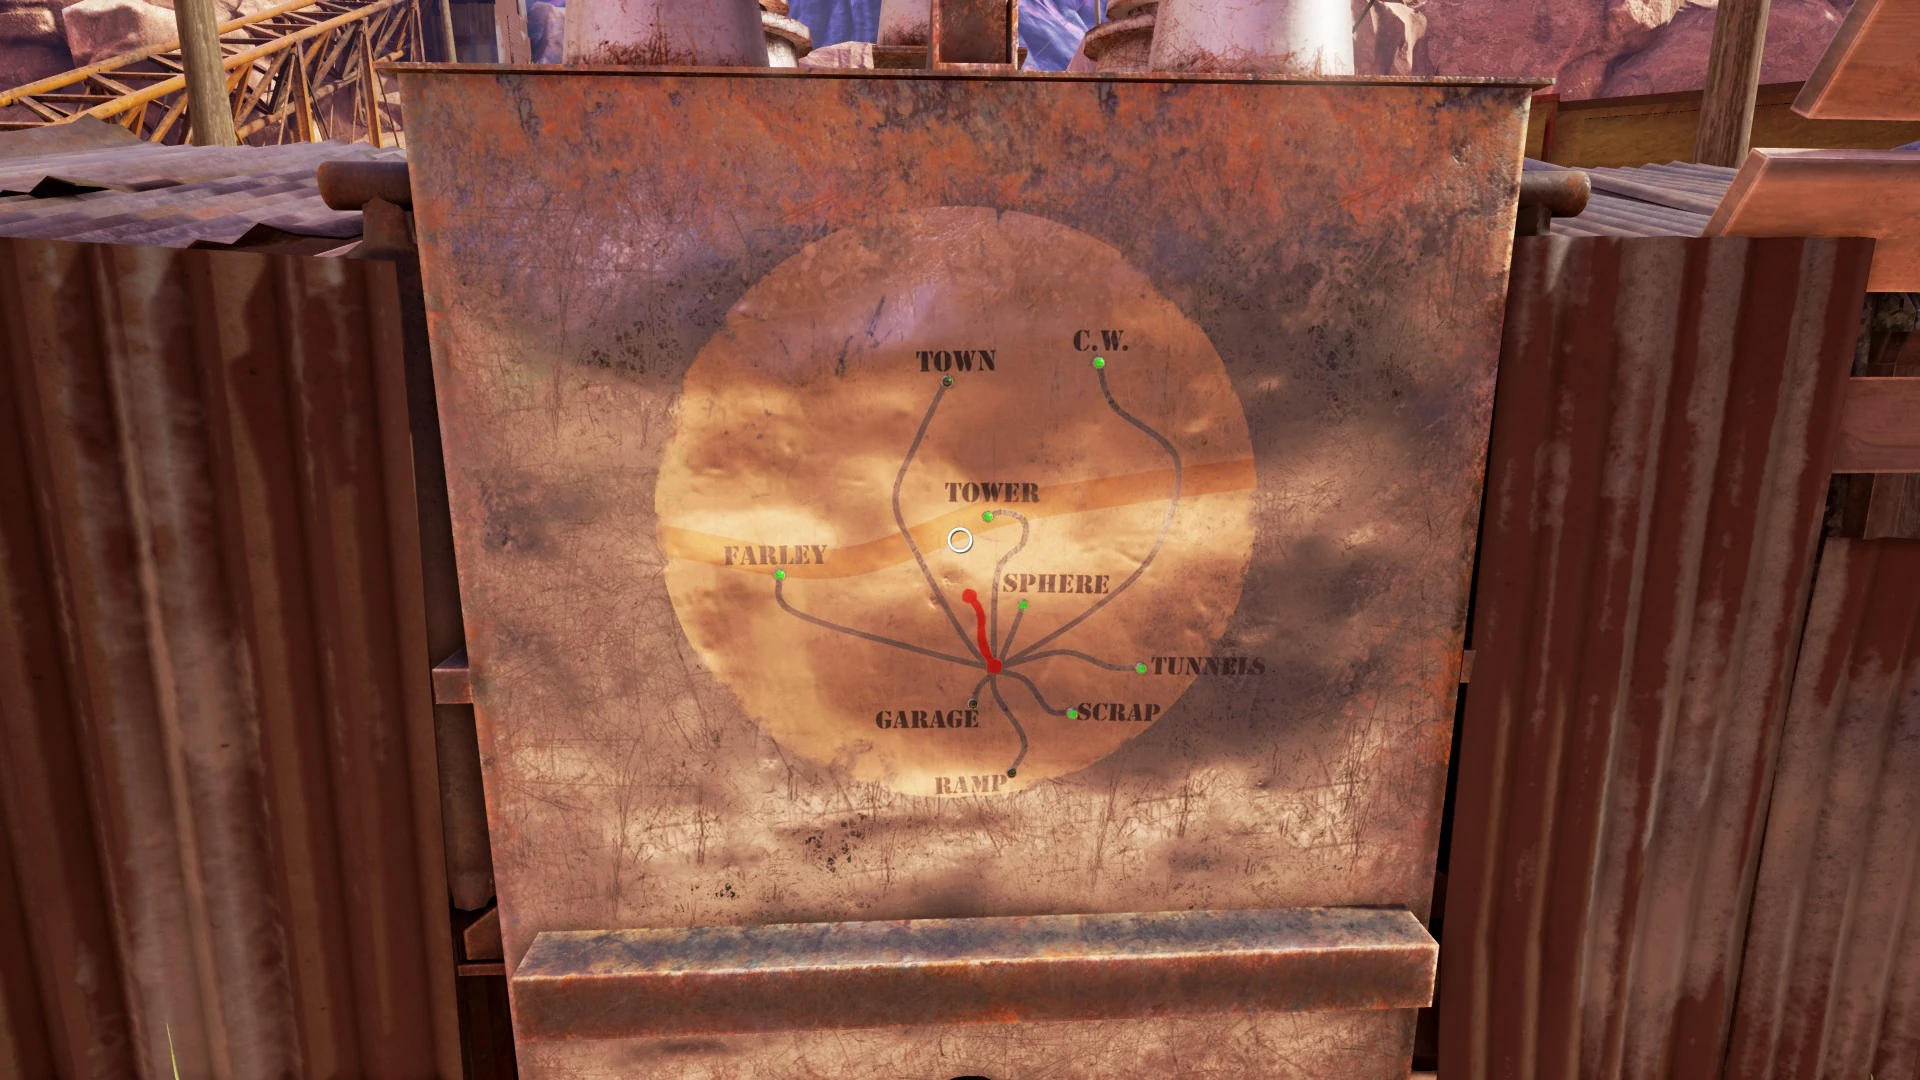
Here we can see each facility in the area that requires power all labeled. The red line indicates the cable from the train to this panel. You'll notice that C.W. has been lit up indicating that power has been supplied to him and his workshop. You might also notice that the "Garage", "Ramp", and "Town" have not been supplied power. We'll have to fix that later when we can, but for now, head back to C.W. and let him know we got the power turned on.
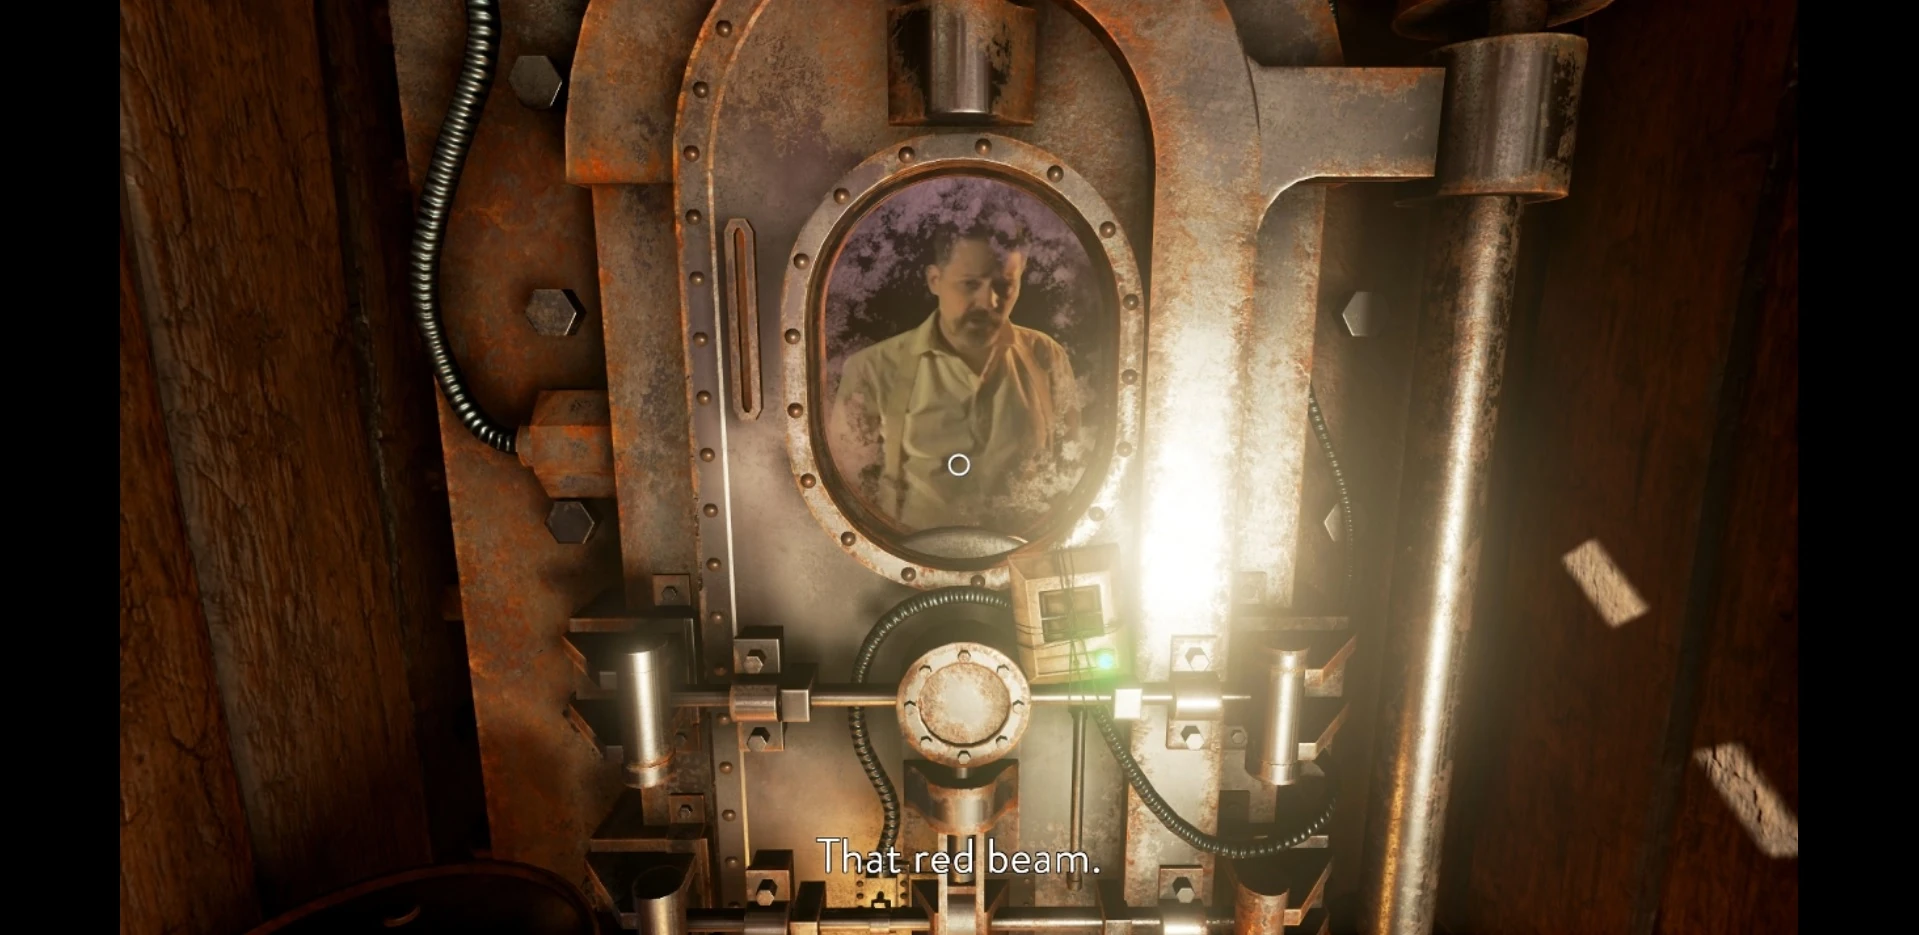
During a little more lengthy conversation with C.W. (when you start it you will earn the Power's On! achievement) he mentions the fact that the town and everything around it appears to be inside some sort of dome. He reckons it serves some good to allow you to pass through that wall and that he's locked it with "that Mofang device" which he later on clarifies to be the red beam. Looks like we need to disable the red beam we saw before.