| Spoiler alert! This page is either part of the walkthrough for Obduction or contains solutions to puzzles and other information that may be considered as "cheating" the game. |
| Spoiler alert! |
Previous part [The Red Beam of Maray]
Walkthrough - Part 12[]
When you reach the dome with the two Hunrath seed-swap devices, use the farther one, the one that has a larger area of effect. It'll put you in the upper scrapyard, where the railroad track loops around. Go back to the area where the stone arch used to be, and use the seed-swap device closest to the path (the one with the grassy/stone terrain).
Now, in Maray, go past the entrance and when you reach the junction go straight and use the bridge you enabled before to get past the Armory to where the two seed-swap devices where. A bunch of junk and sand will be there now, but there is an exit on the other side with an elevator. Go down using the bottom button on the elevator.
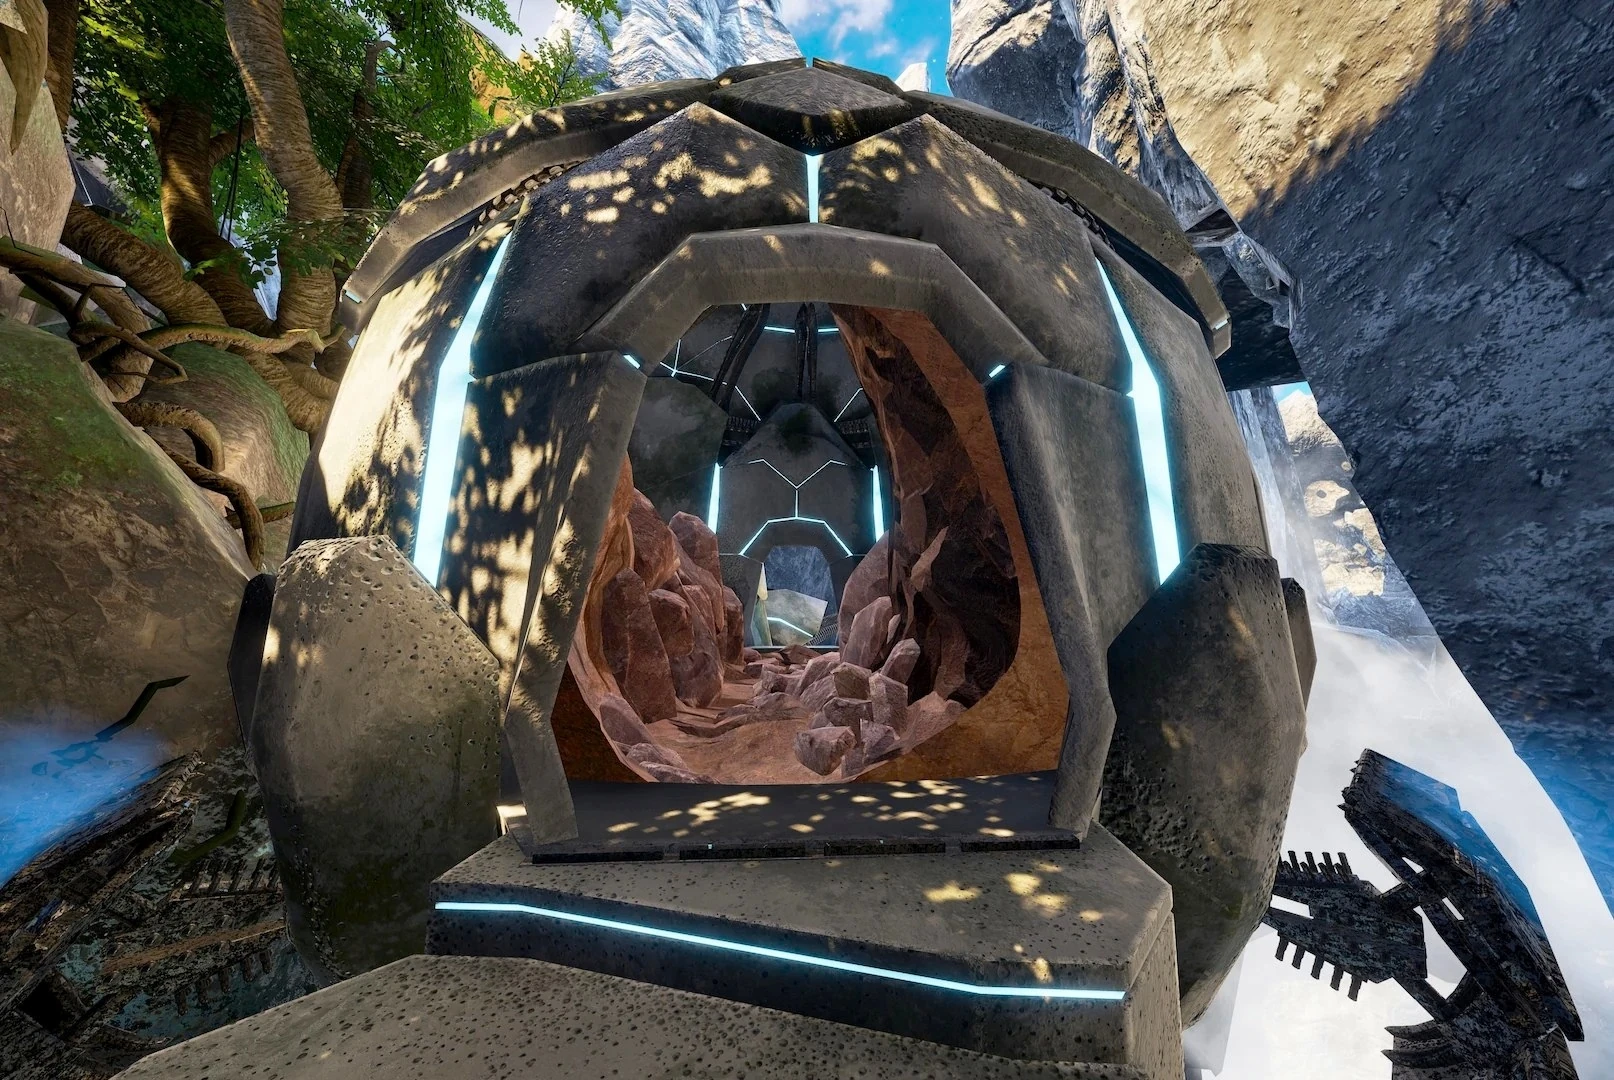
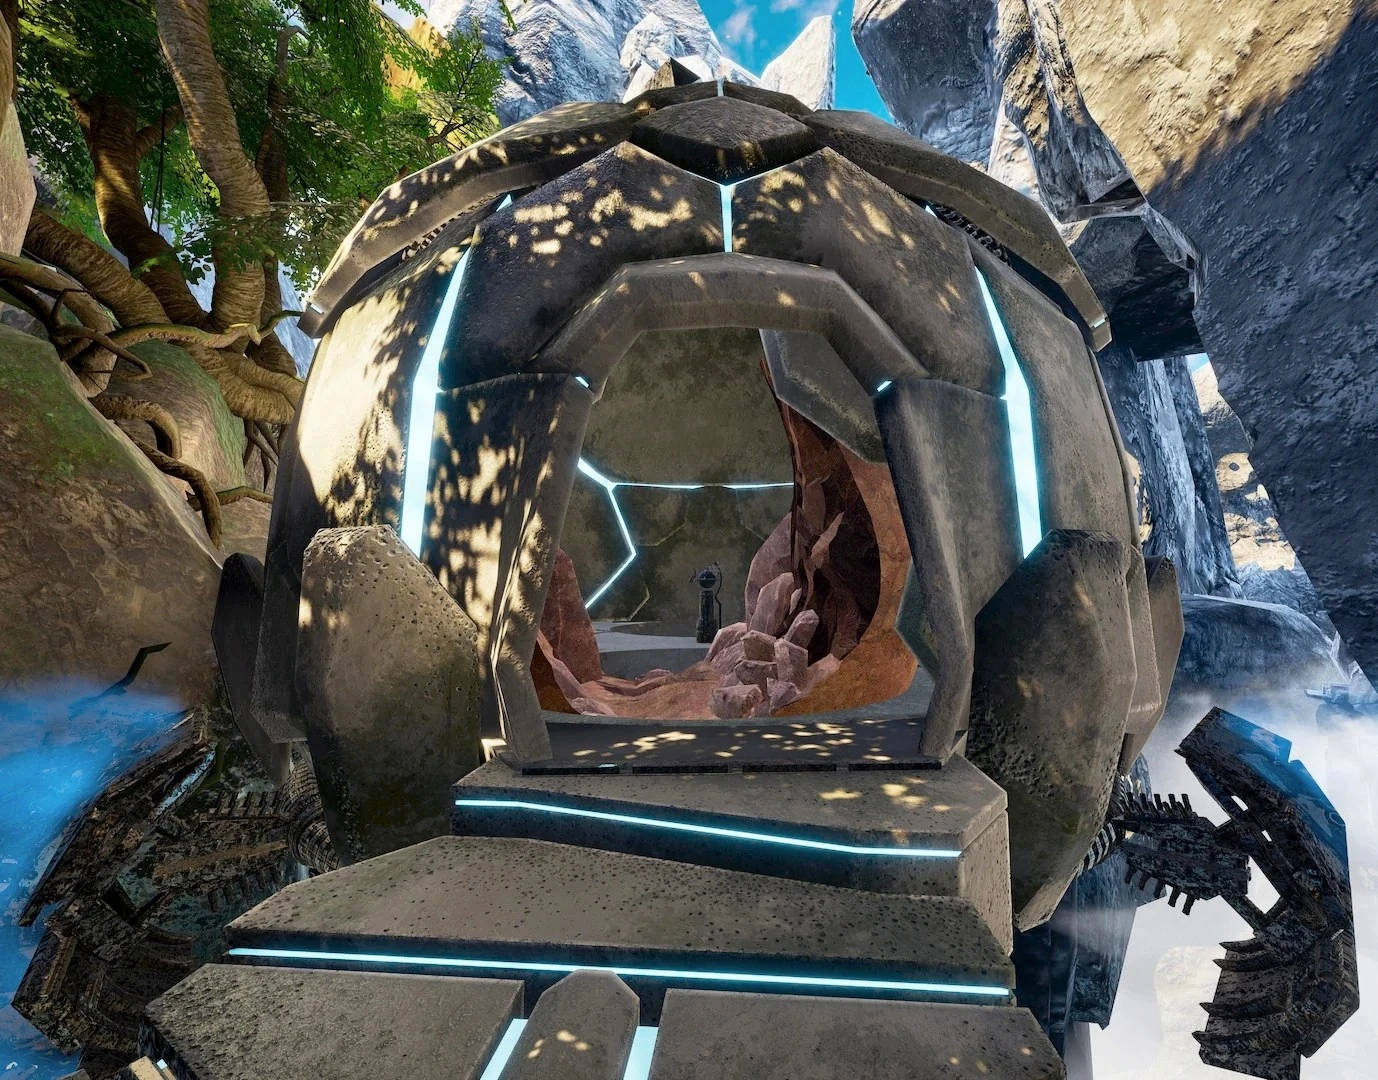
From the bottom of the elevator, take the path leading to the dome building. It will contain 3 seed-swap devices, each going to Hunrath.
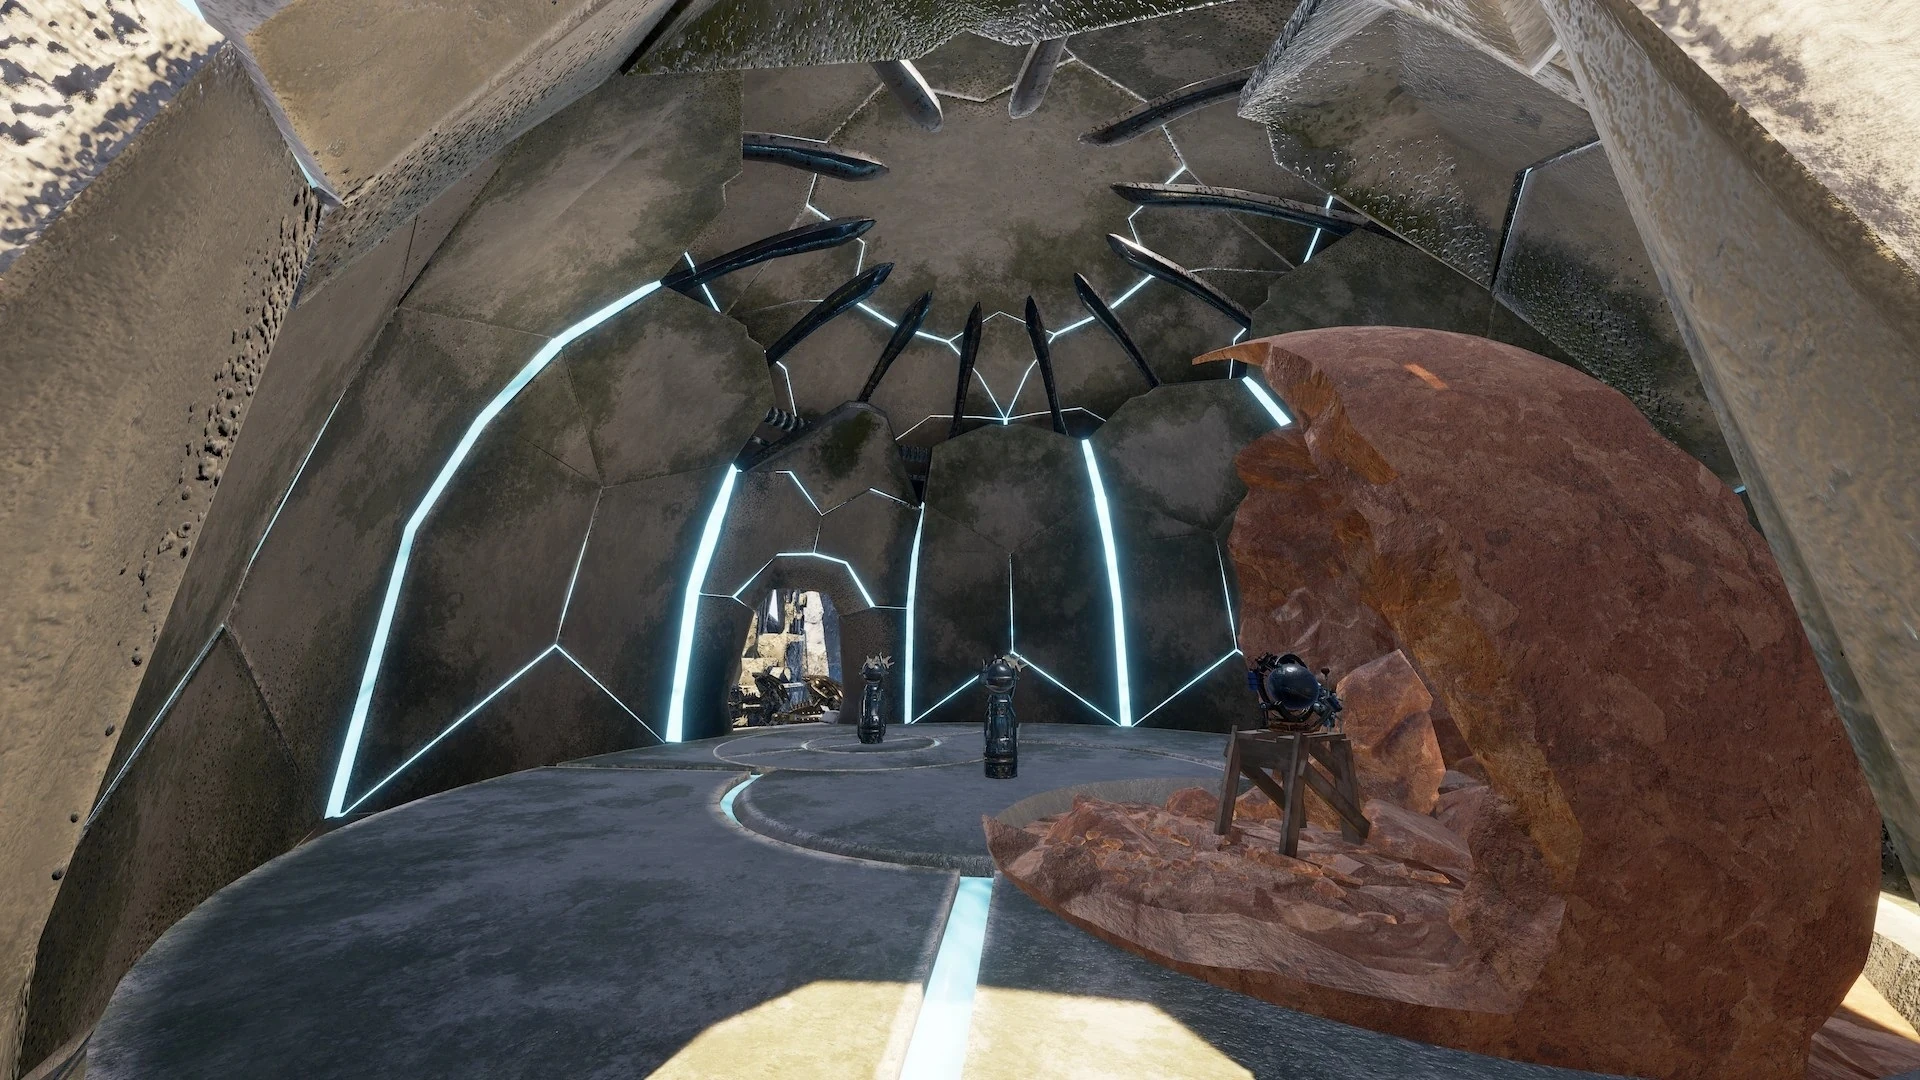
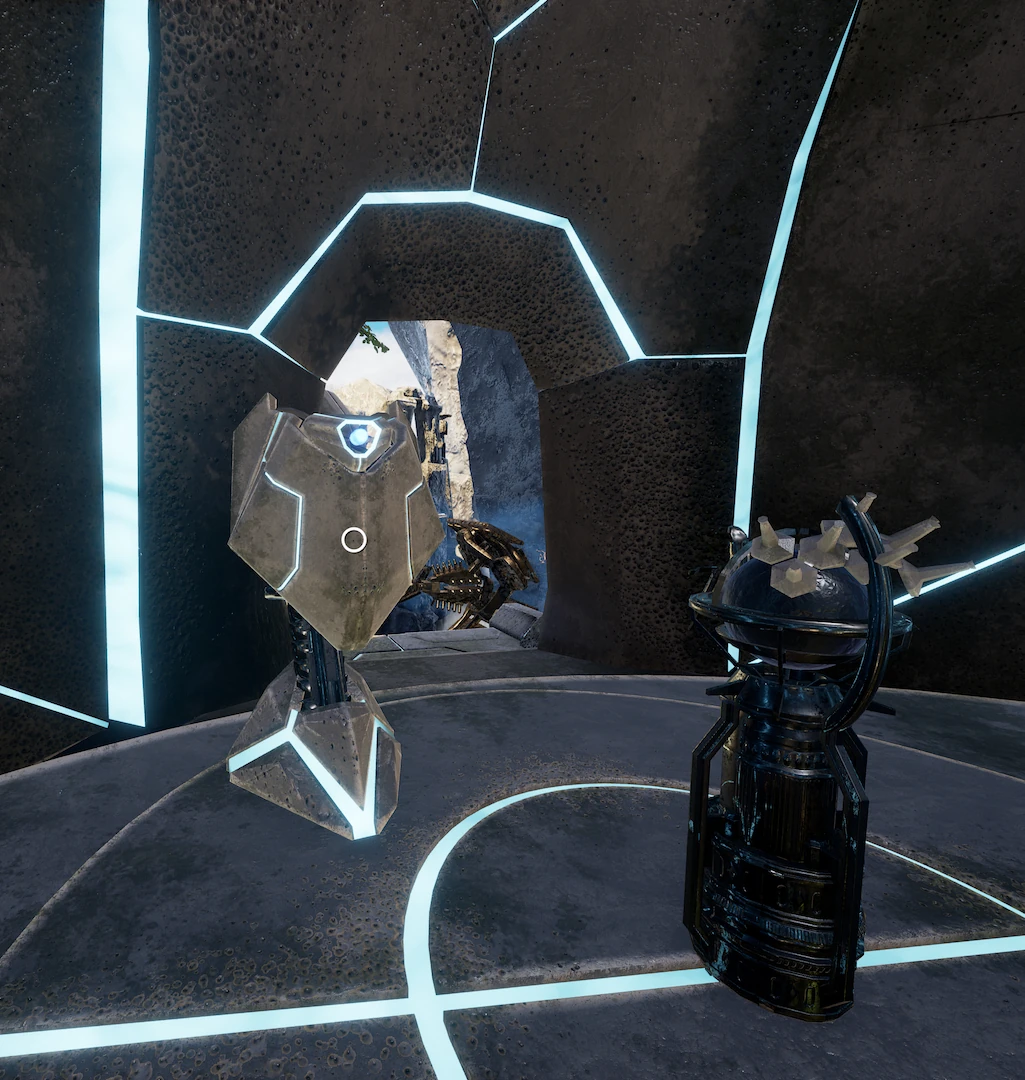
The room inside the dome can be rotated with a button stand right next to the entrance.
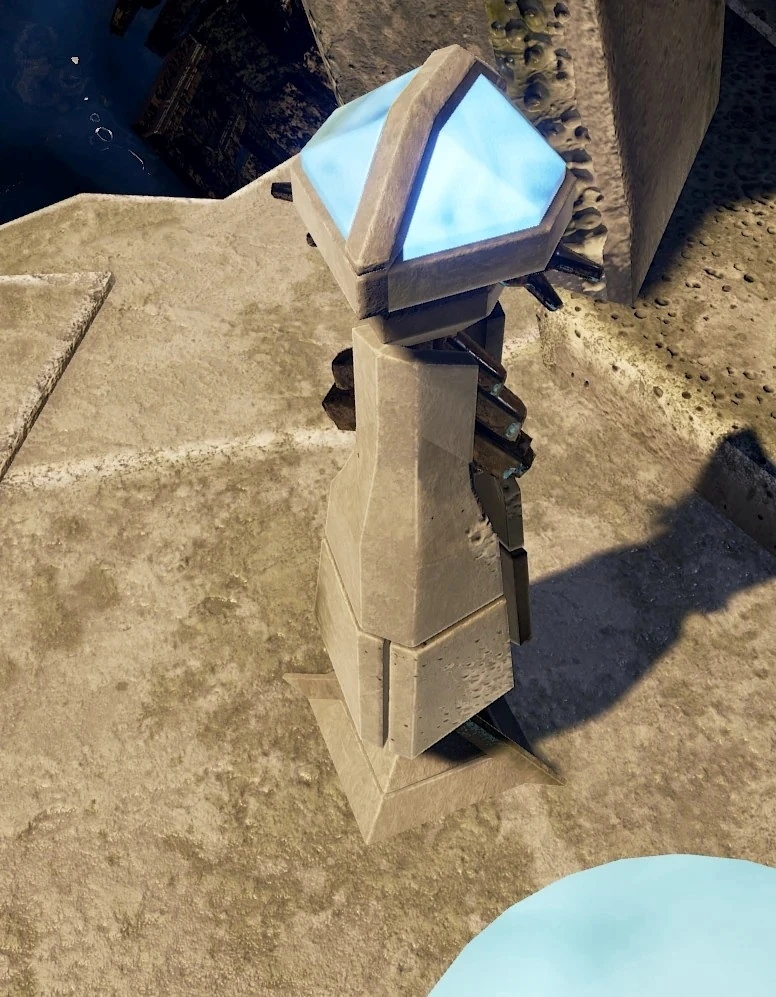
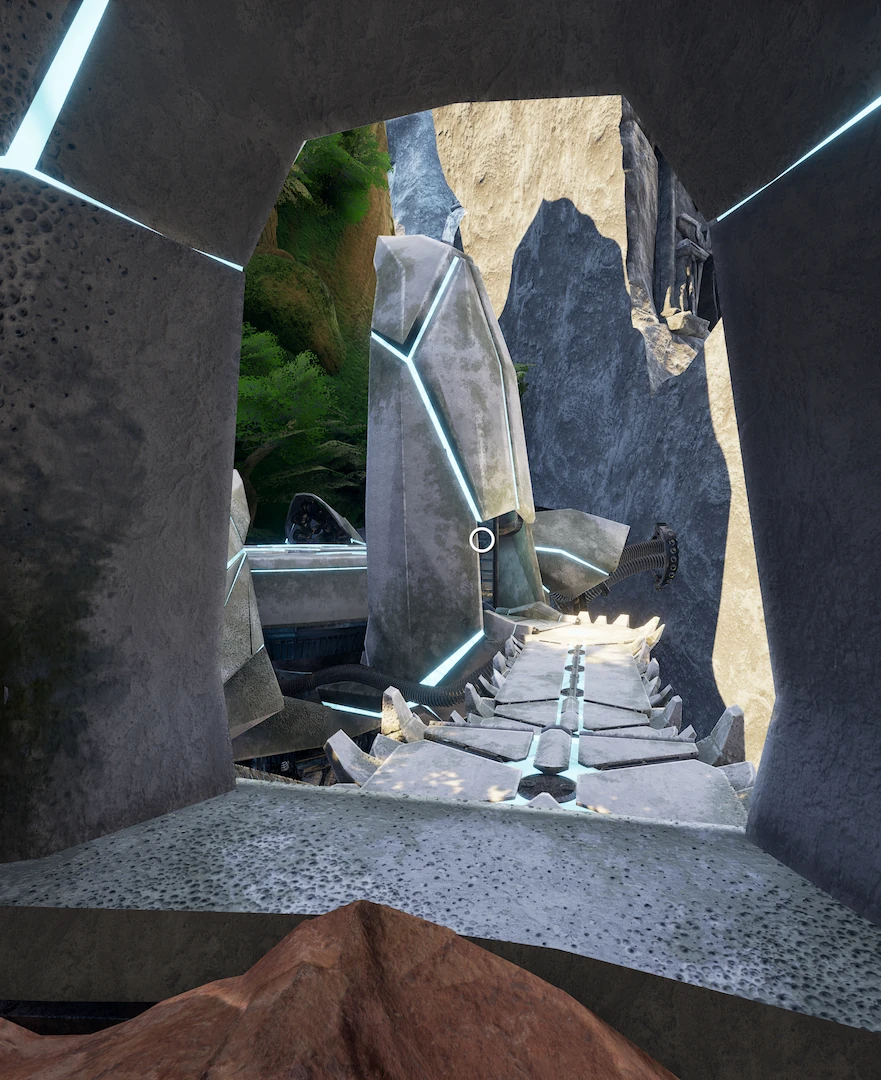
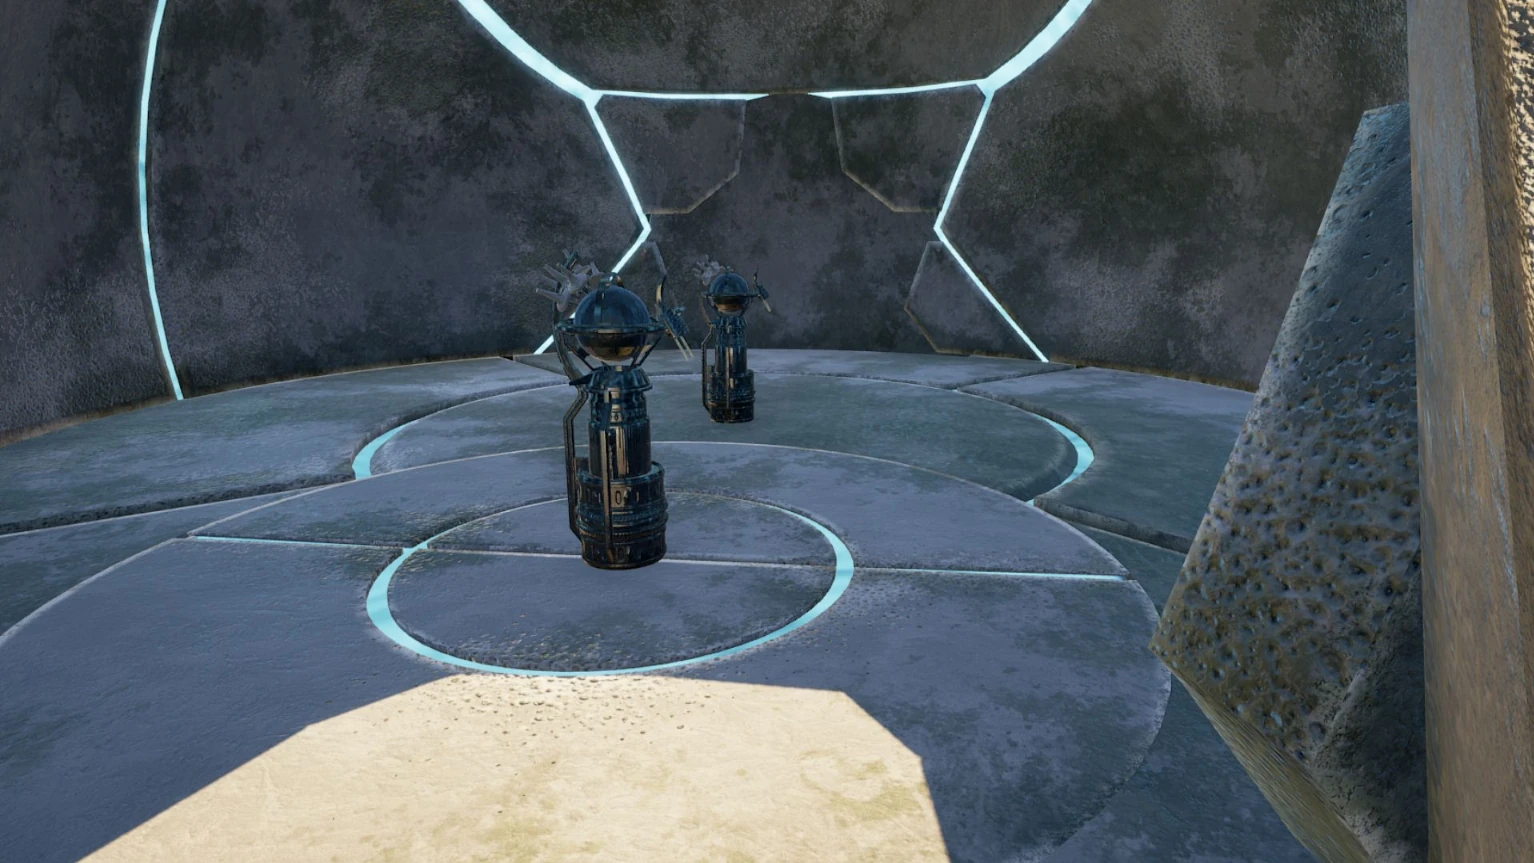
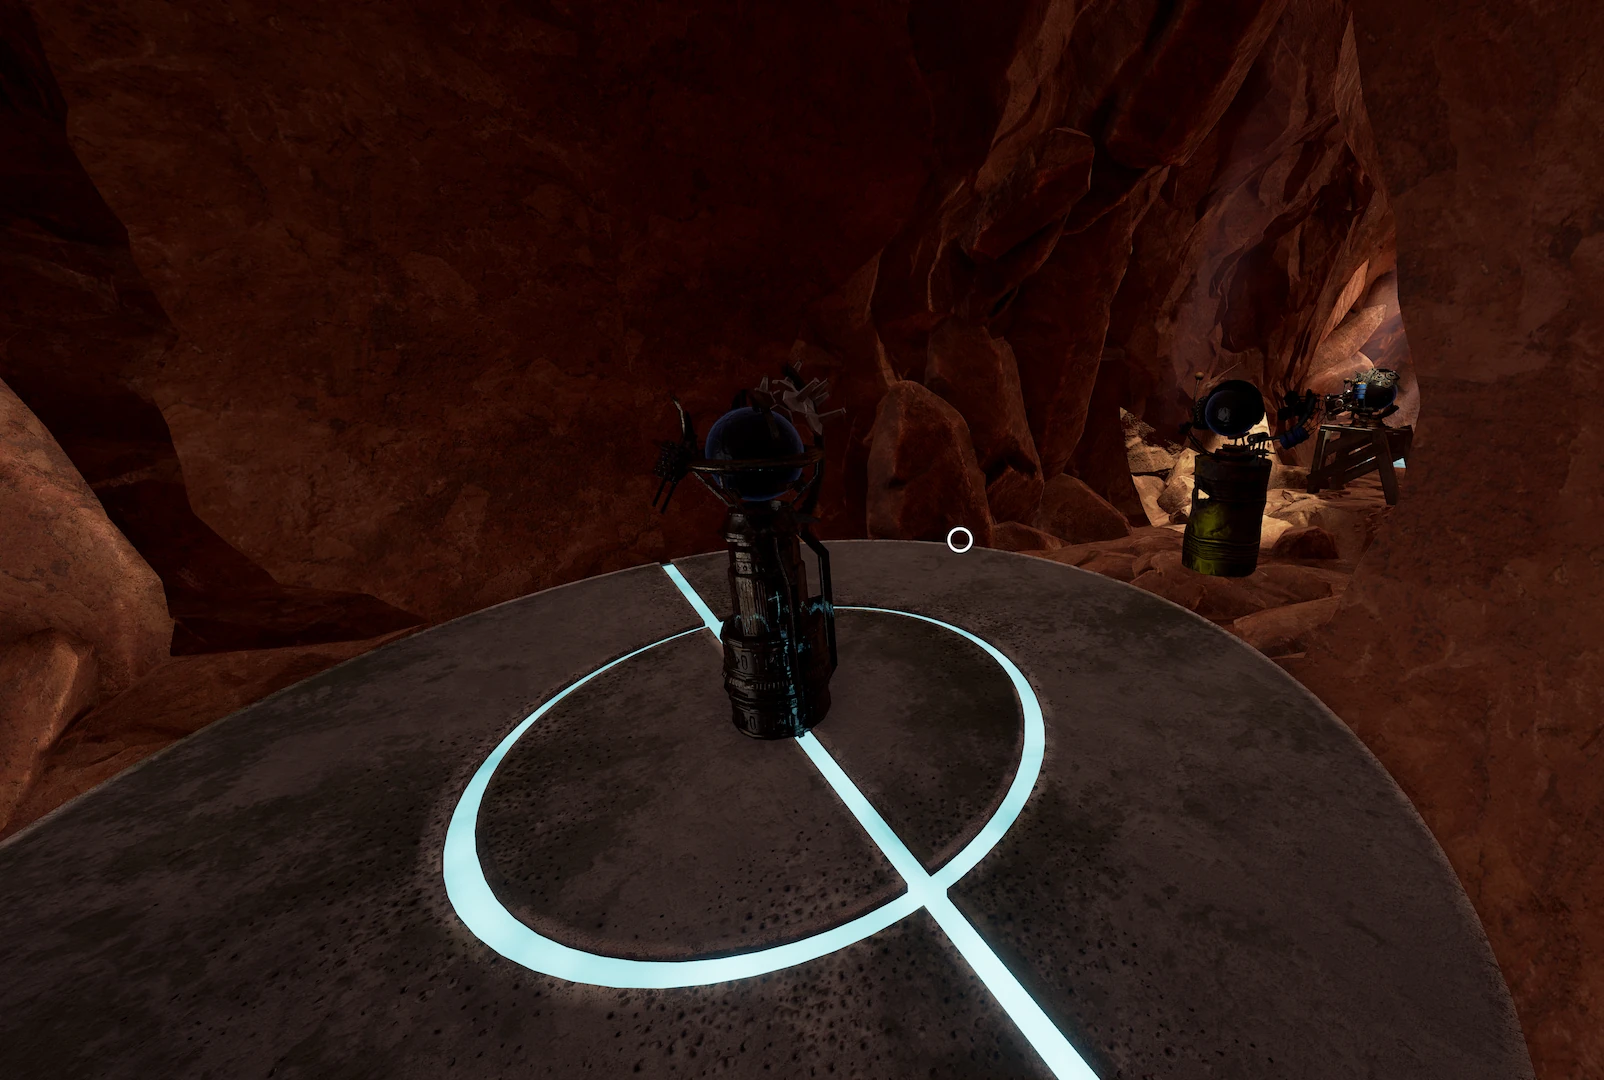
Use the seed-swap device in the rock. You are now in a cave/mine in Hunrath, along with three seed-swap devices. Use the one on top of the wooden barrel to go back to Maray. A Villein panel will appear which you can use to activate the bridges.
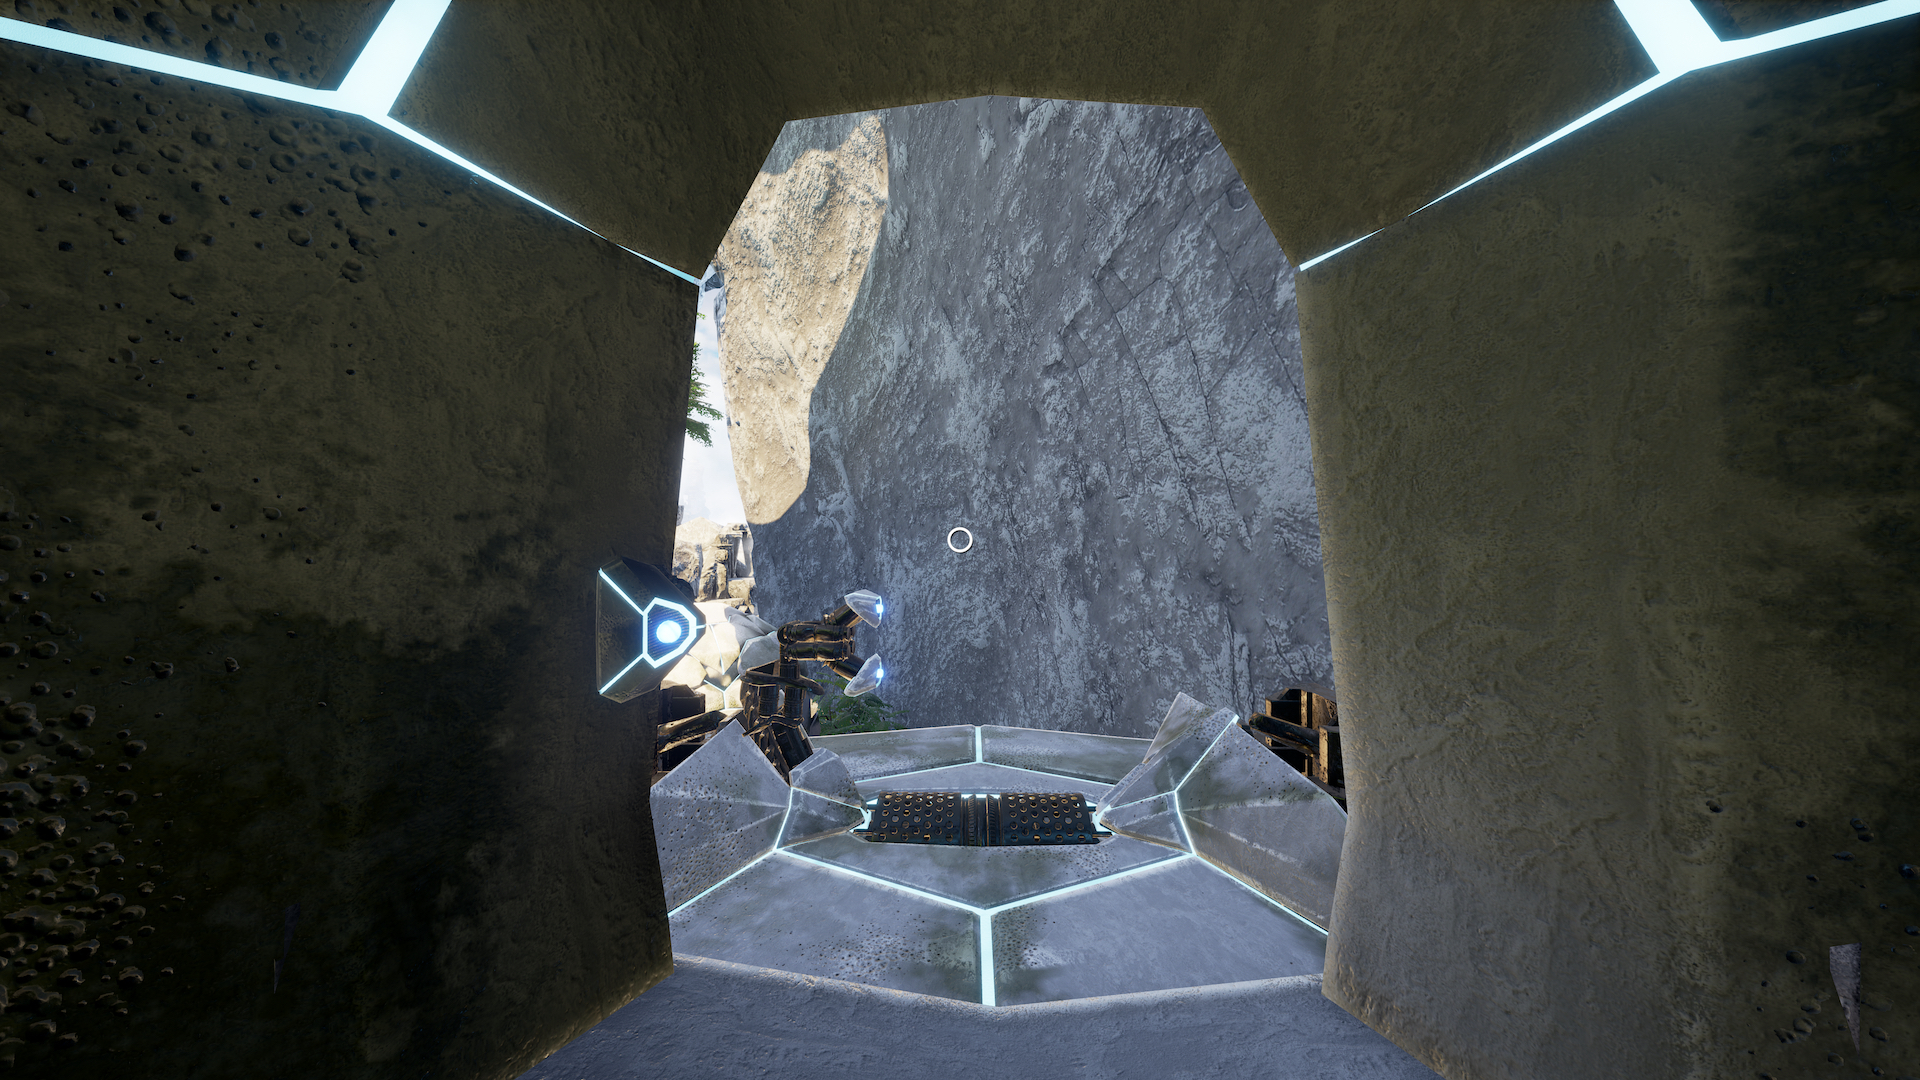
Same thing as before. One bridge will lead to a small platform where the Mofang red beam was, the other will lead to a small sphere with one seed-swap device. No need to go to the red beam device platform, just rotate the room with the button outside the entrance to move the panel to the more useful bridge. Complete the bridge, but don't go across yet, there is more to do. Use the seed-swap device closest to the bridge you just completed. This will take you back to the Hunrath cave, along with the bridge panel. Complete the bridge there. Now activate the same panel that brought you to the cave, going back to Maray. Return to the seed-swap device you ignored earlier, across the bridge, and use it to go back to the cave.

Now use the seed-swap device in the gray circle, back to Maray.
Across the bridge, there will be a broken sphere of rock and a new seed-swap device.
Use that new one to go back to Hunrath. Now, in Hunrath, there will be a large metal dome across the bridge. Go back across to the three machines and use the one in the small gray circle. Now back in Maray, the first seed-swap device will be back across the bridge. Use it. Now back in Hunrath, use the seed-swap device in the small gray circle again. Now in Maray, there will be a clear passage through the rocks to another path on the other side.