This page is part of the complete walkthrough for Obduction.
Walkthrough
So we know our next objective but we don't know how to accomplish it yet. No worries. Let's have a look around the place now that the power is turned on. Head over to the garage on the other building.

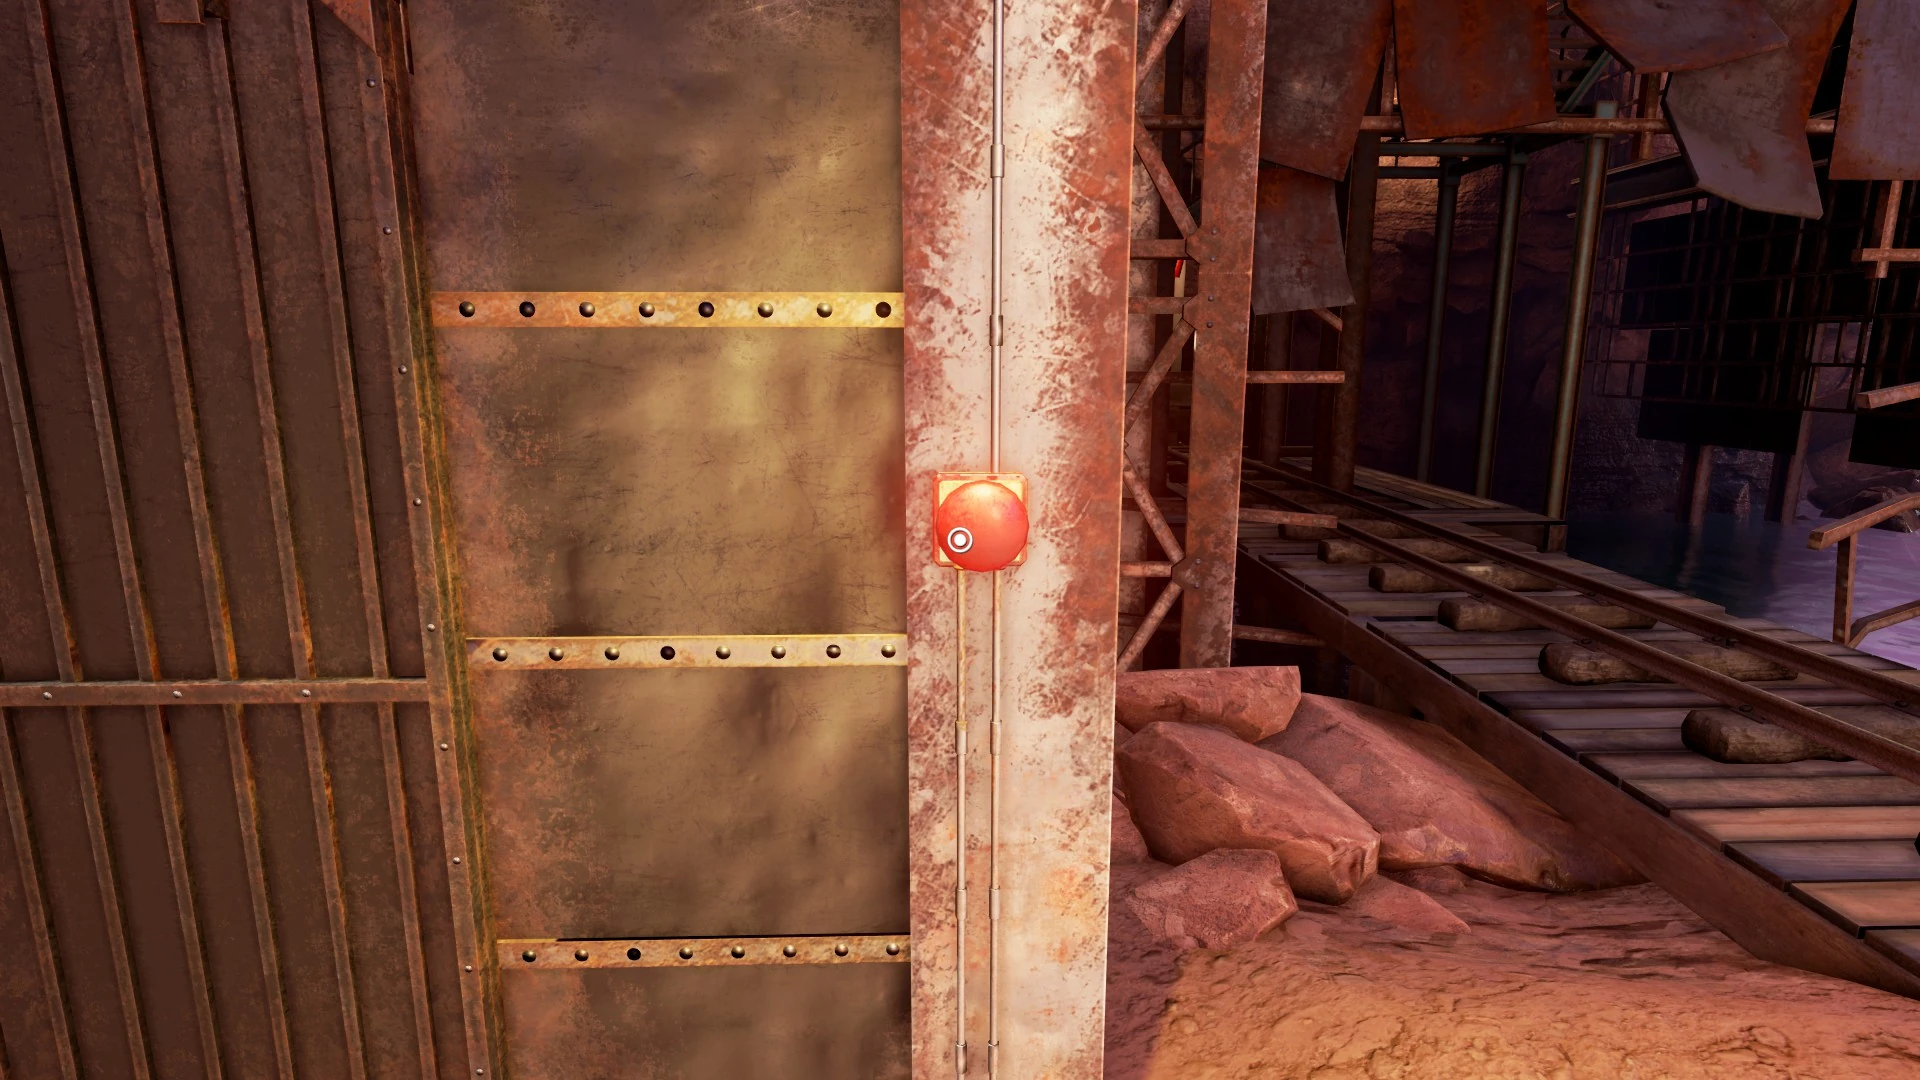
With the power now turned on we can push the red button to open the doors.
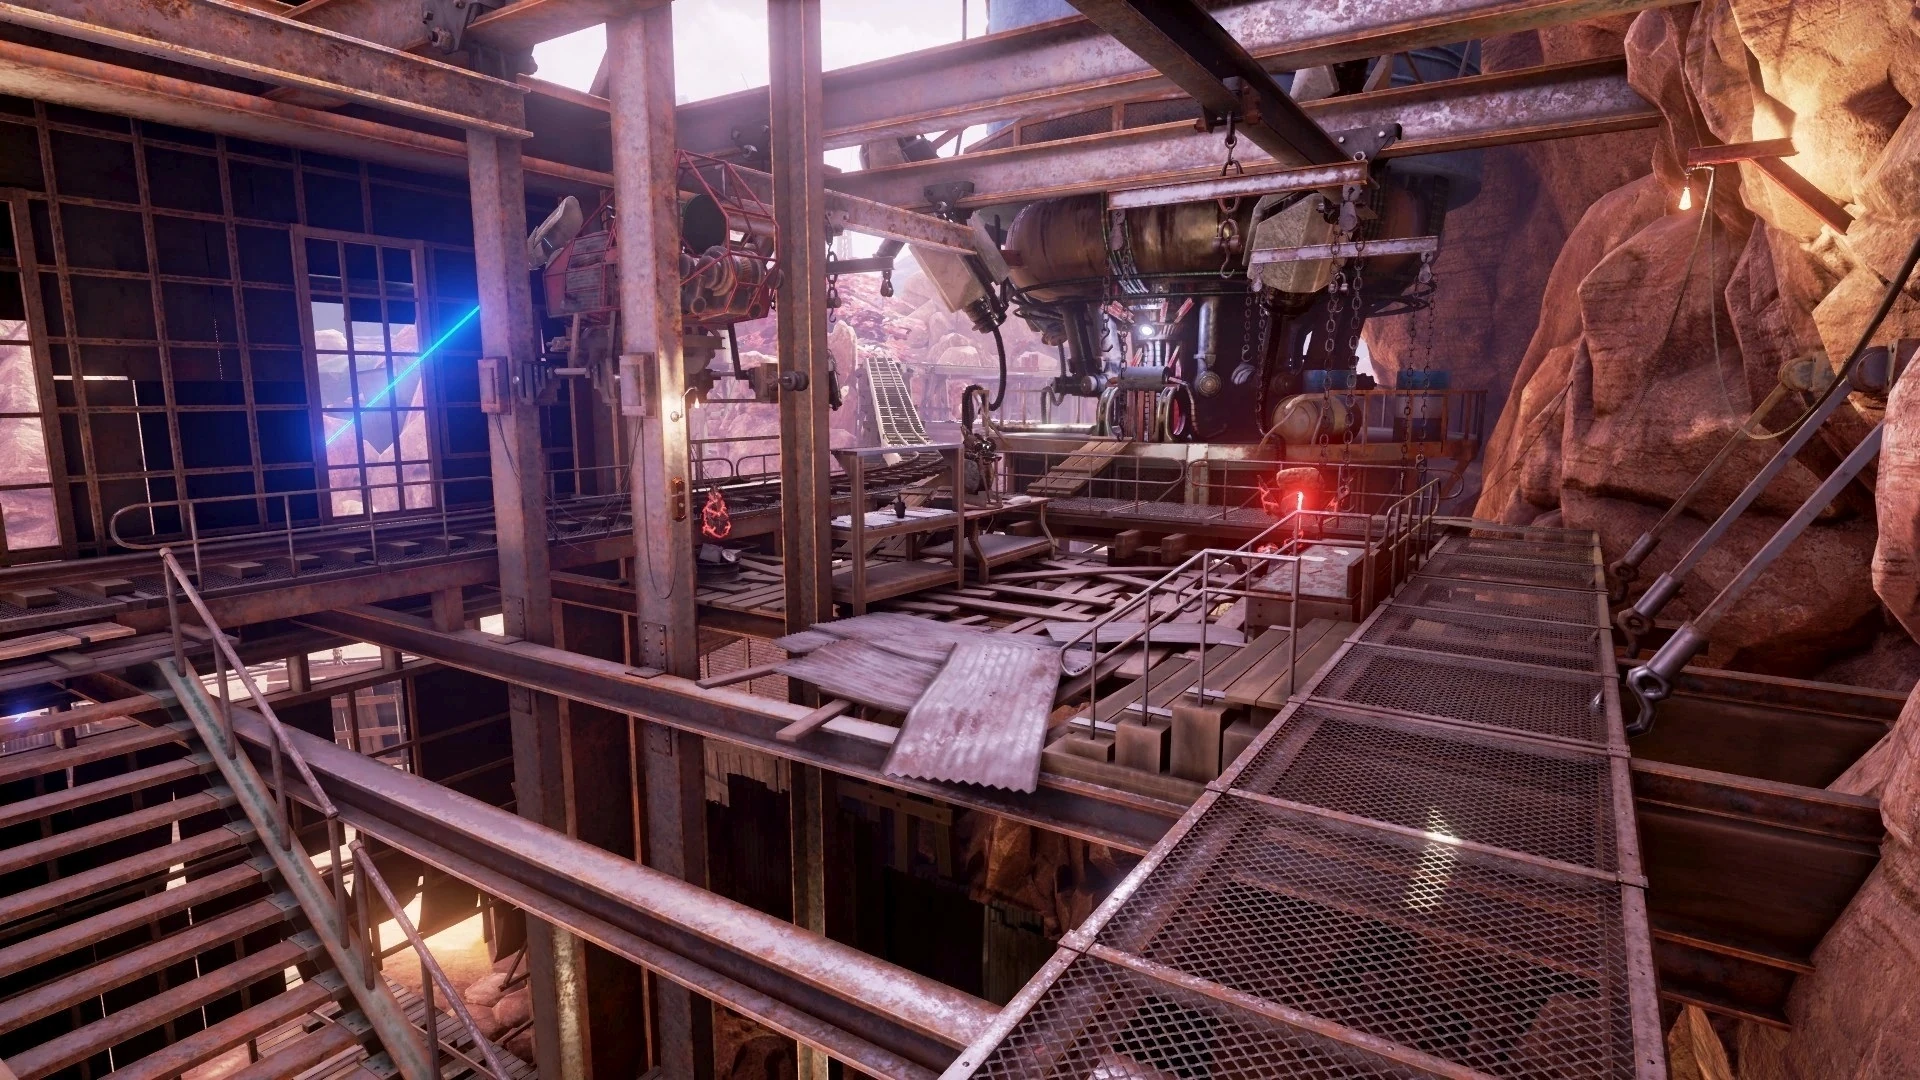
Head up the stairs to find what appears to be some sort of workshop.
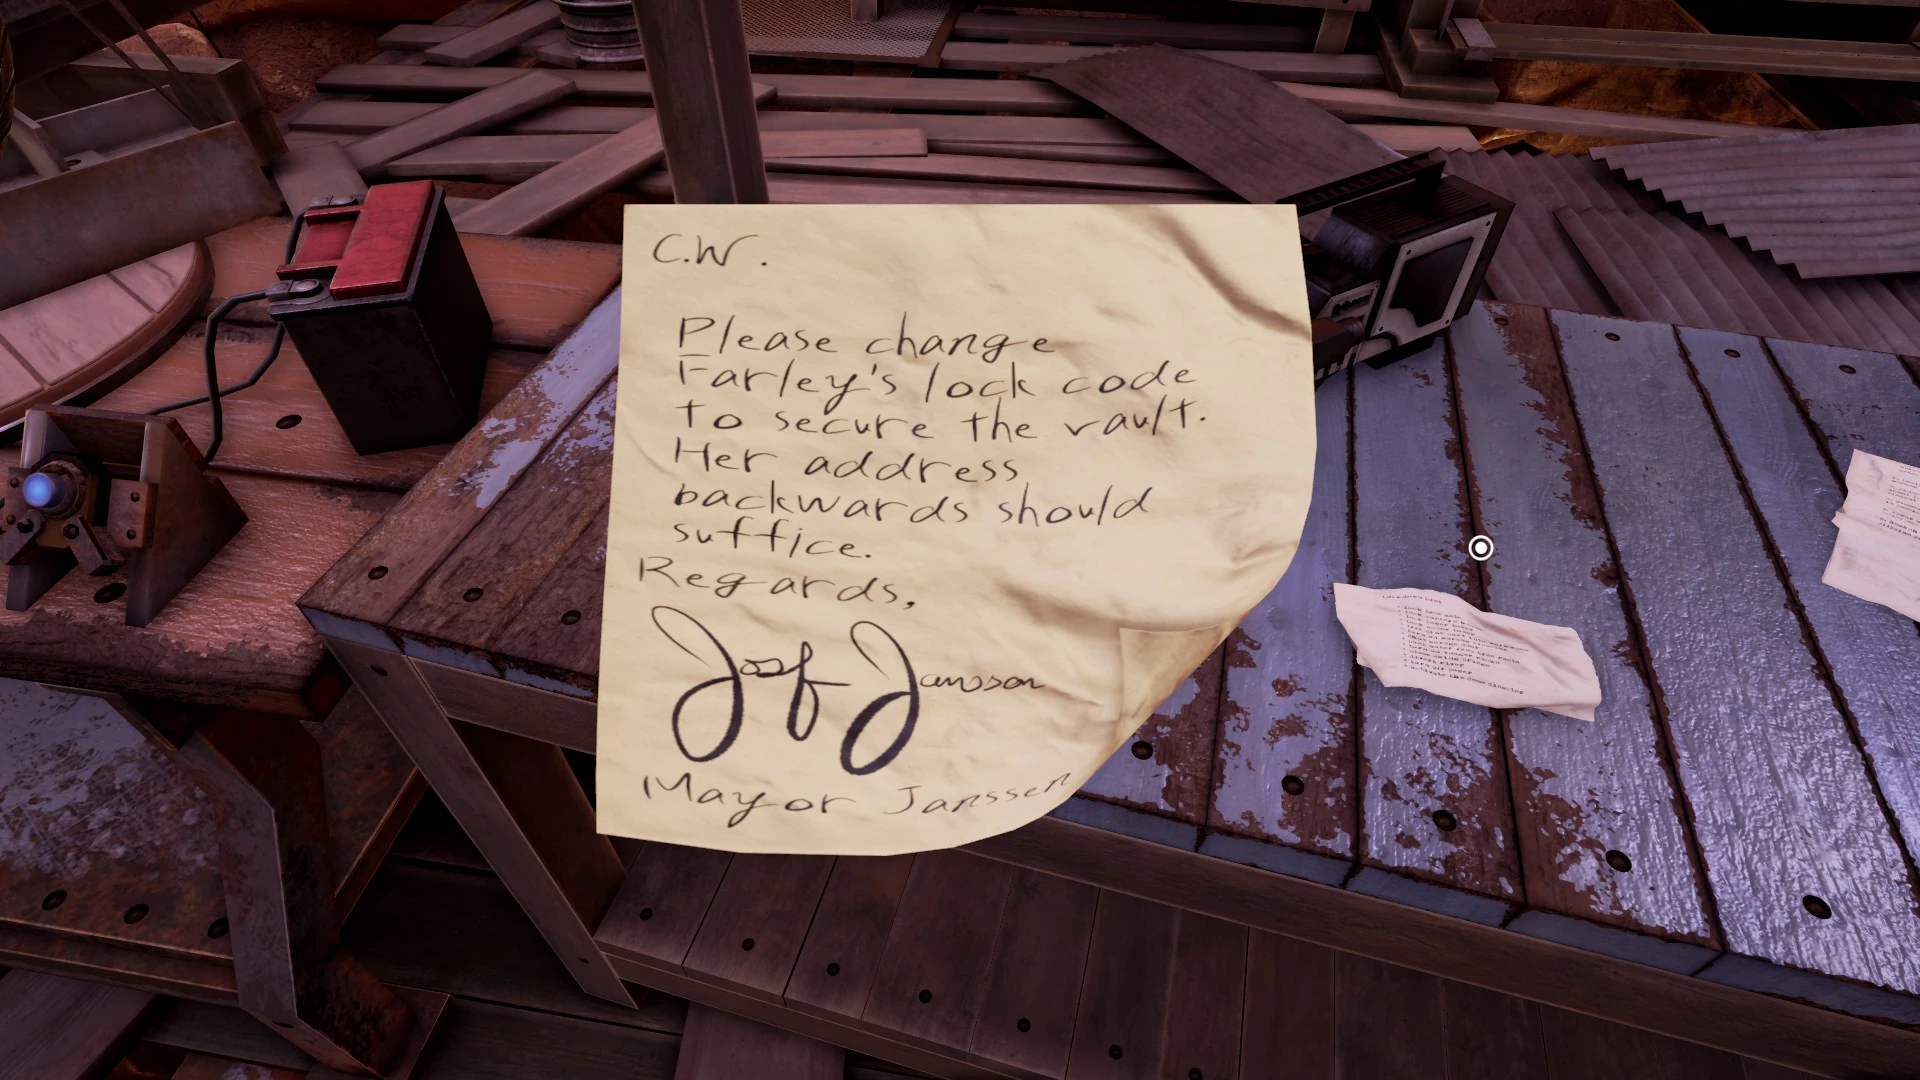
There's lots to see here on the tables. Make sure you read everything here if you want to know a little more about C.W. and his work. (Remember that you can press the spacebar to take photographs to look at later on.)
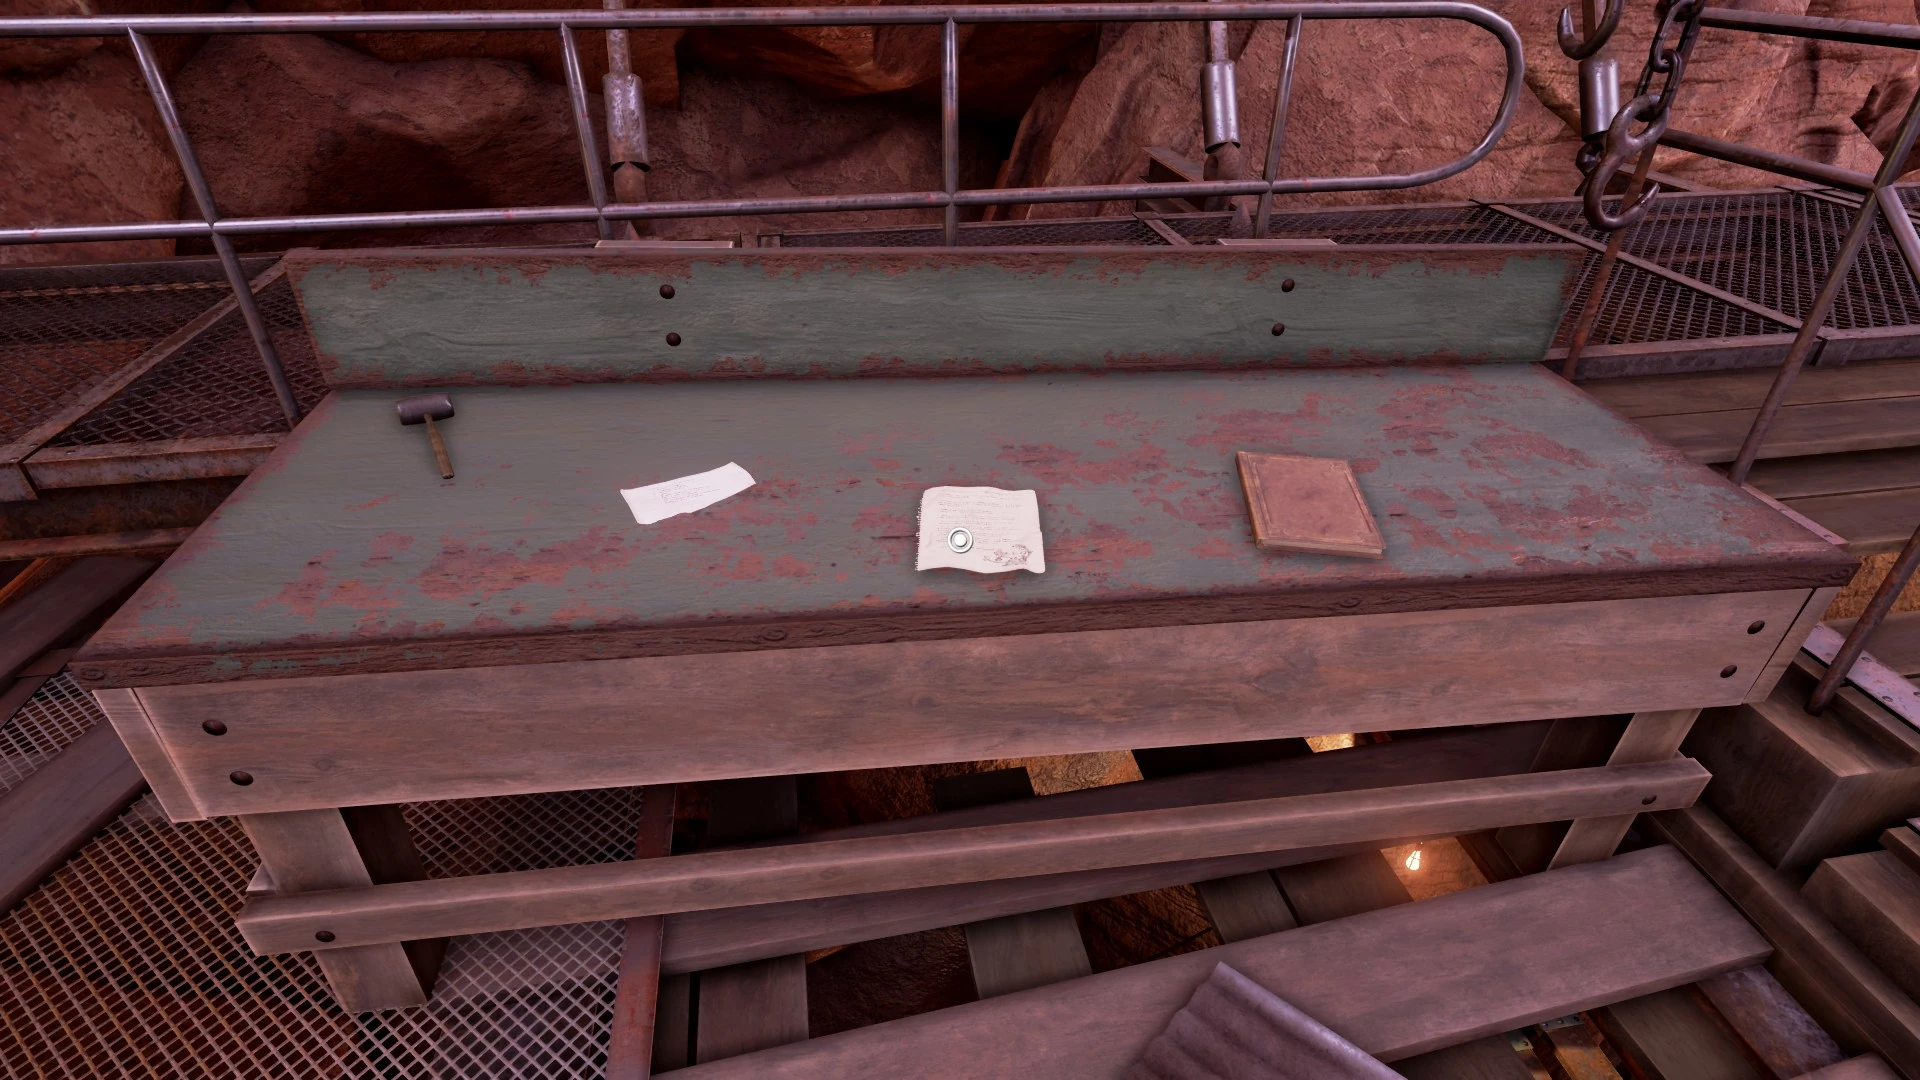
There's also an important note for later.
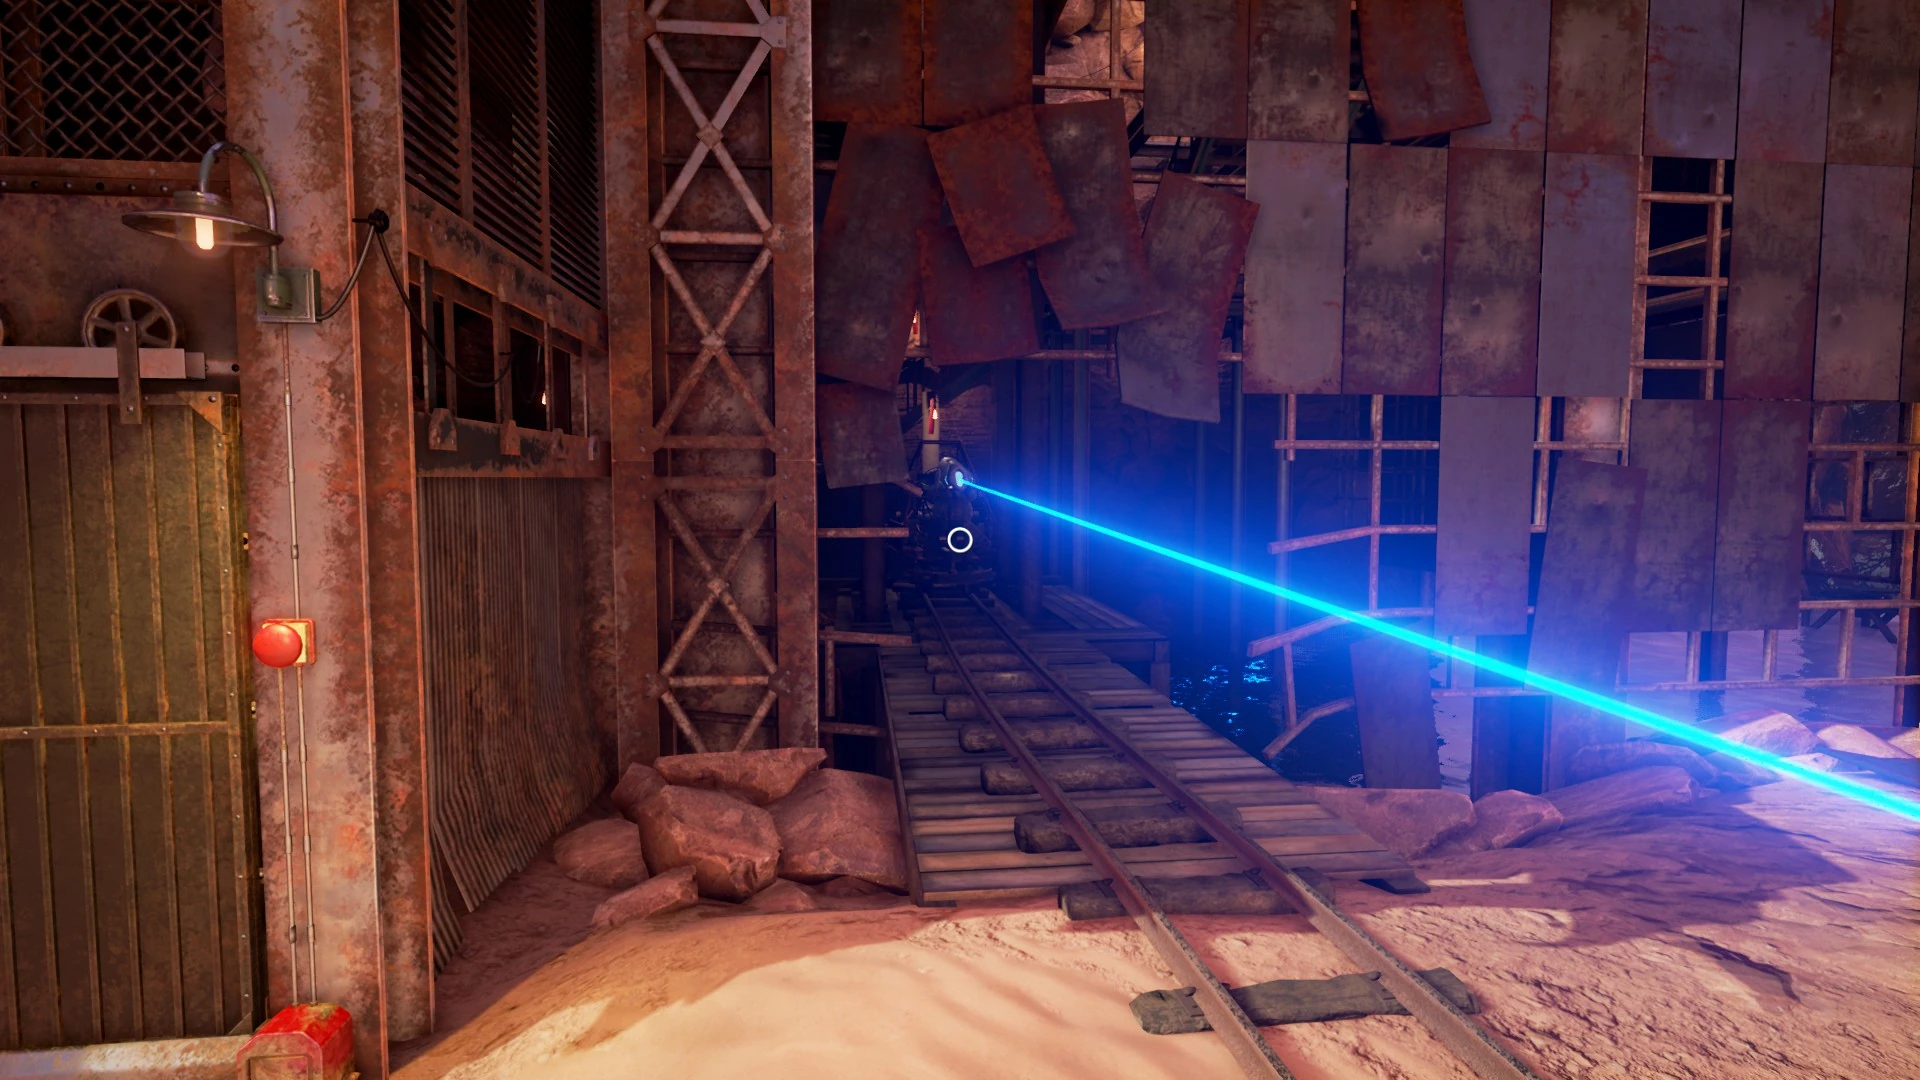
You'll also notice the device creating the blue laser is actually attached to what appears to be a small locomotive.
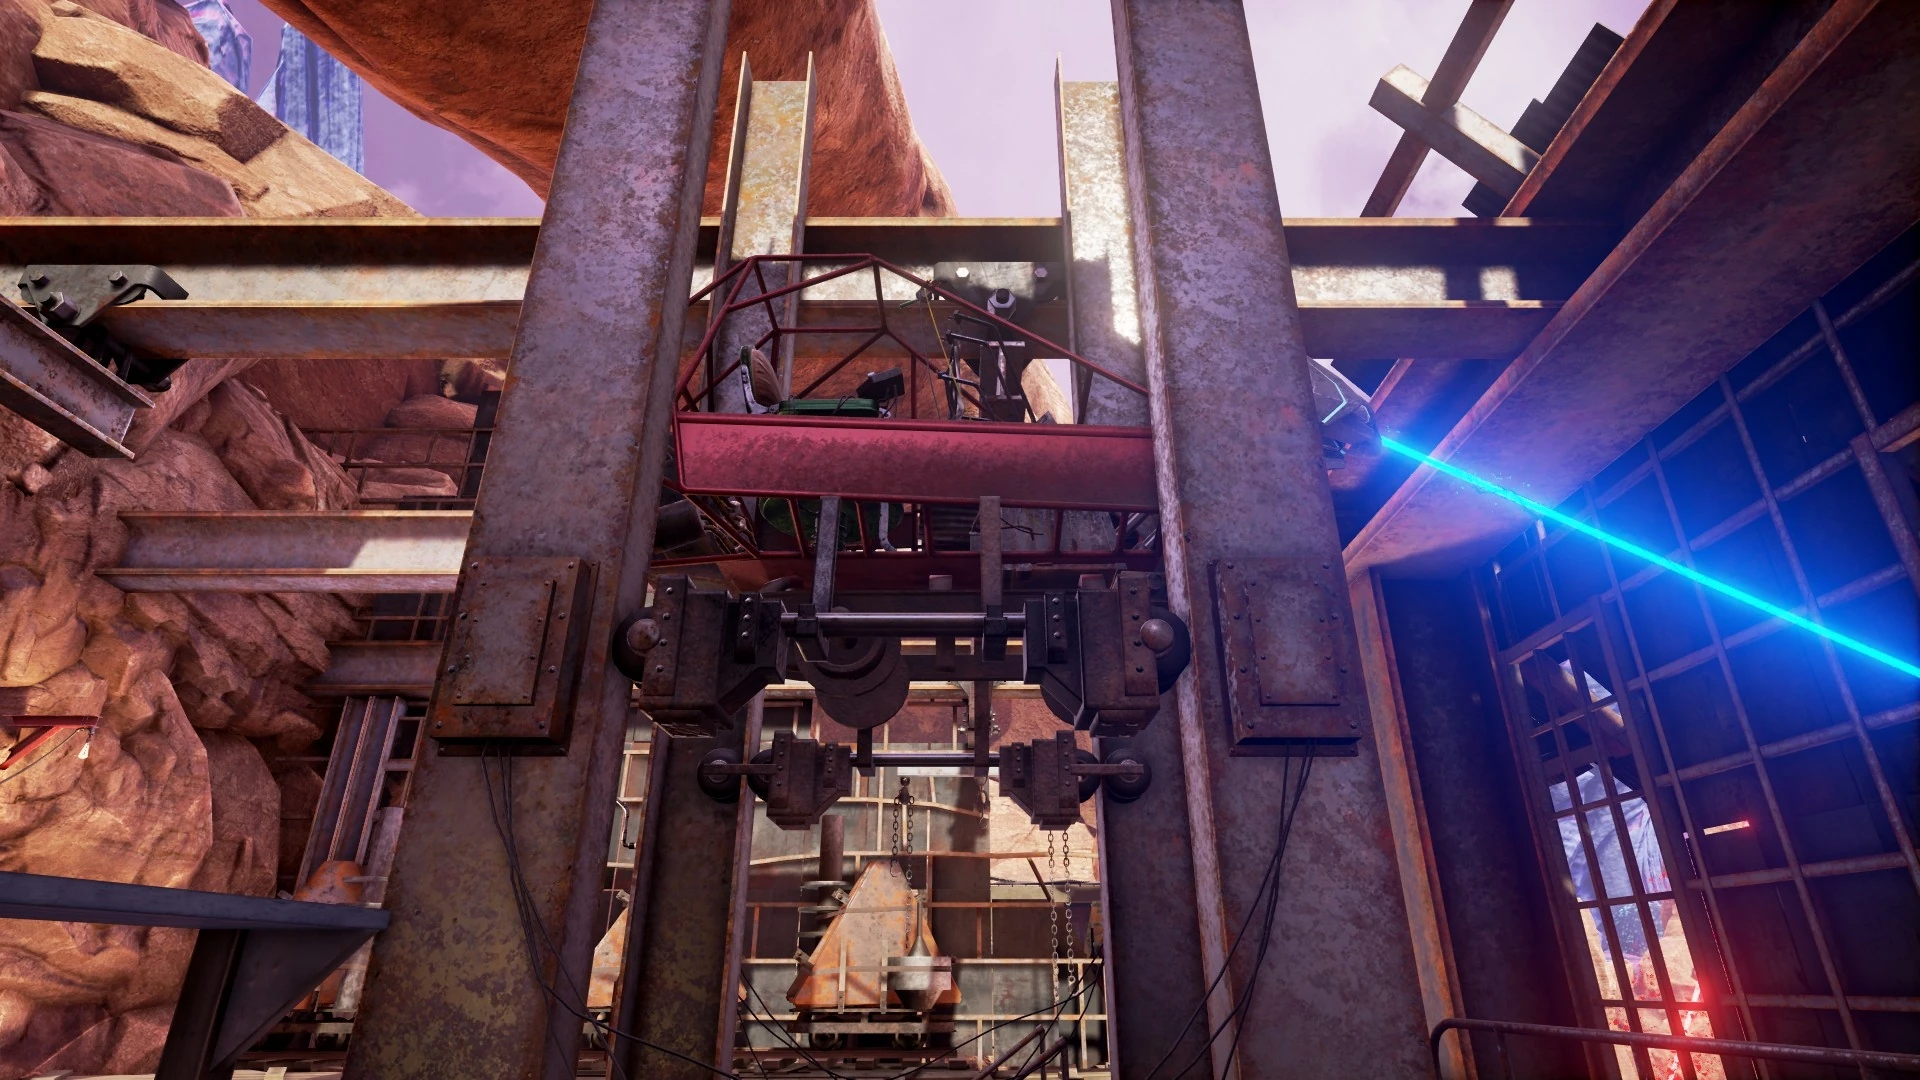
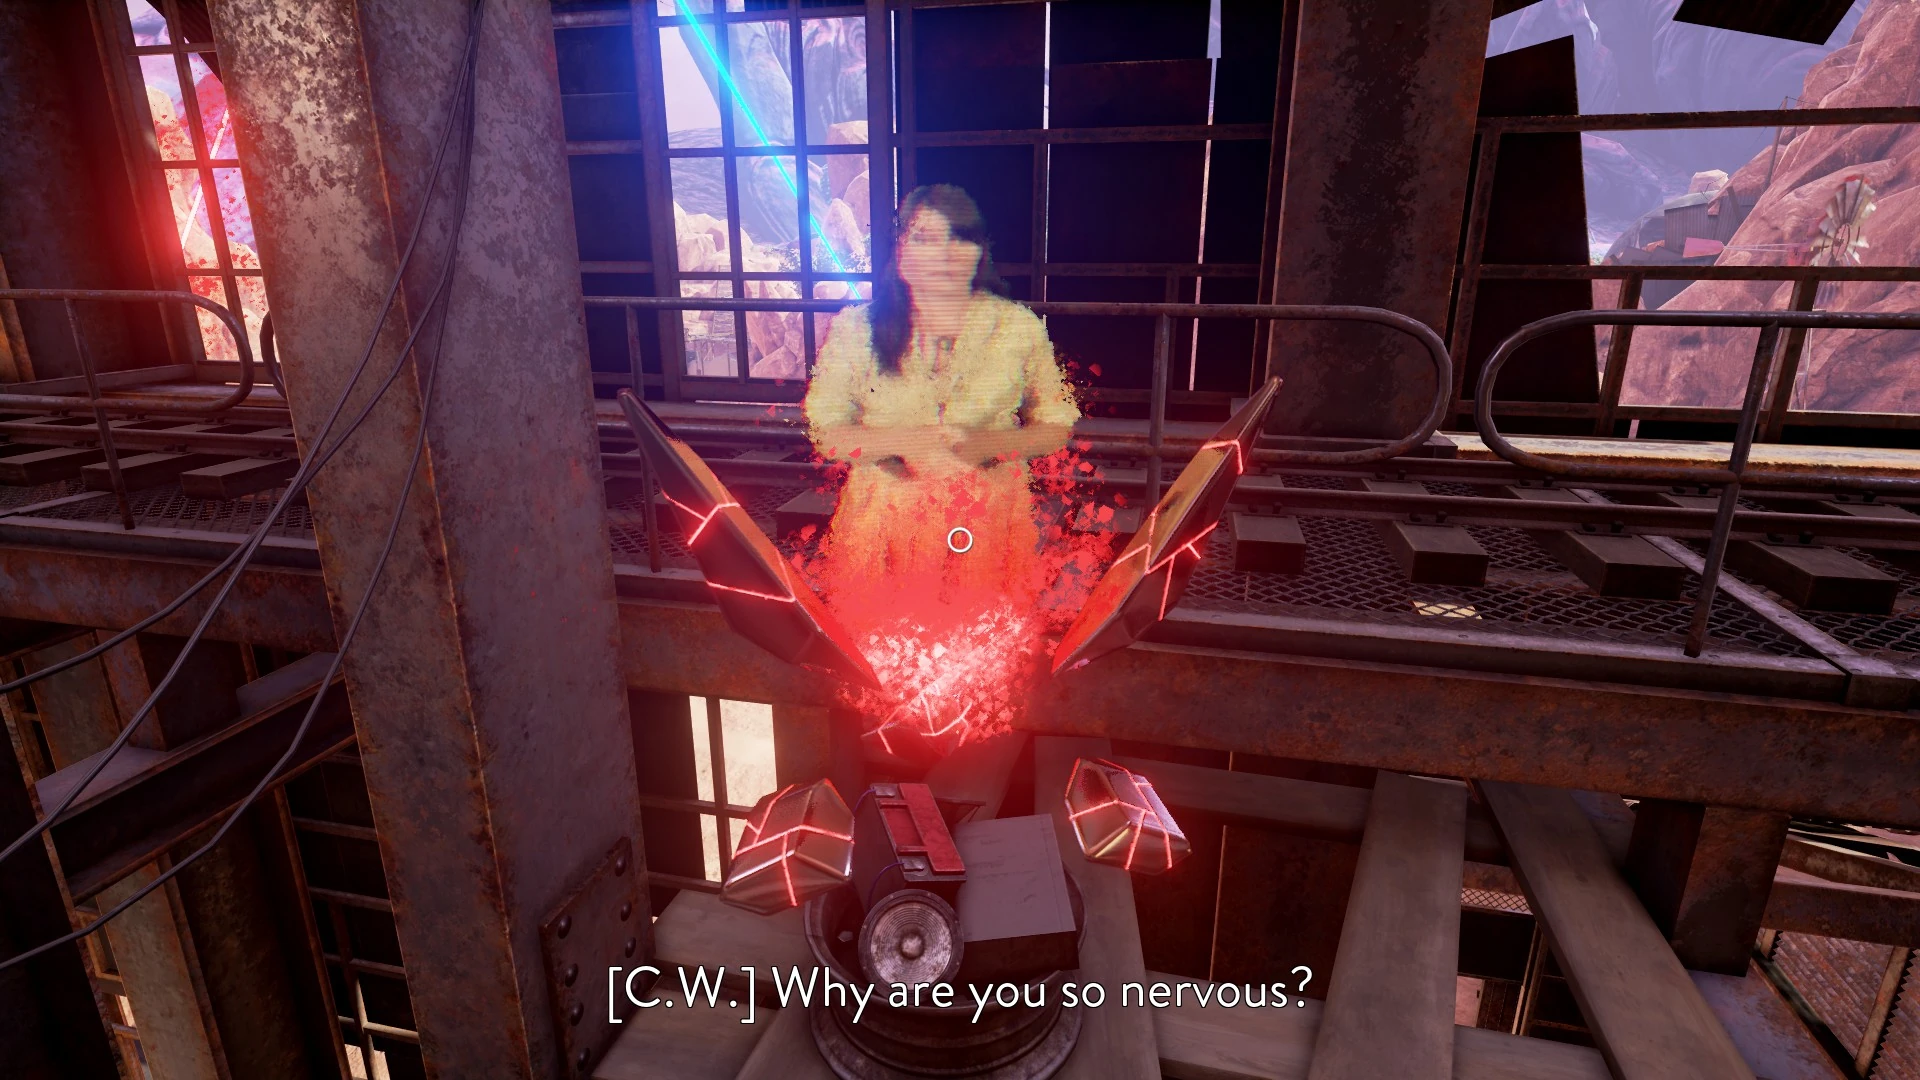
We'll be working with that in a bit. First though let's take a look at some of the contraptions laying around. Near the locomotive there is yet another hologram crystal. This one can be triggered by a button on the table nearby. This one is a test recording of Caroline.
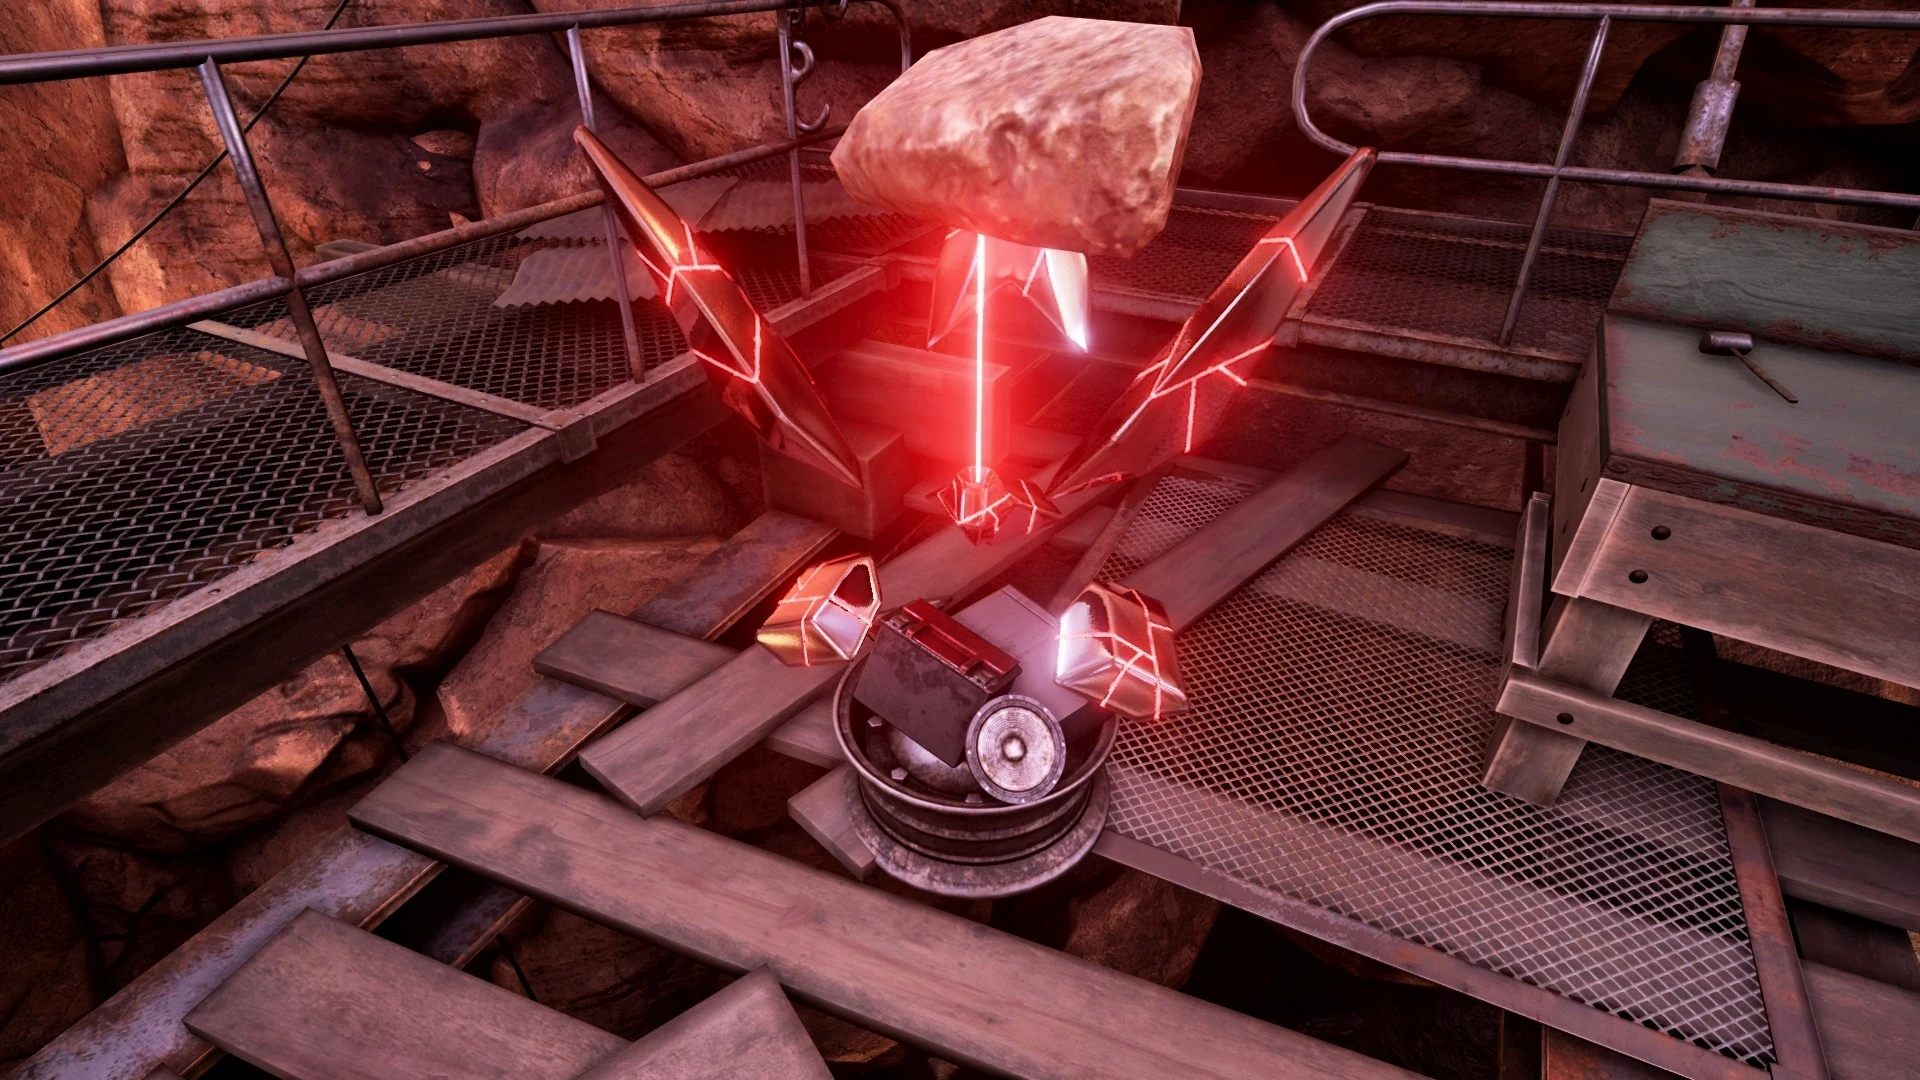
Across the room there is another crystal, however this one seems to be projecting a 3-dimensional rock. If you watch closely you may notice it's not a perfect projection and actual has a bit of a red shimmer every so often. This will be important later.
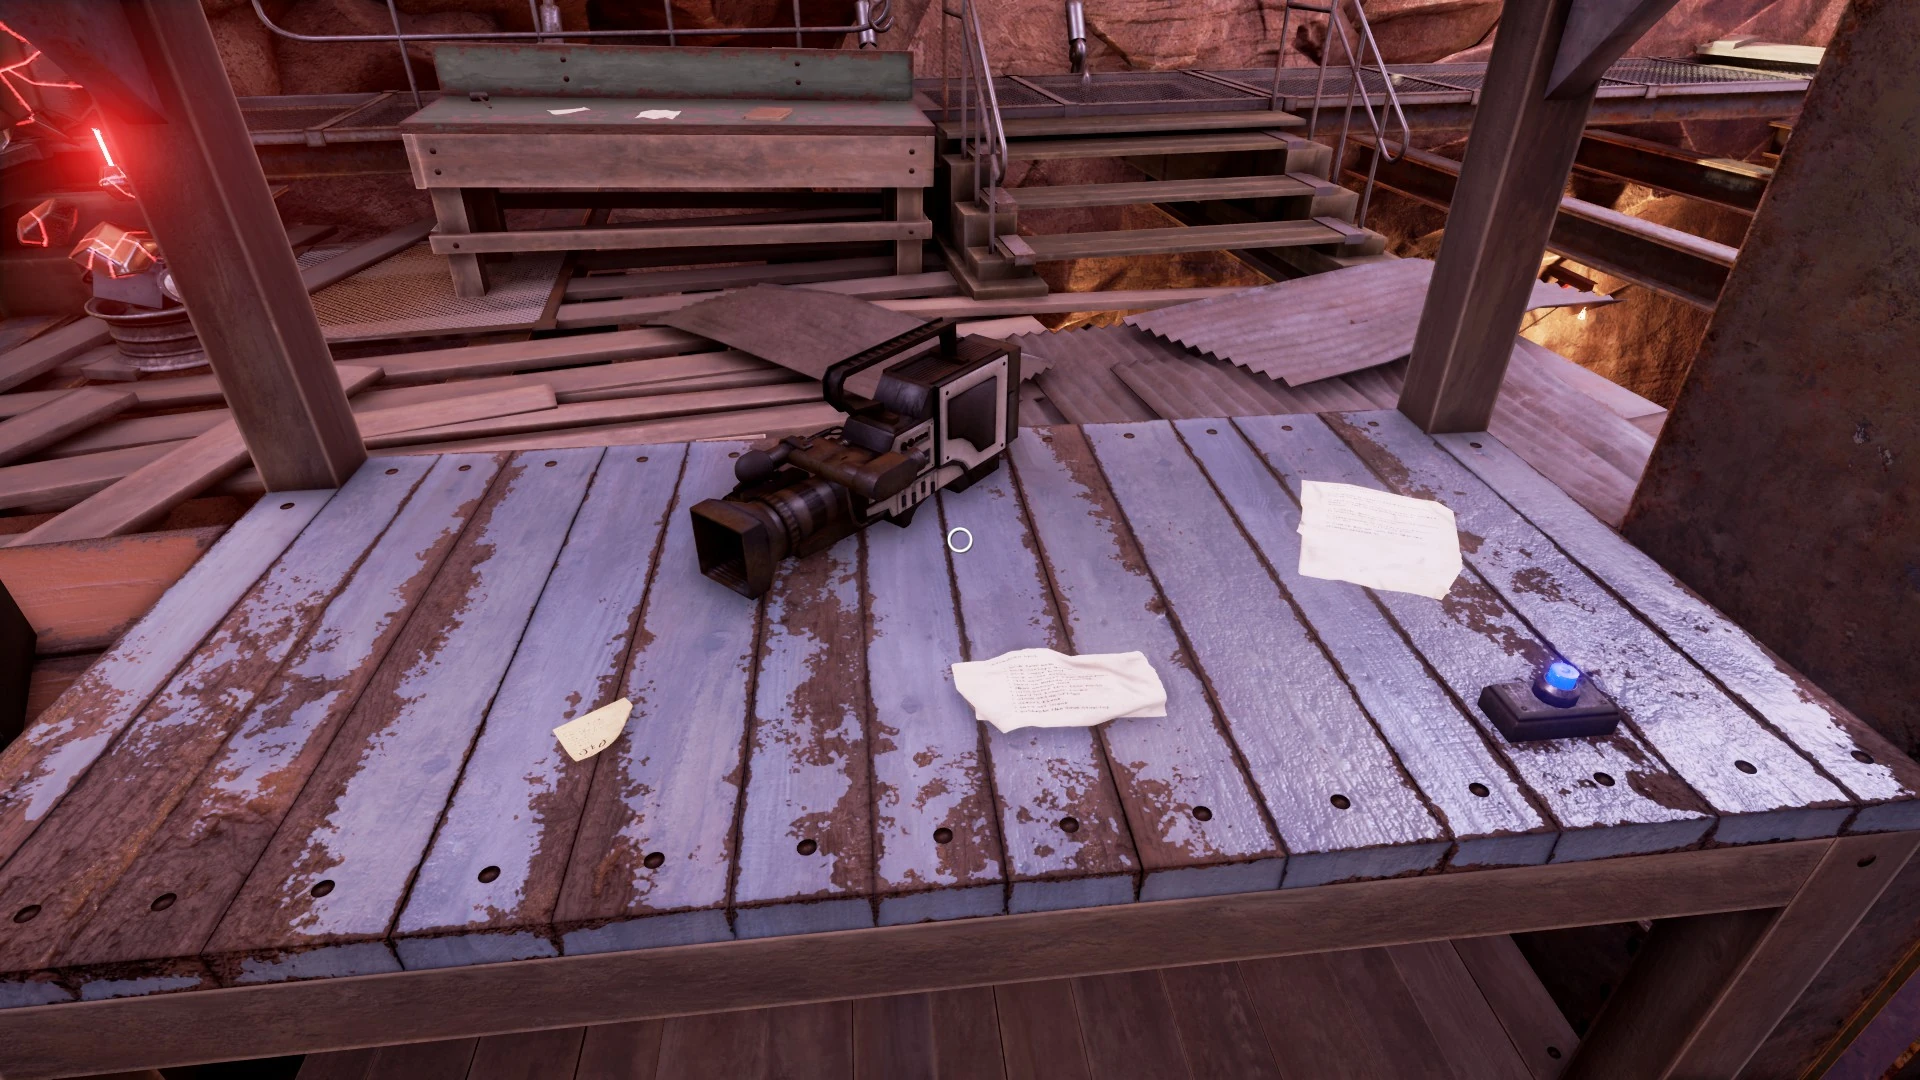
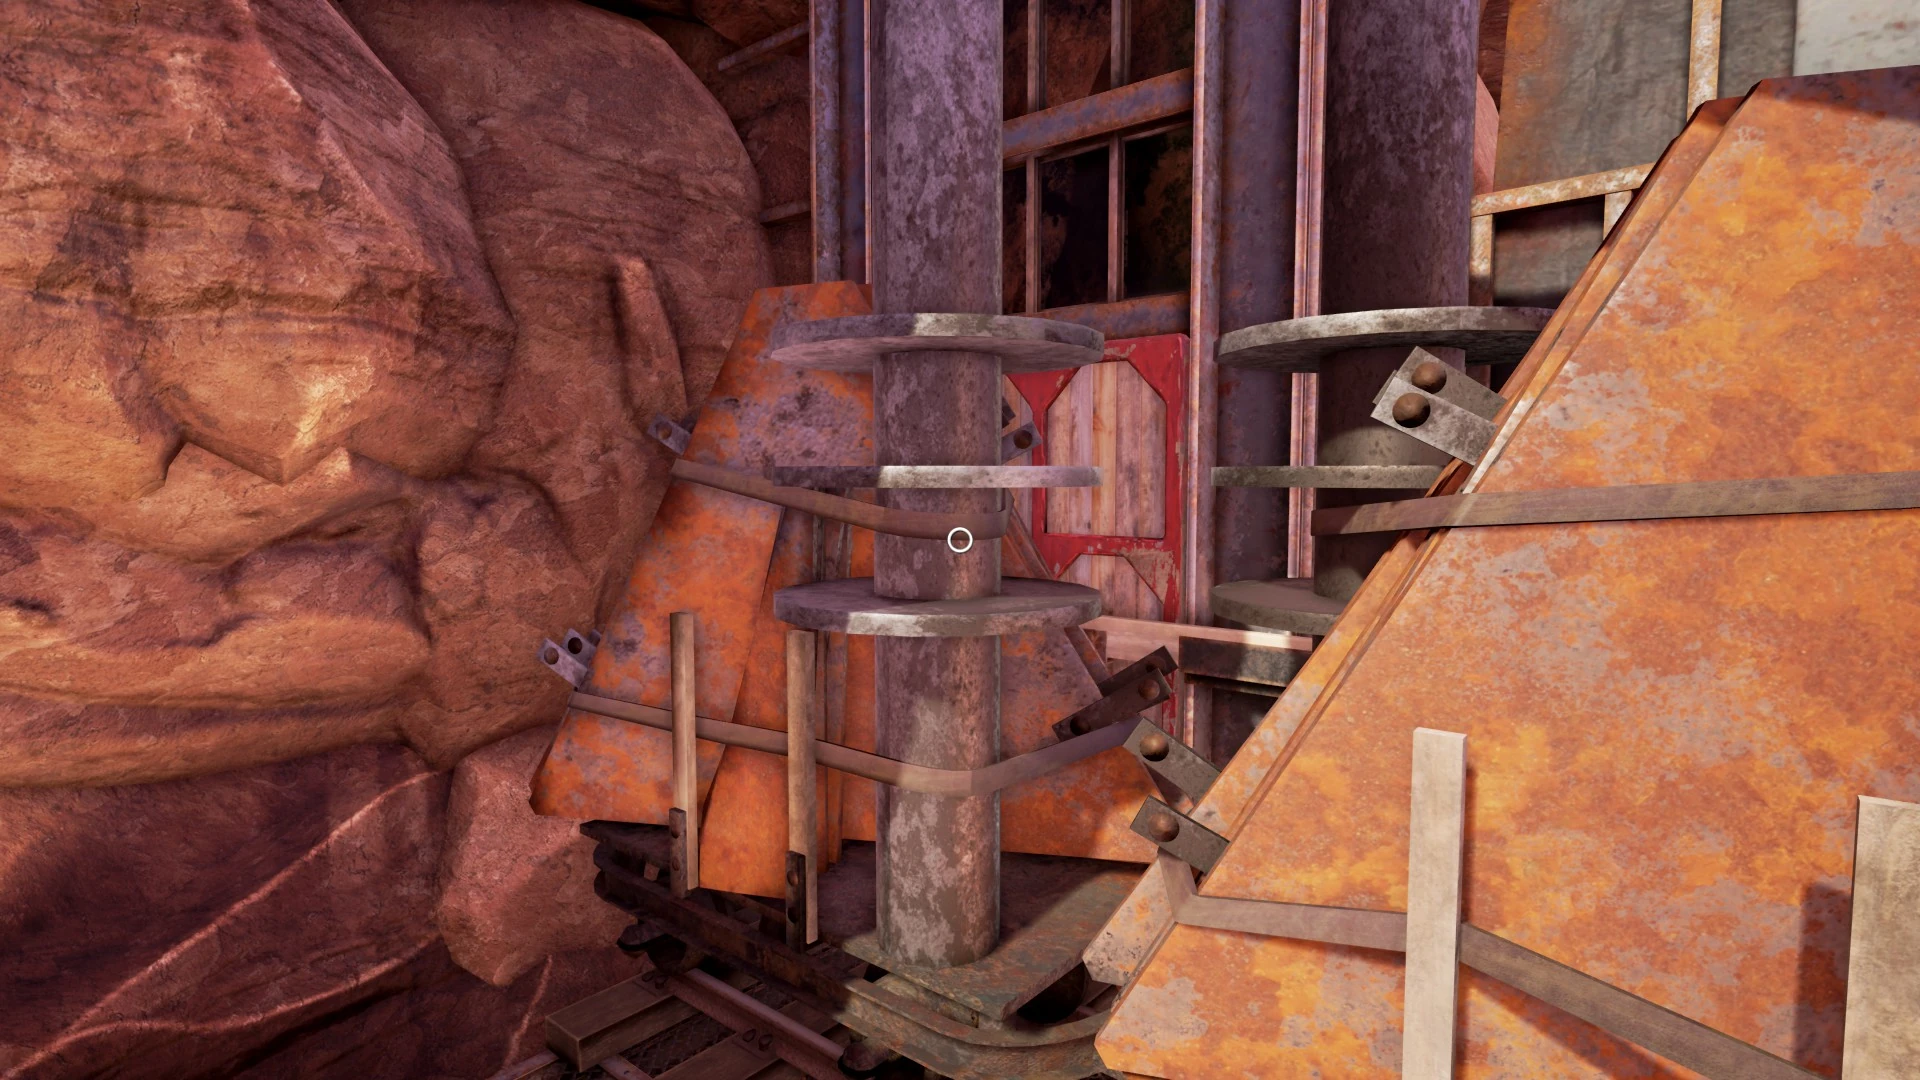
On the table in the center there is also a strange device attached to some sort of sphere.
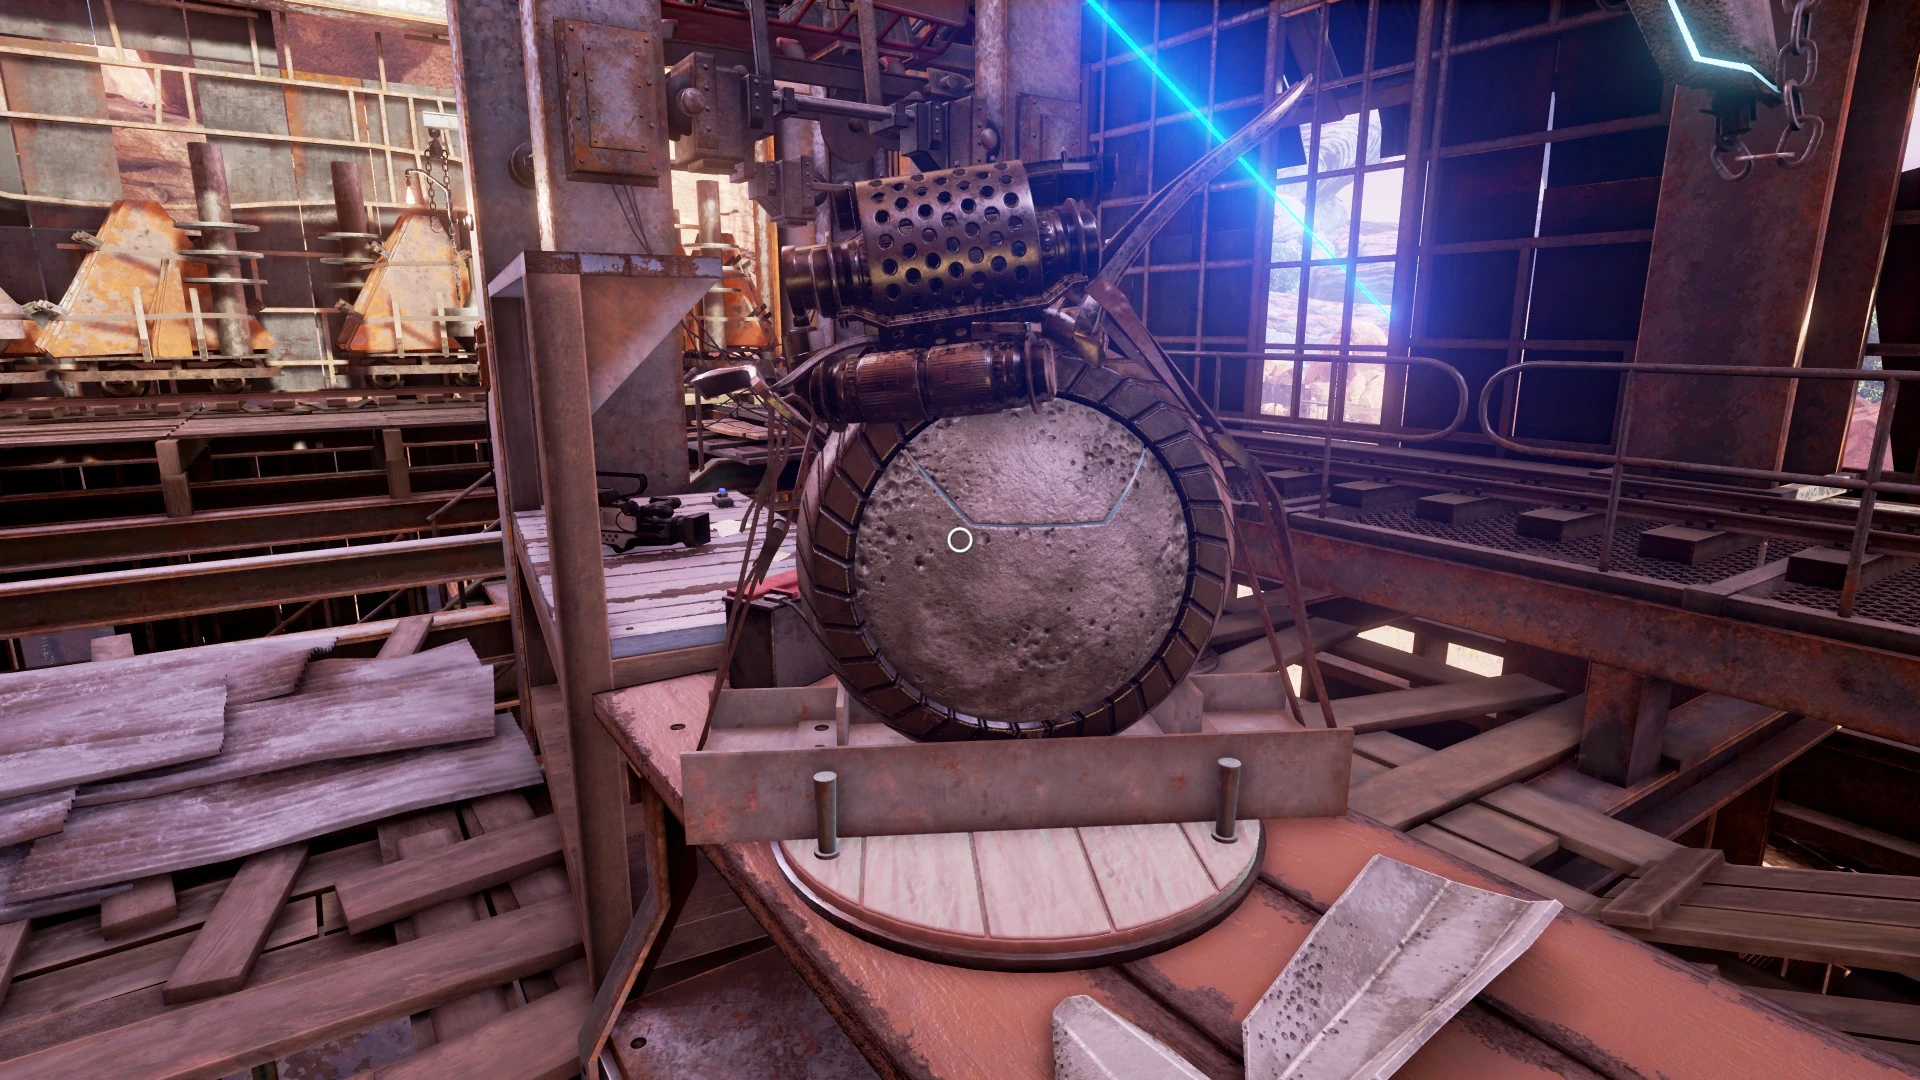
If you head back around to the other side of the table you will see there is a button wired up to the device. Pressing the button toggles the device which turns out to be yet another laser device. This one shoots a blue laser (strikingly similar to the one attached to the locomotive)
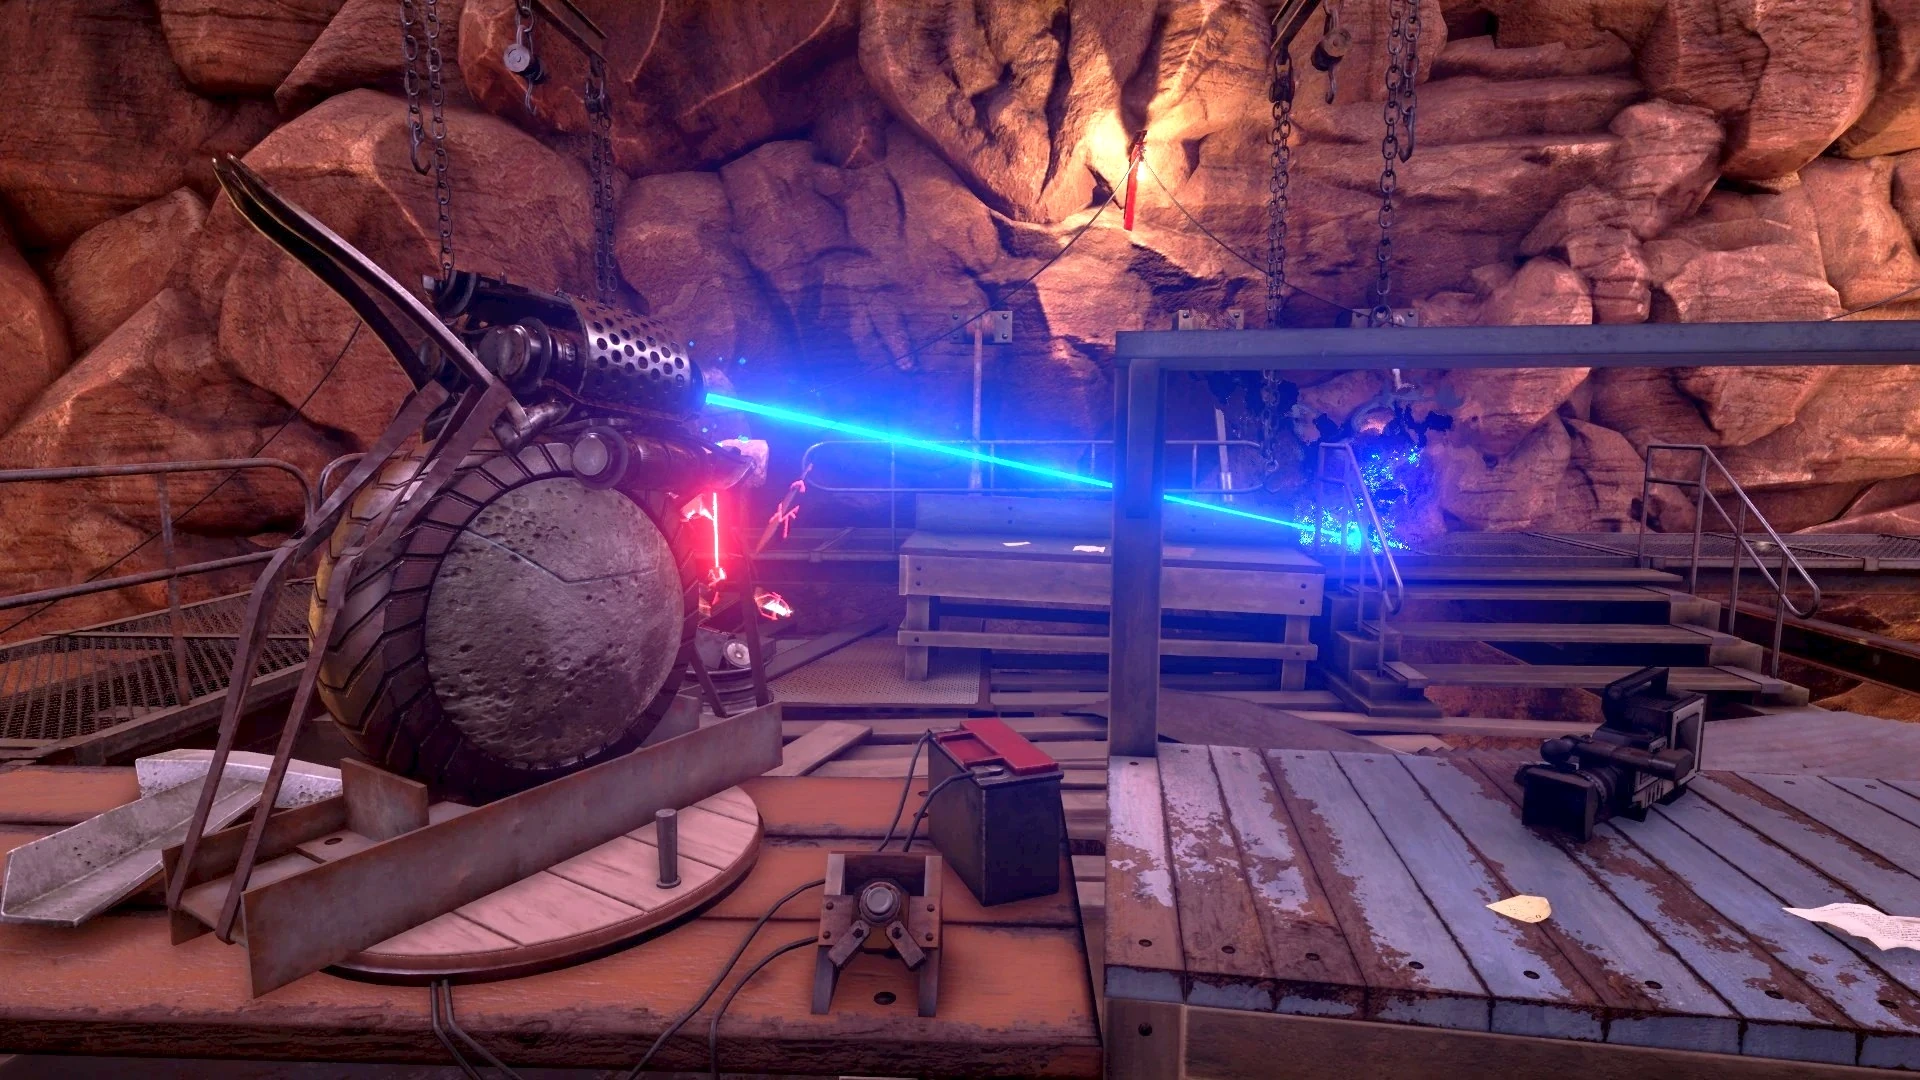
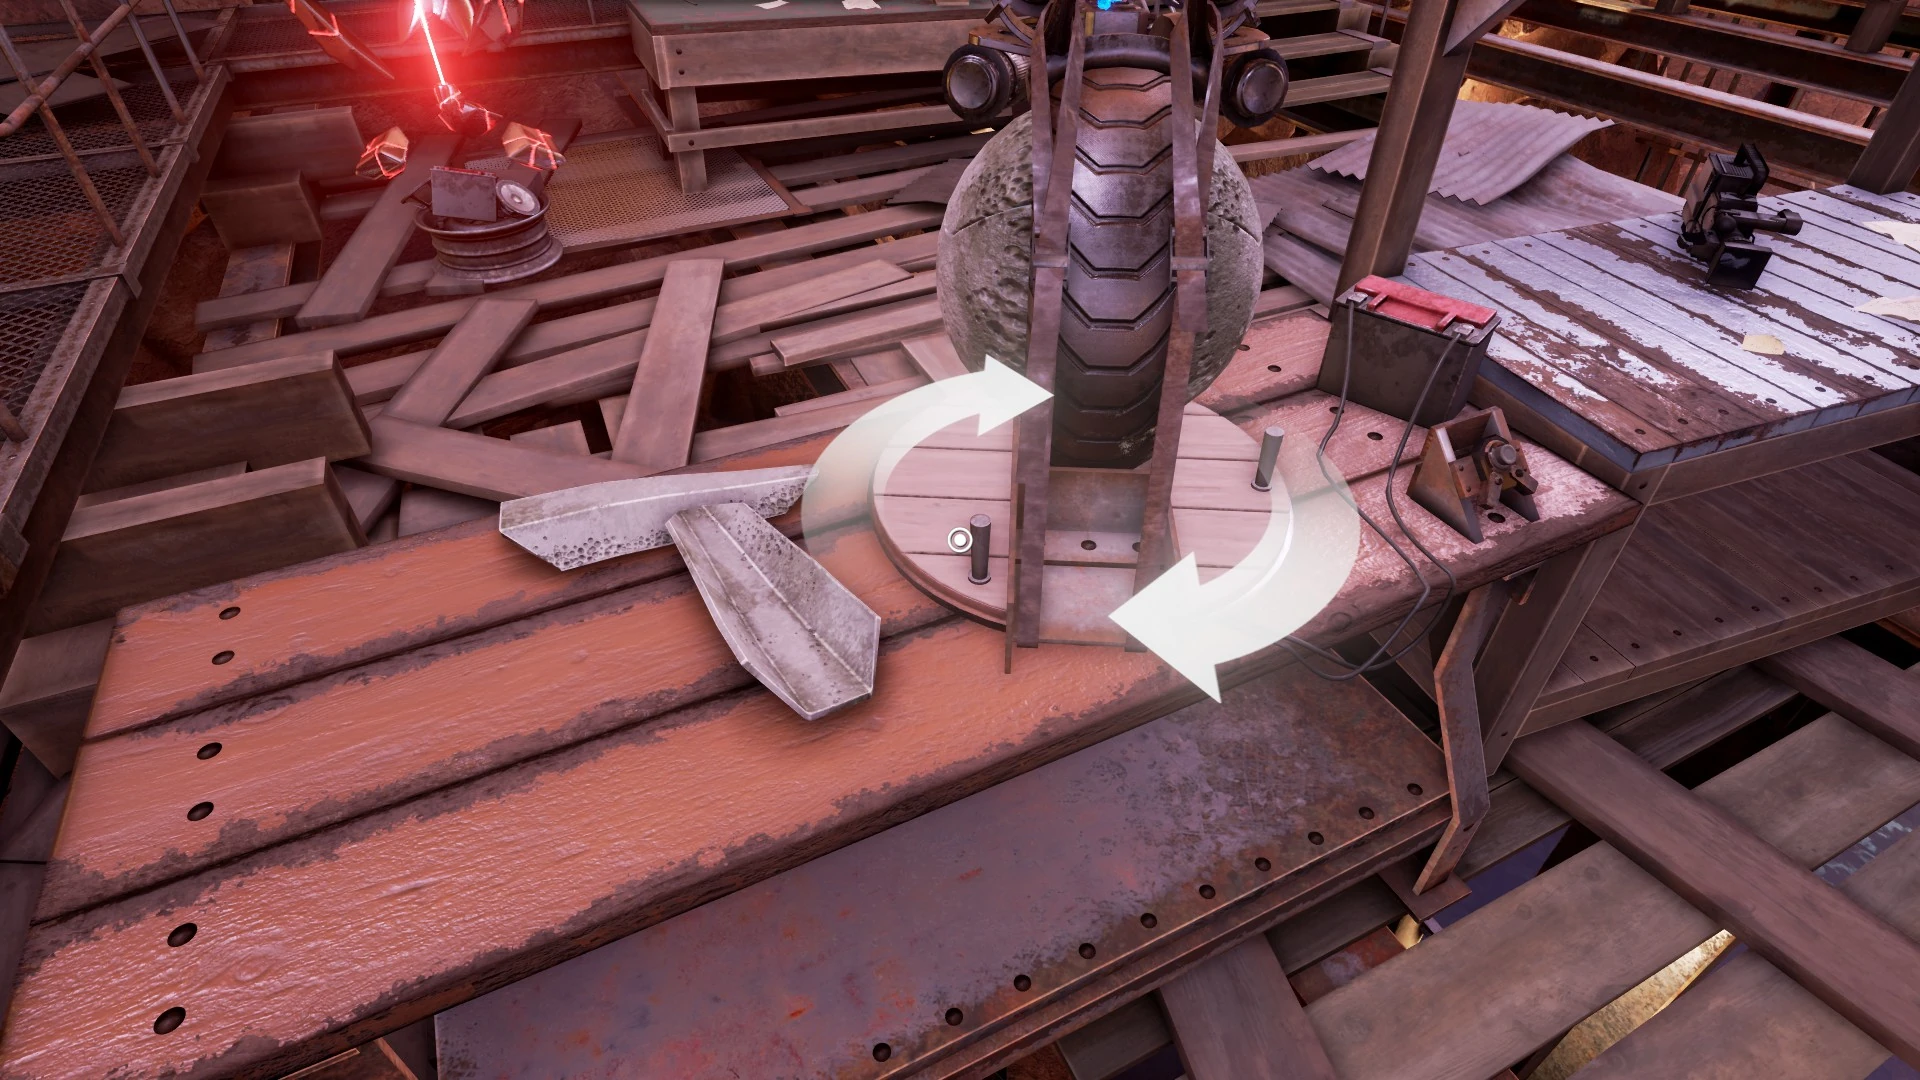
The laser device is attached to a plate with handles that allow us to rotate it. Rotate the device to point at the rock and turn on the laser.
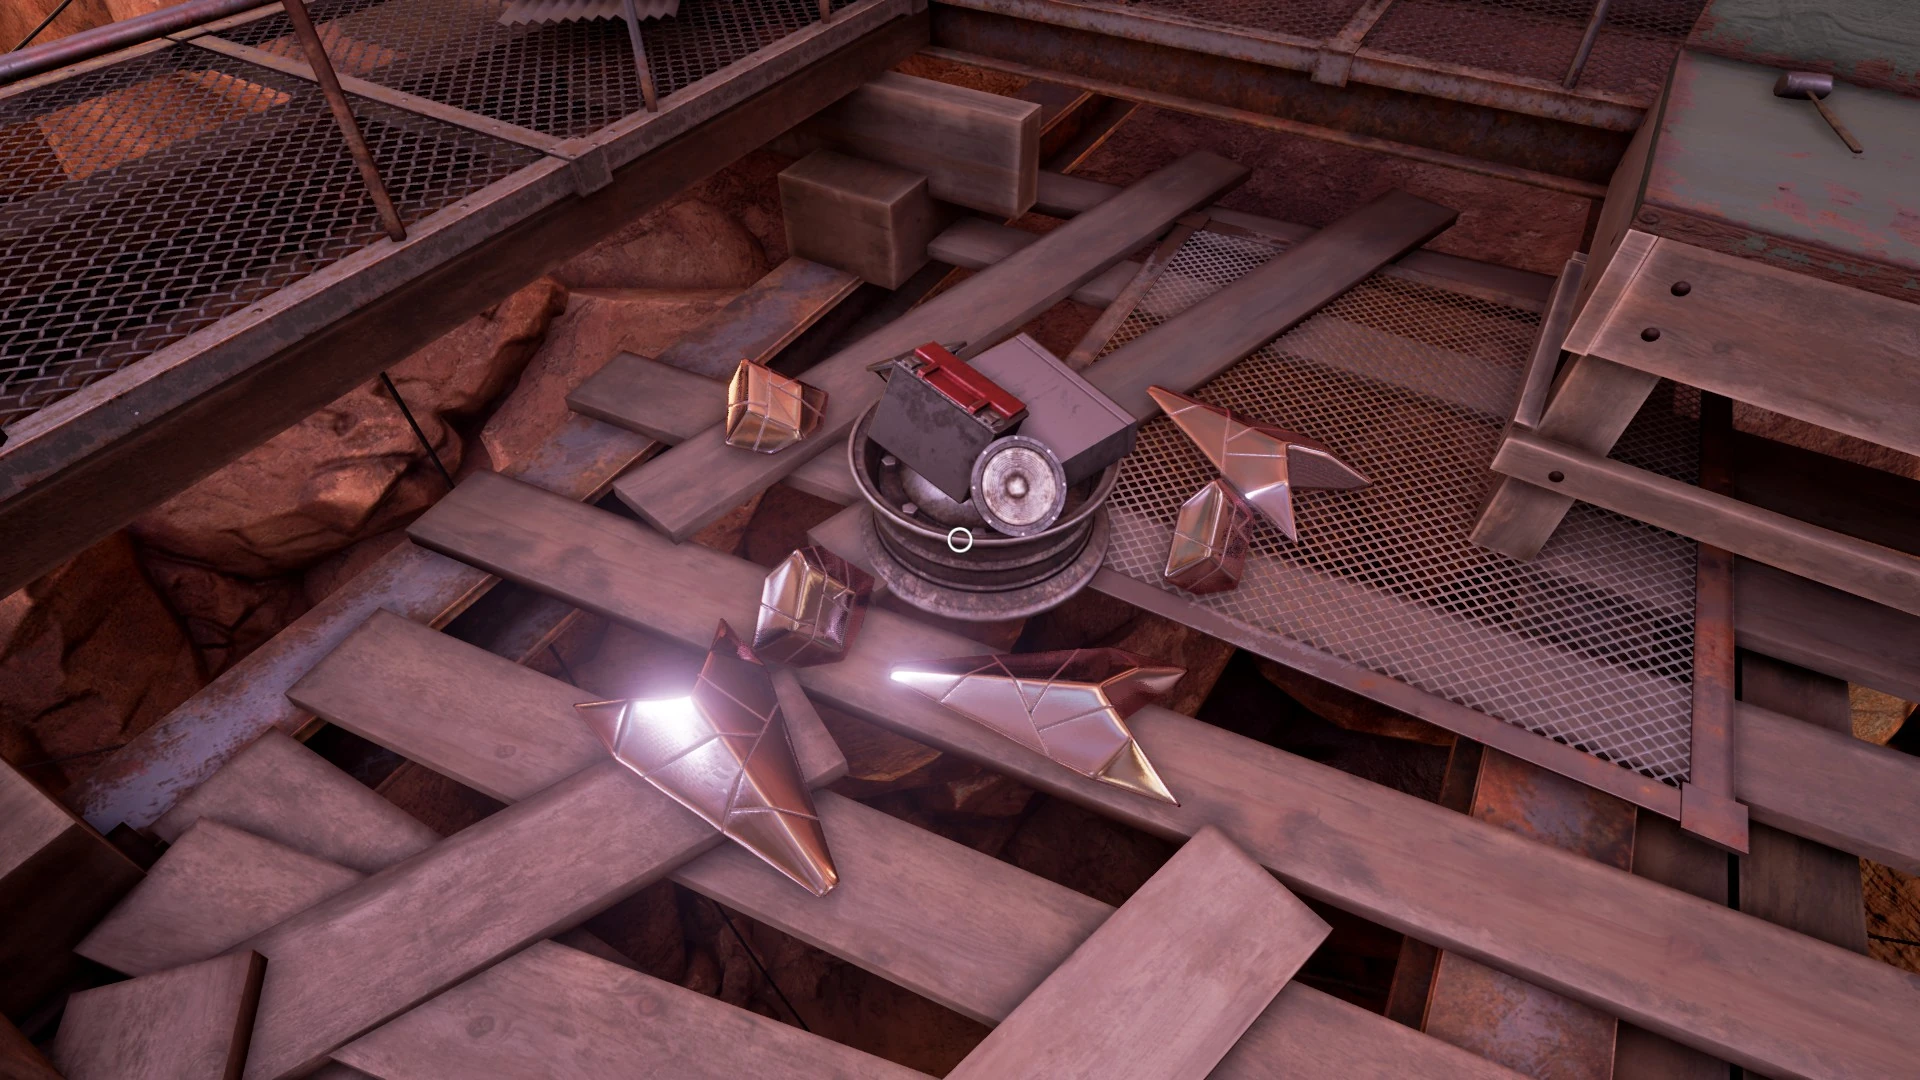
POOF! There goes the fake rock. Switching the laser off we get a clear view of the destroyed device. Want to guess what we're going to be doing next?
As a side note for later, we can see the door we couldn't open earlier when heading up to the top of the waterfall. No wonder it wouldn't budge, there's a locomotive in the way.
Now that we've seen everything interesting let's get a couple things done while we're up here. There's a large device attached to this building.
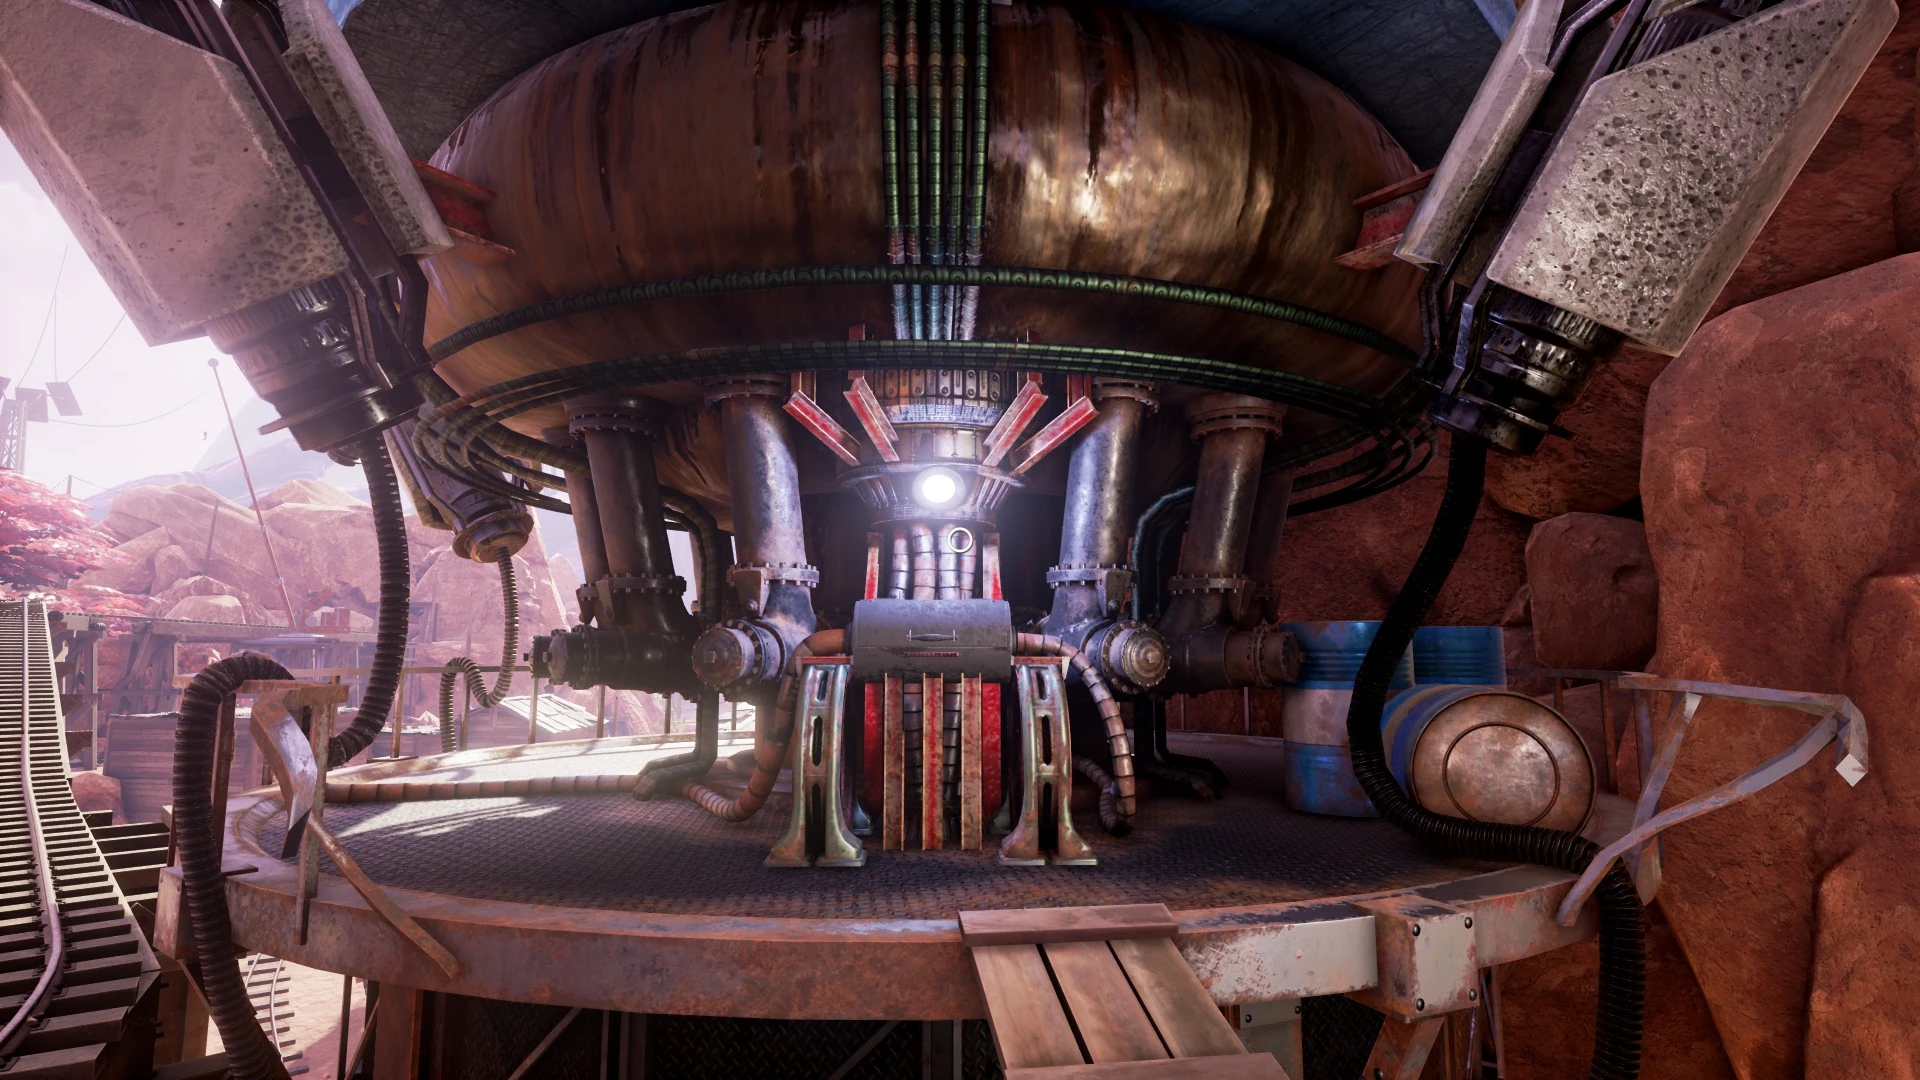
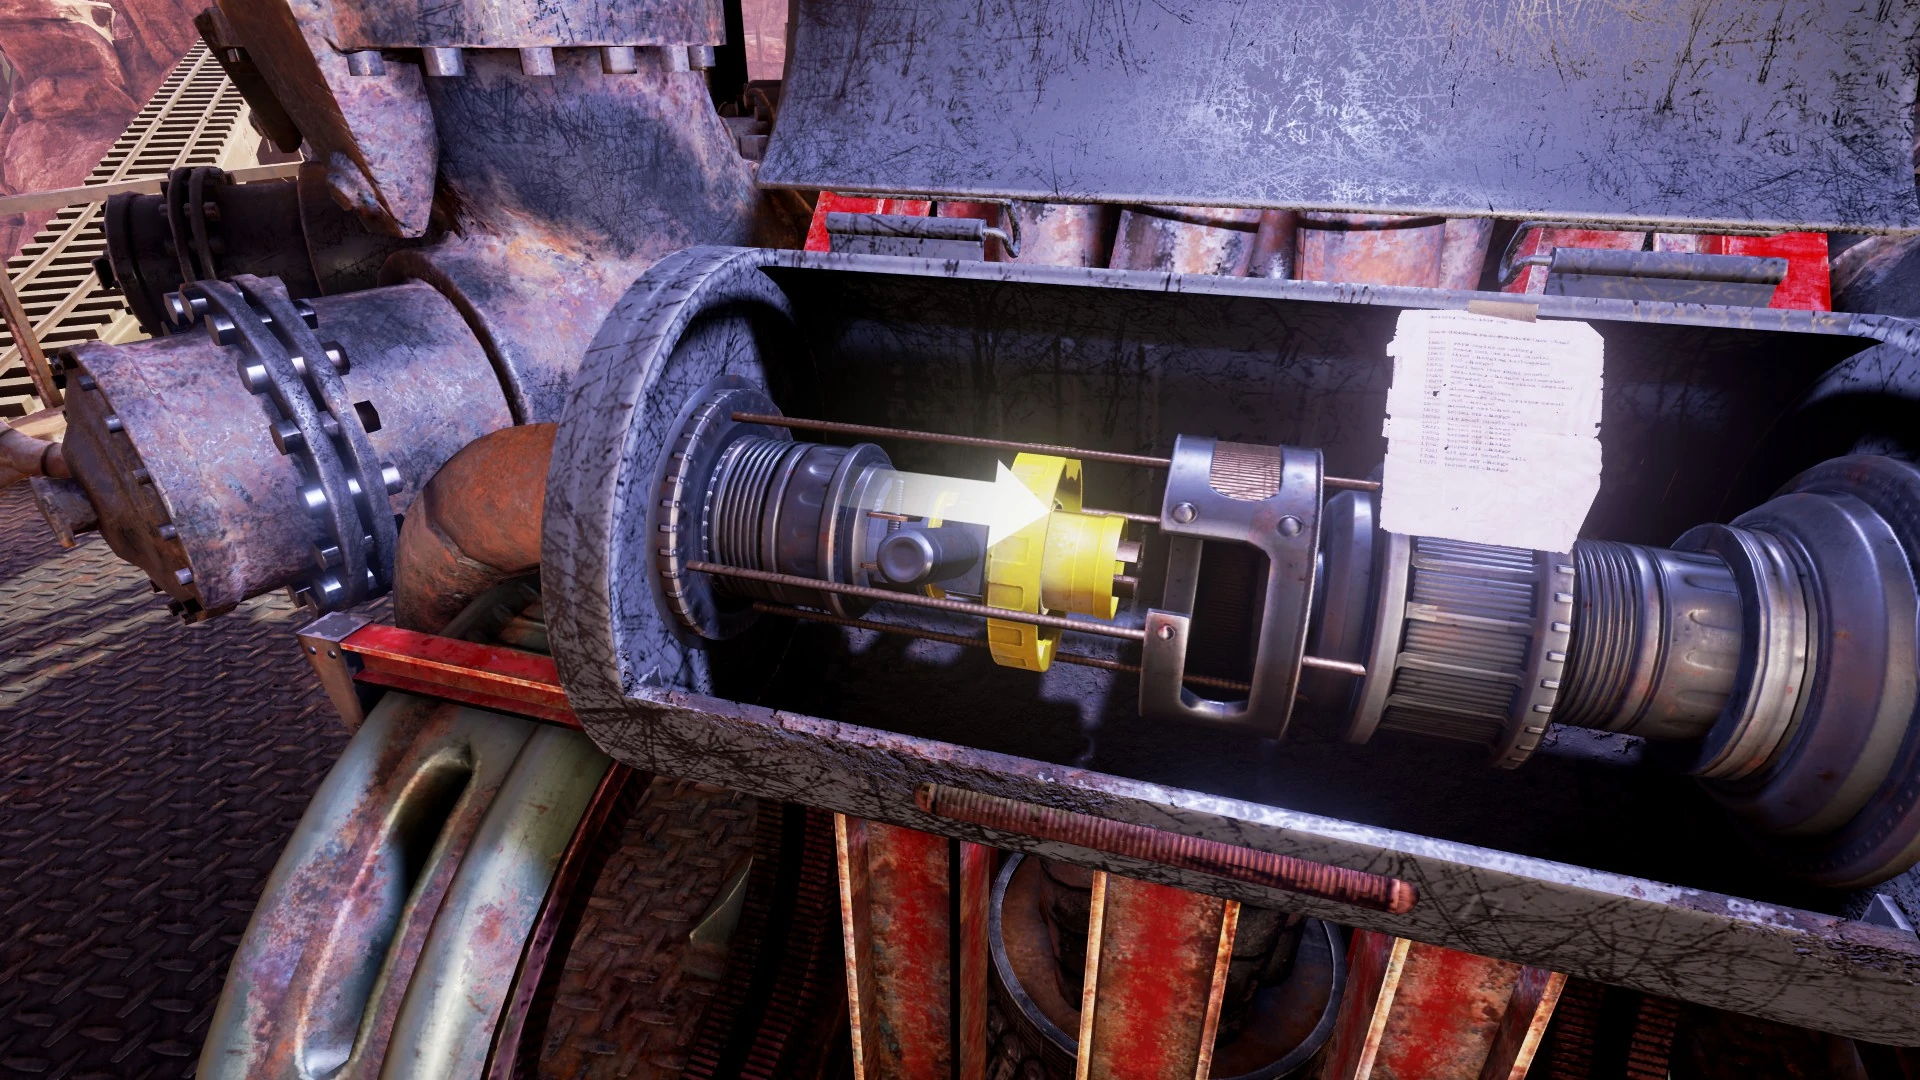
Later we'll learn from C.W. that this is a large battery and he'll ask us to connect it up. Since we're already here, let's go ahead and do it now. There's a hatch covering the wire we need to connect. Open it to reveal the large cable.
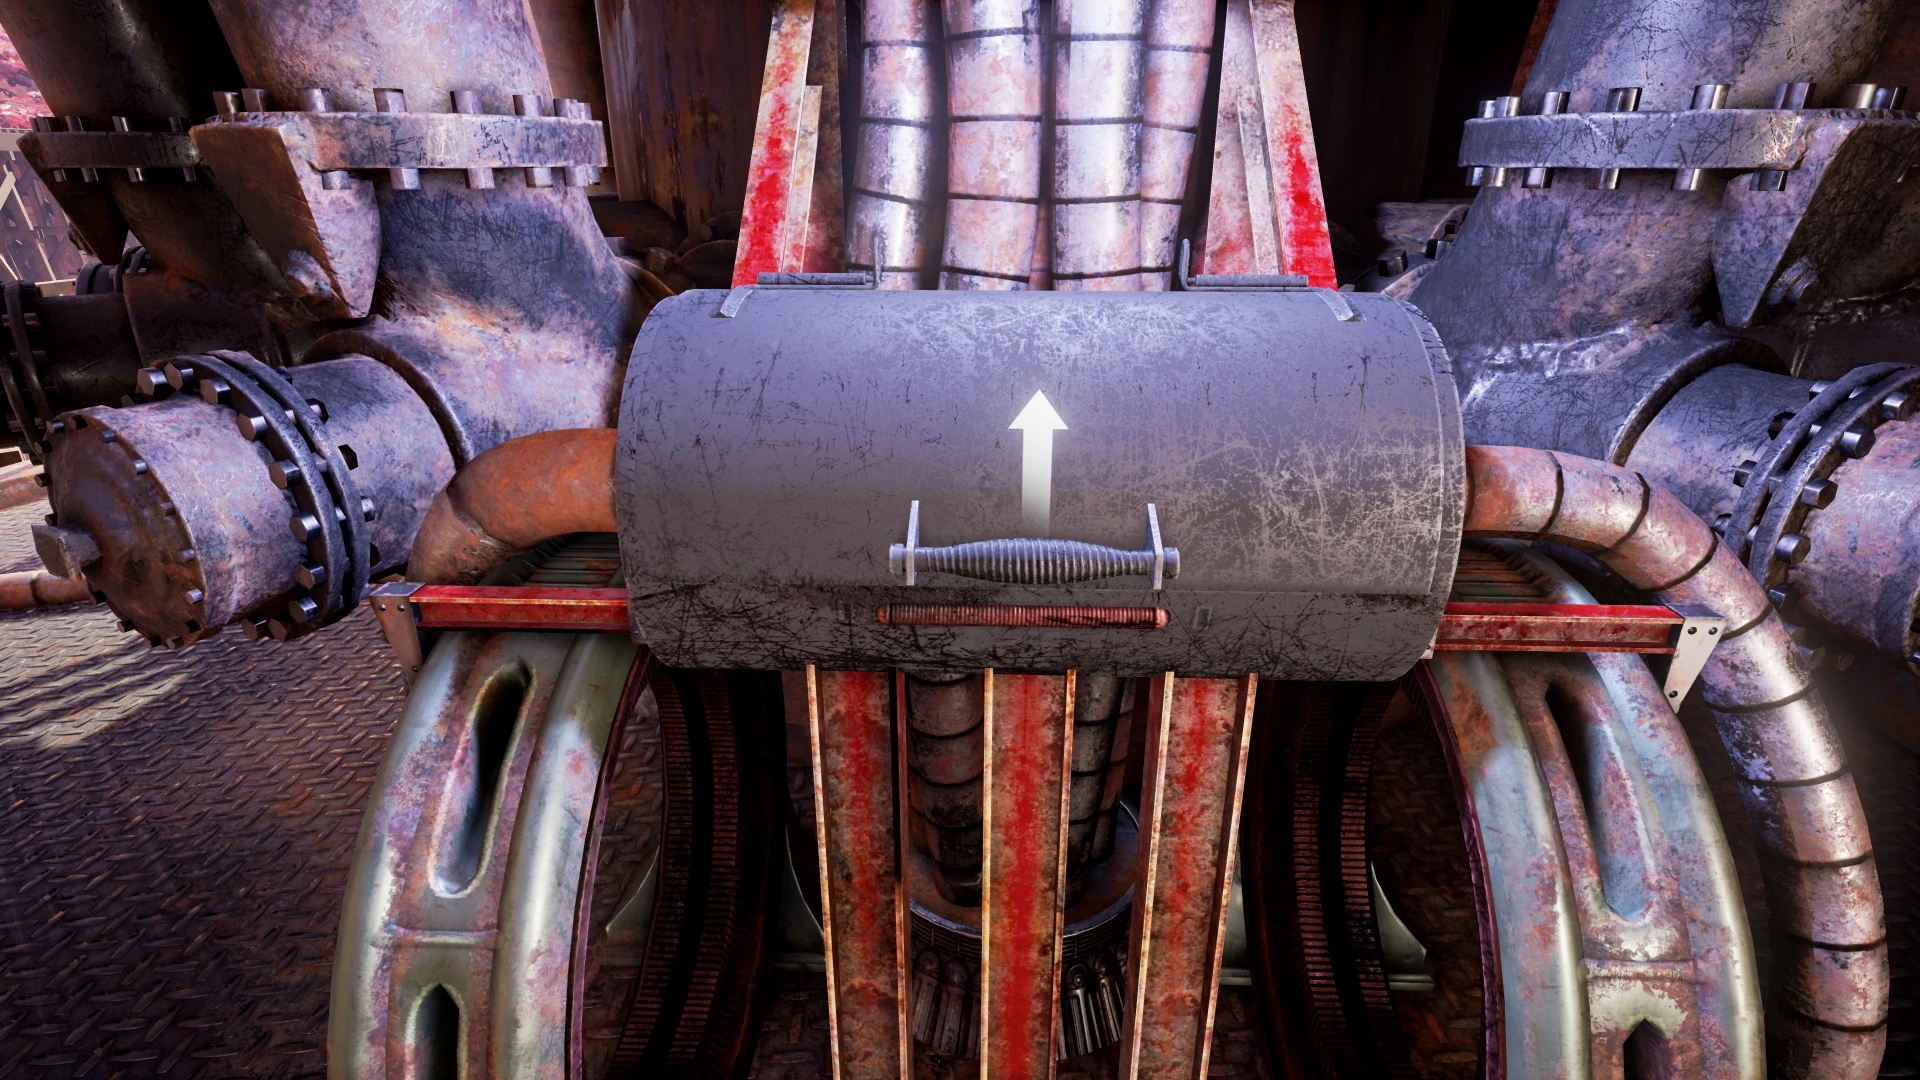
Simply slide the cable to the right and lock it in place.
Now there's also a bridge leading from the building across the town.
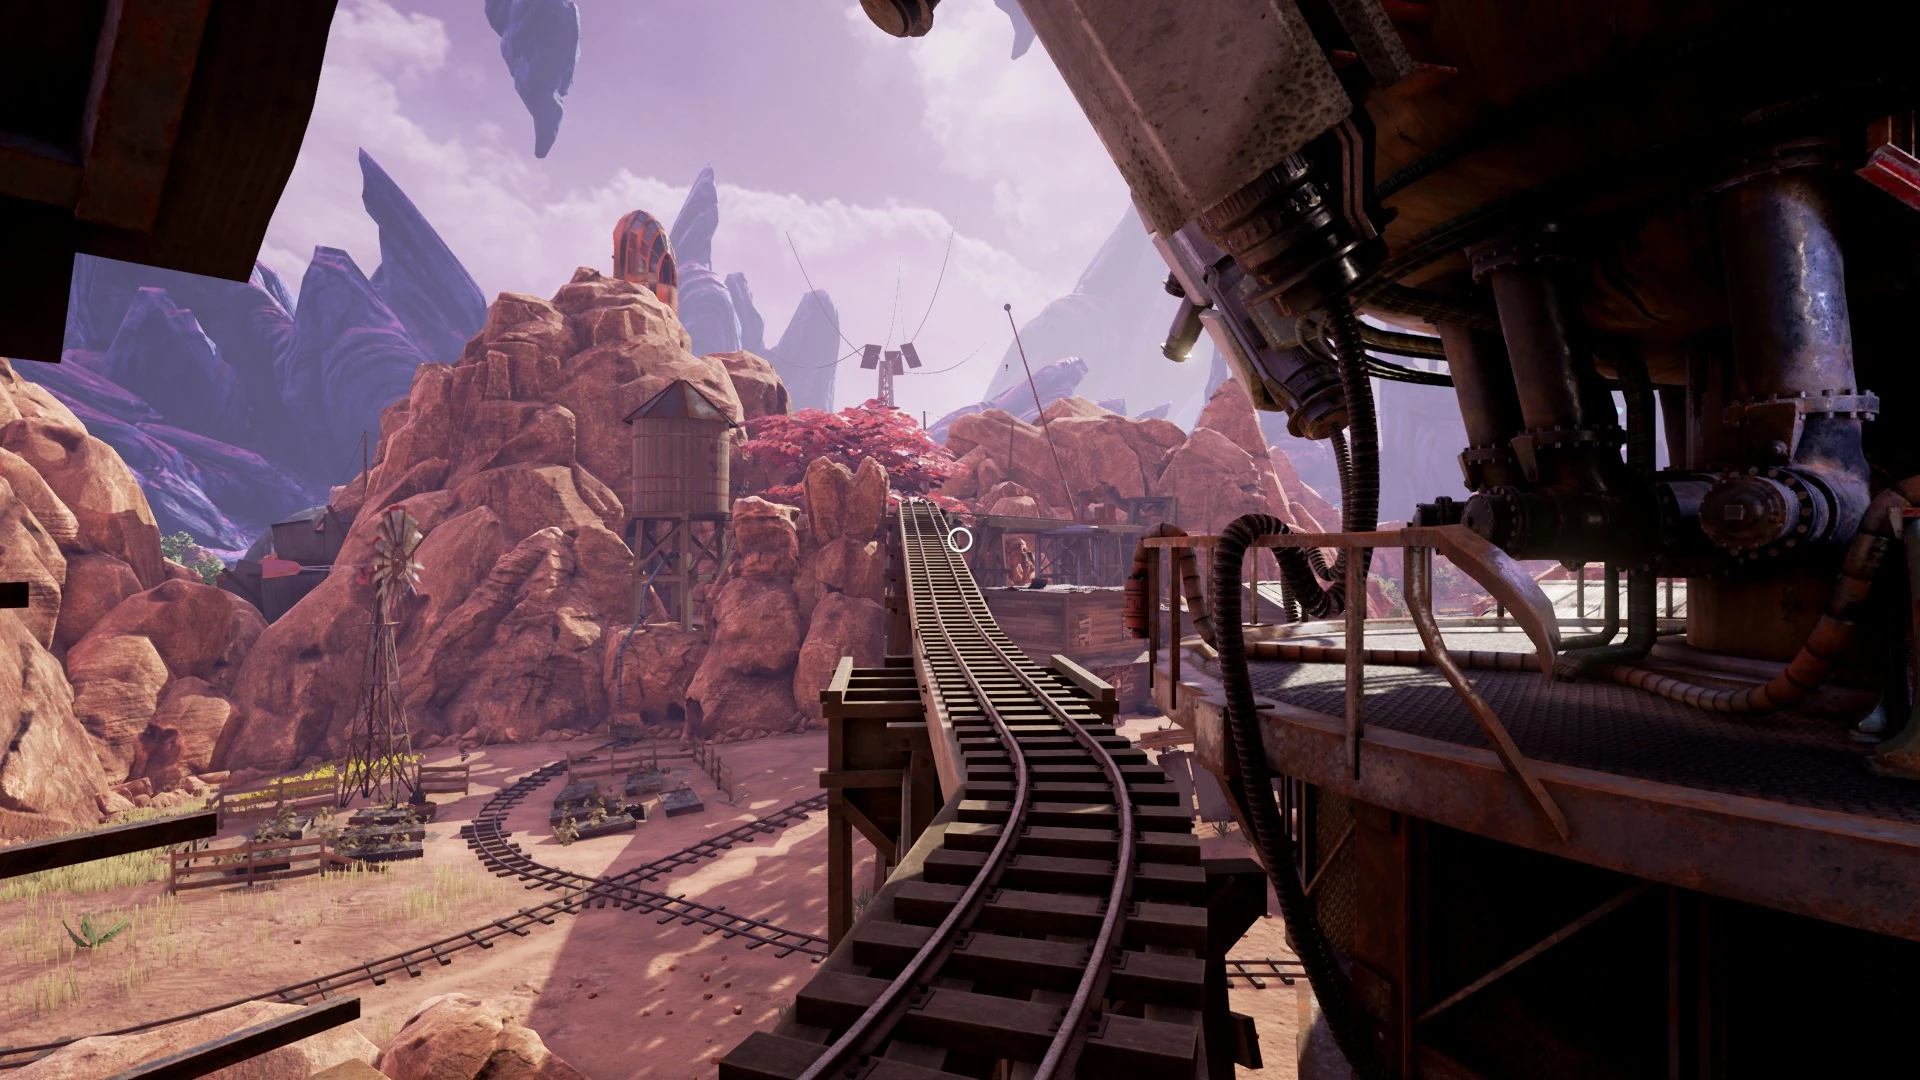
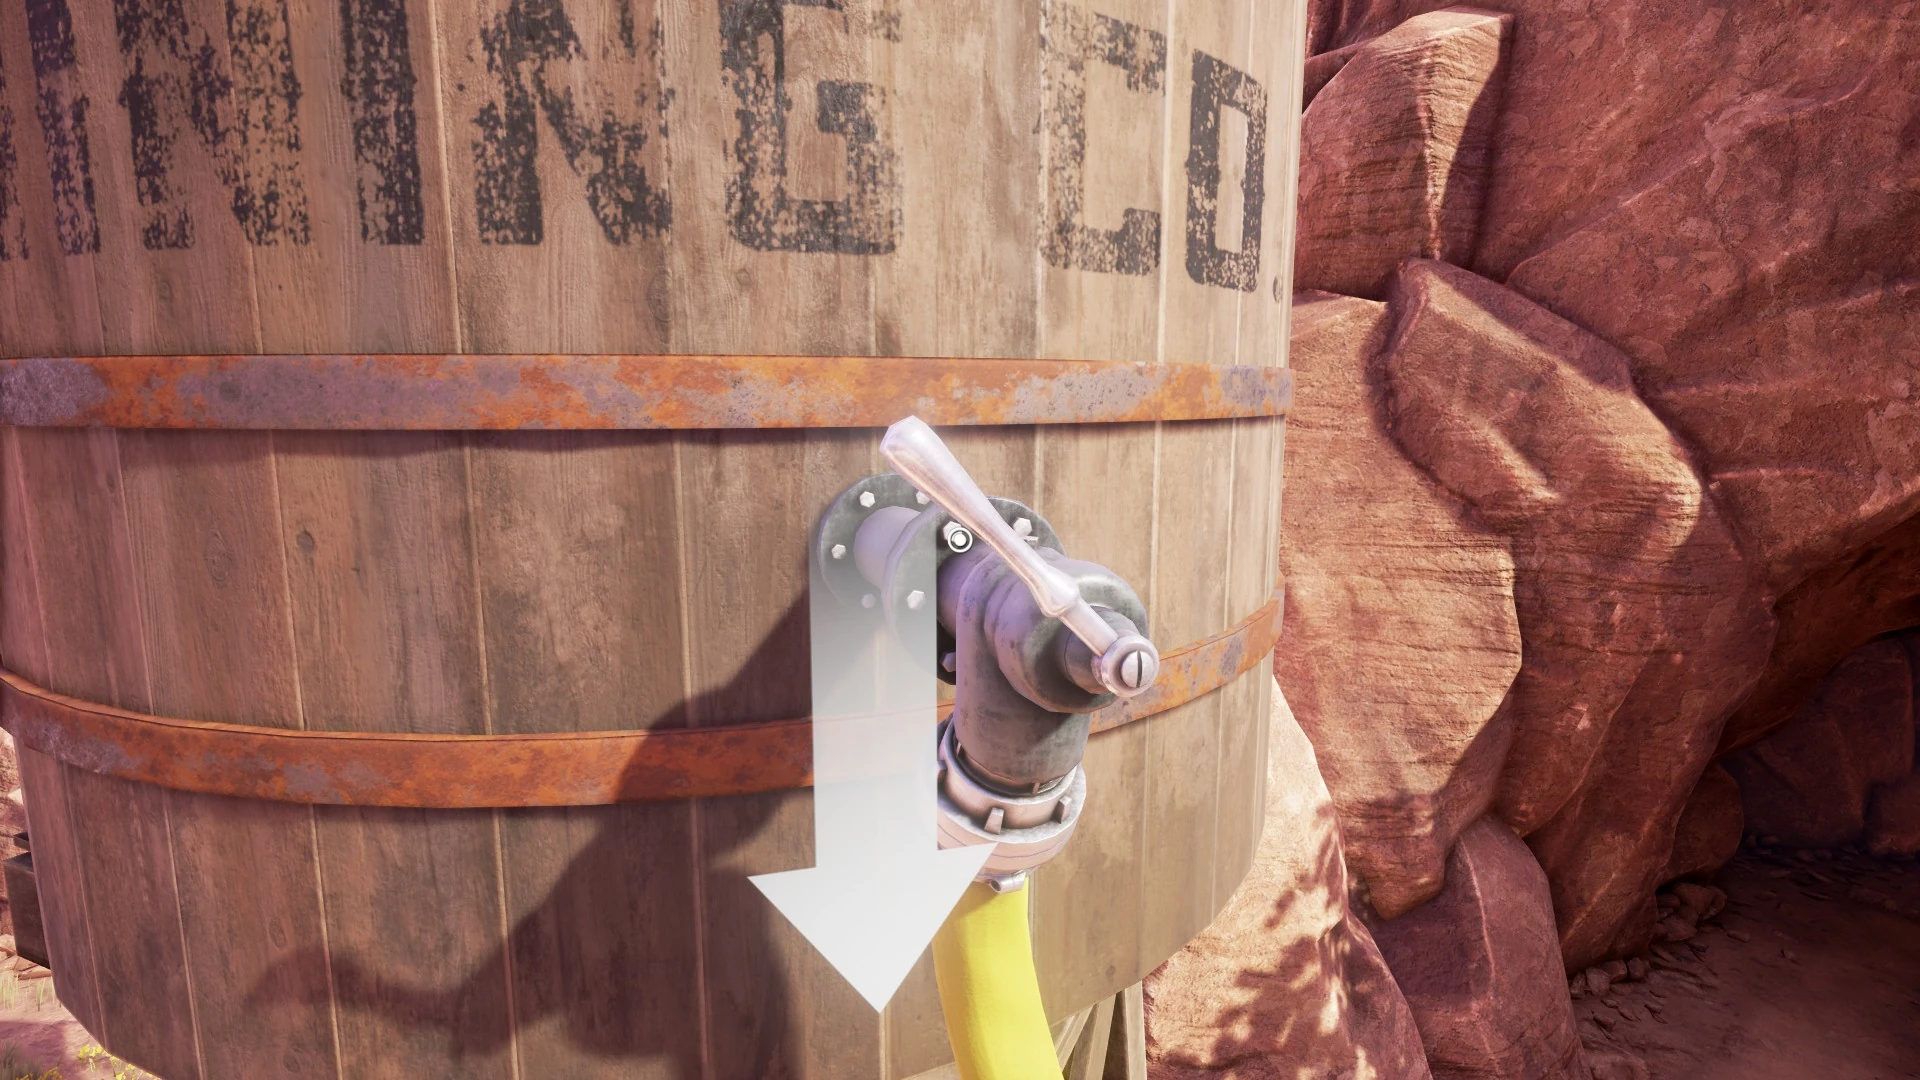
If you head down the bridge you'll find it ends in a gap in the tracks, preventing us from following it further. However, just before-hand there is a small makeshift path to the water tower nearby. Flip the lever here to let the water flow.
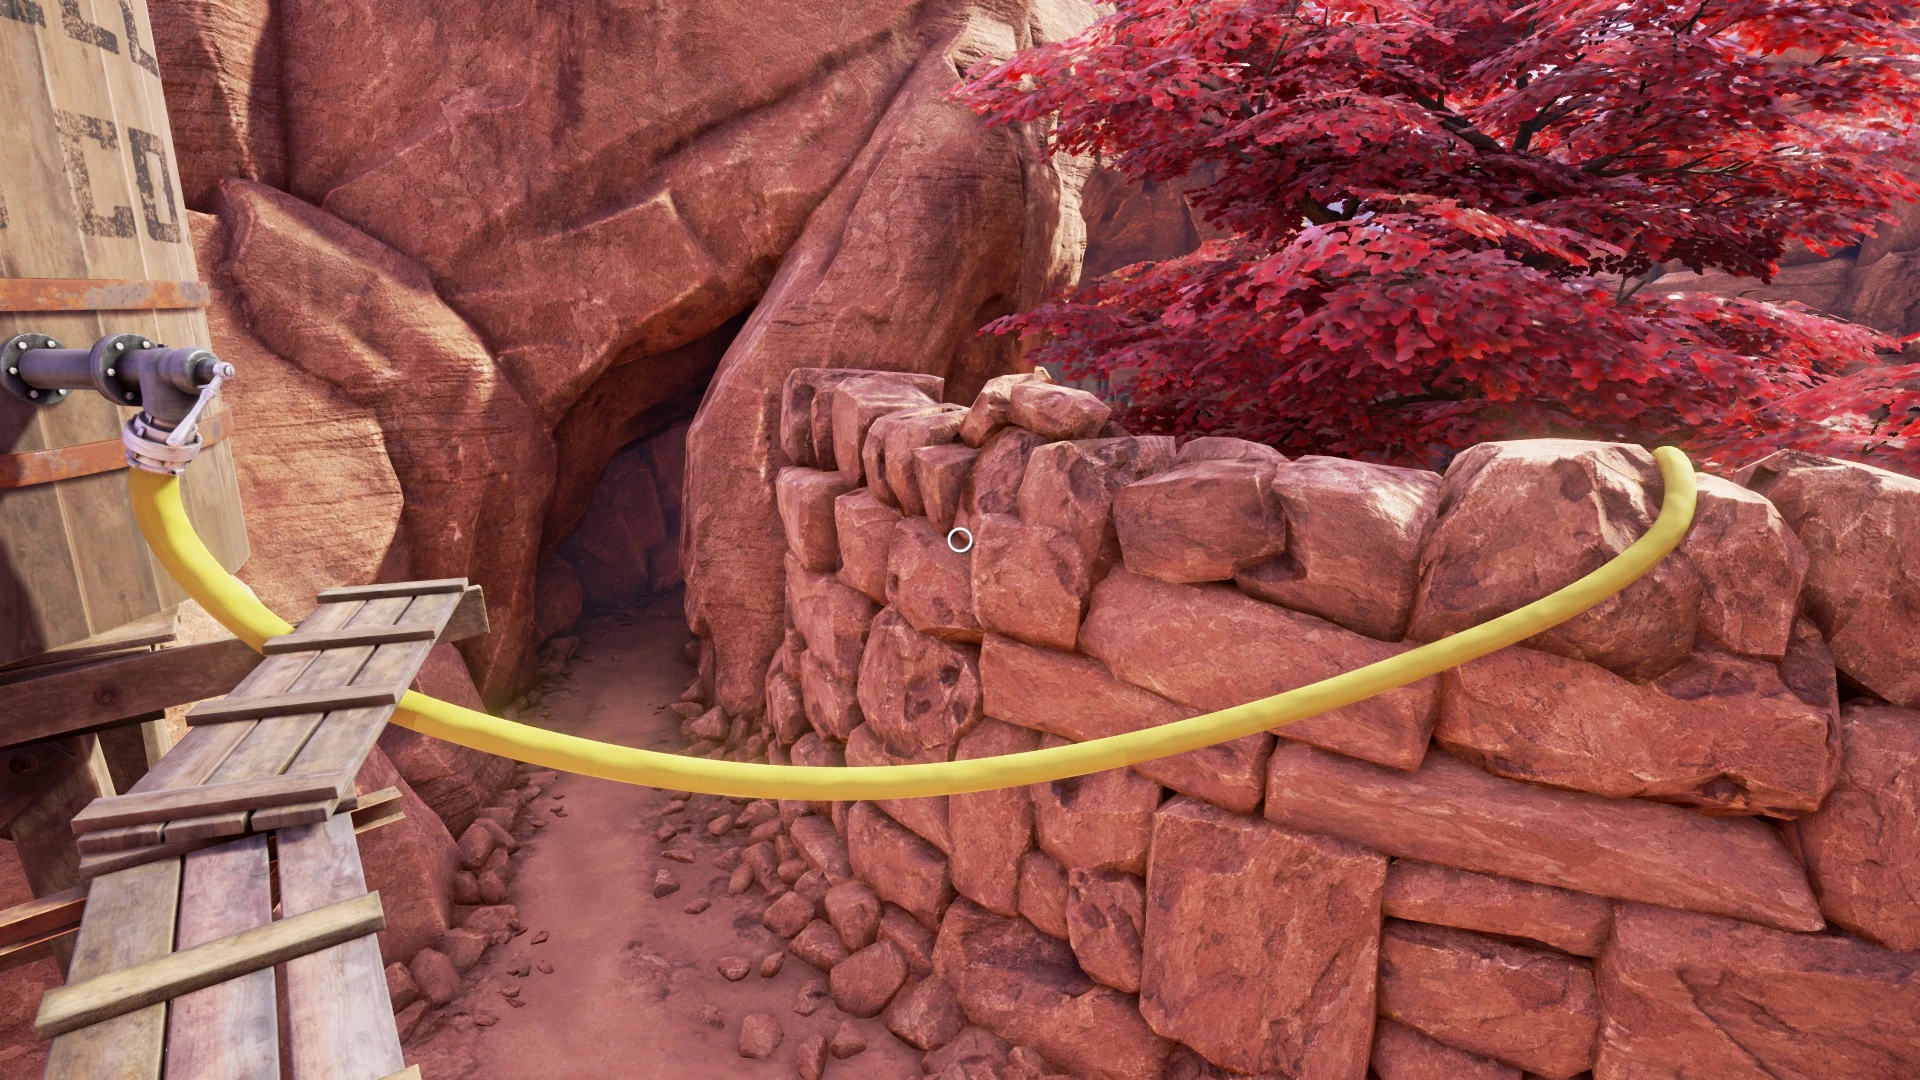
The hose connected seems to head into the area with the tree. We'll find out pretty soon where it actually goes.
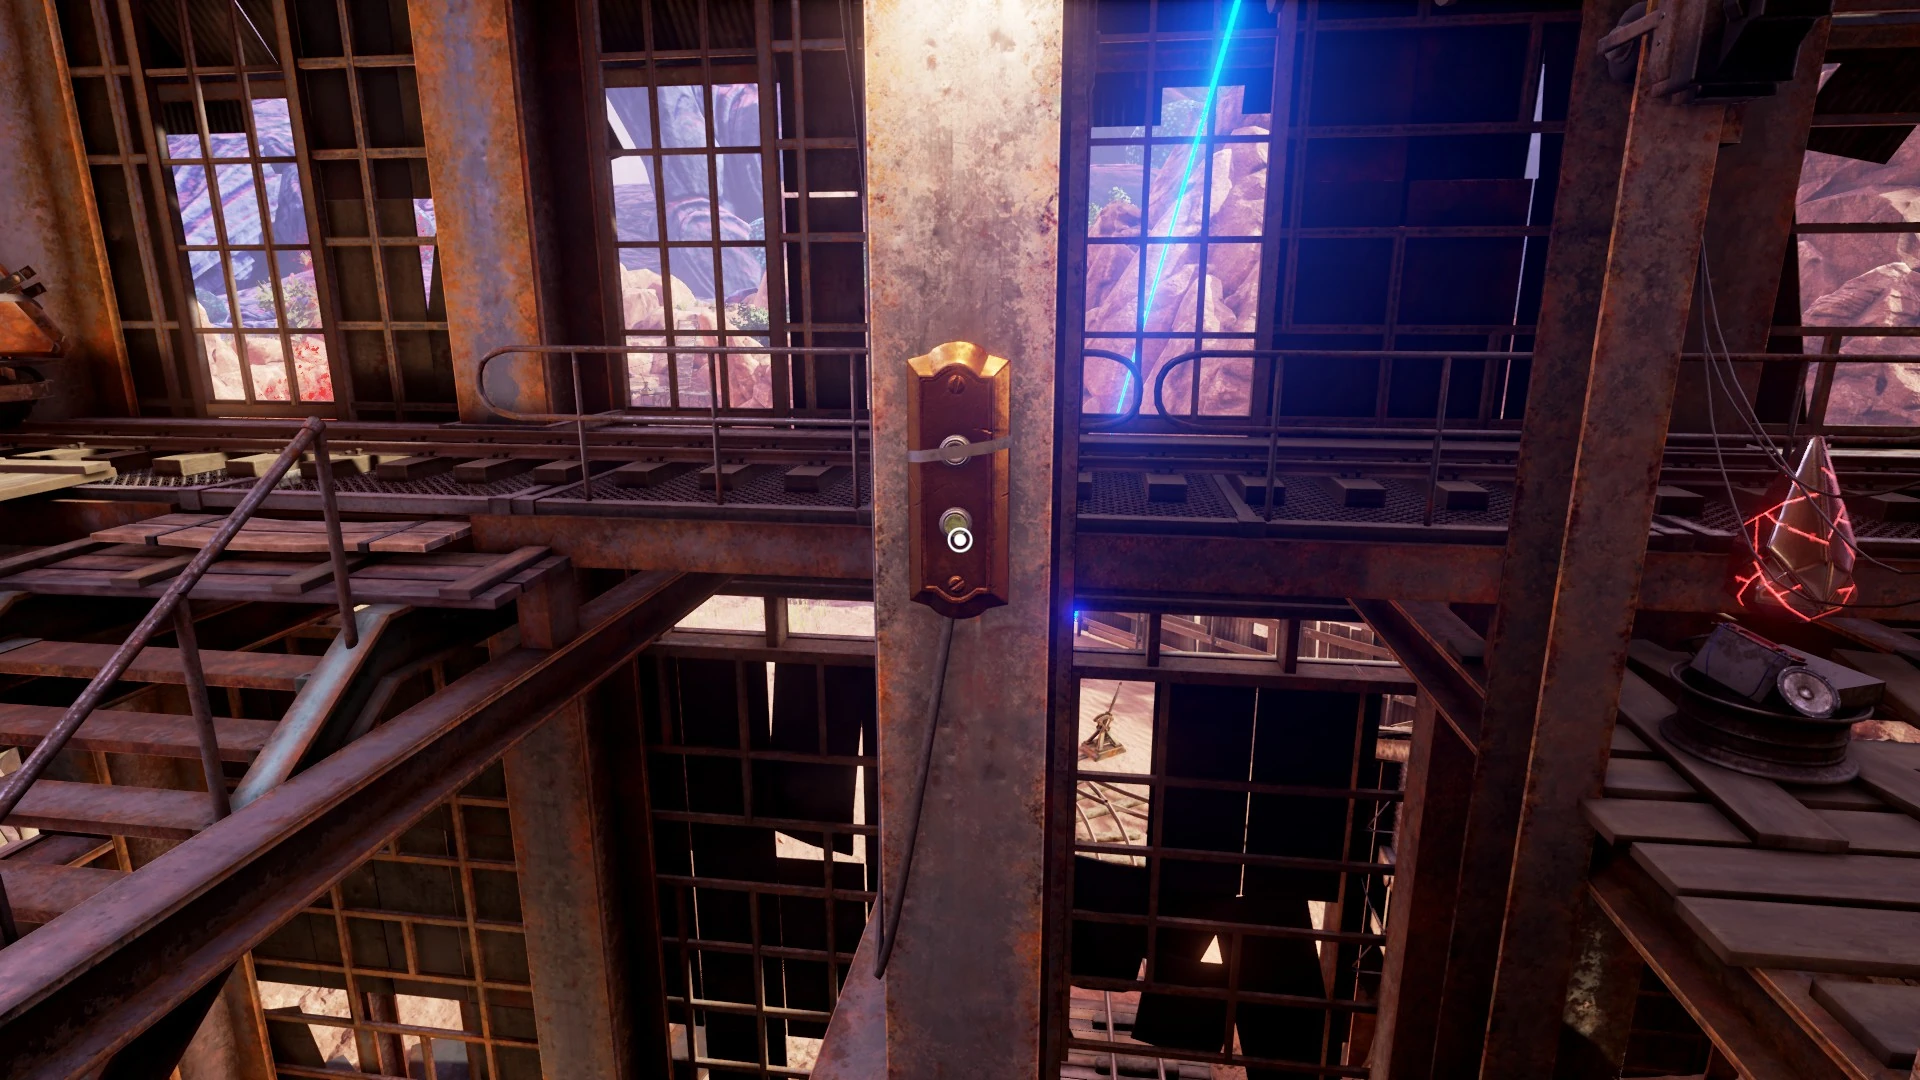
For now though head back over the bridge and into the building. Near the back side of the locomotive with the blue laser there is a button to lower it. Press the button.
Head back down the stairs and out into the front yard.
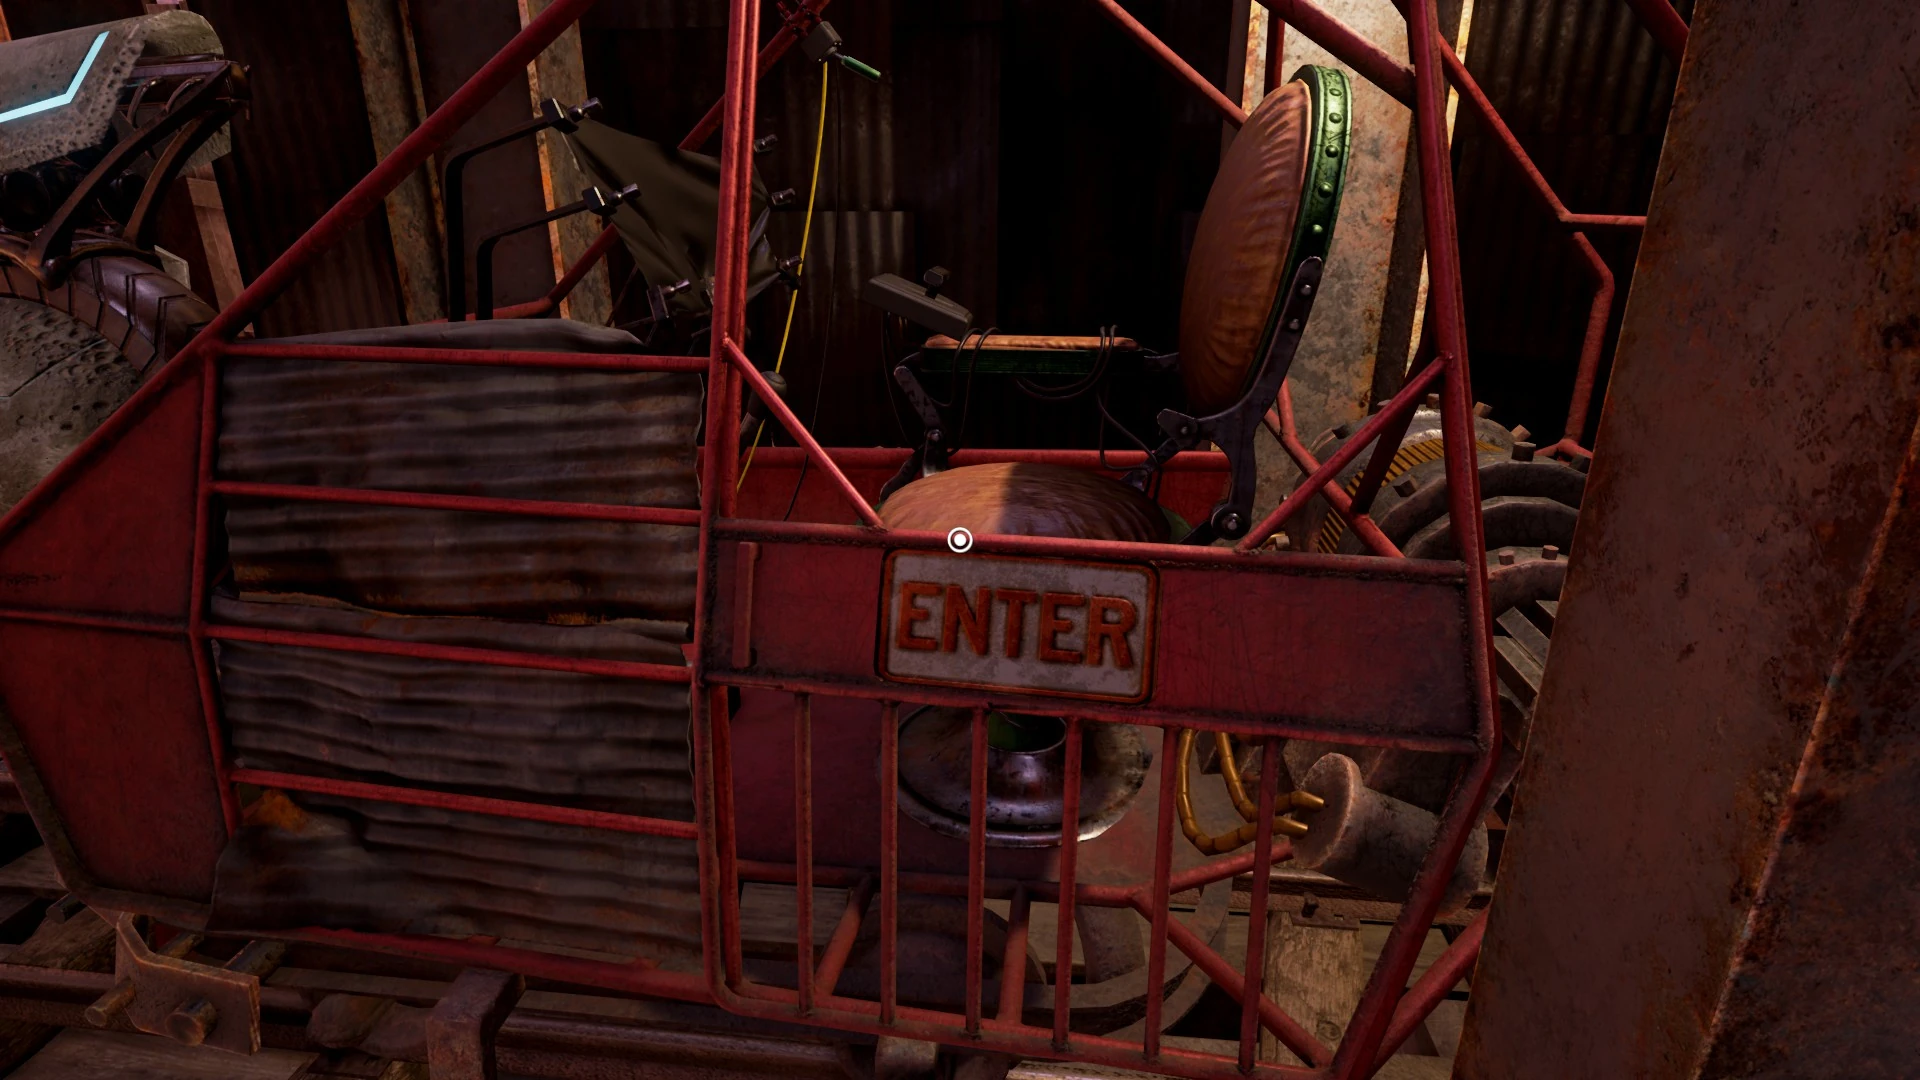
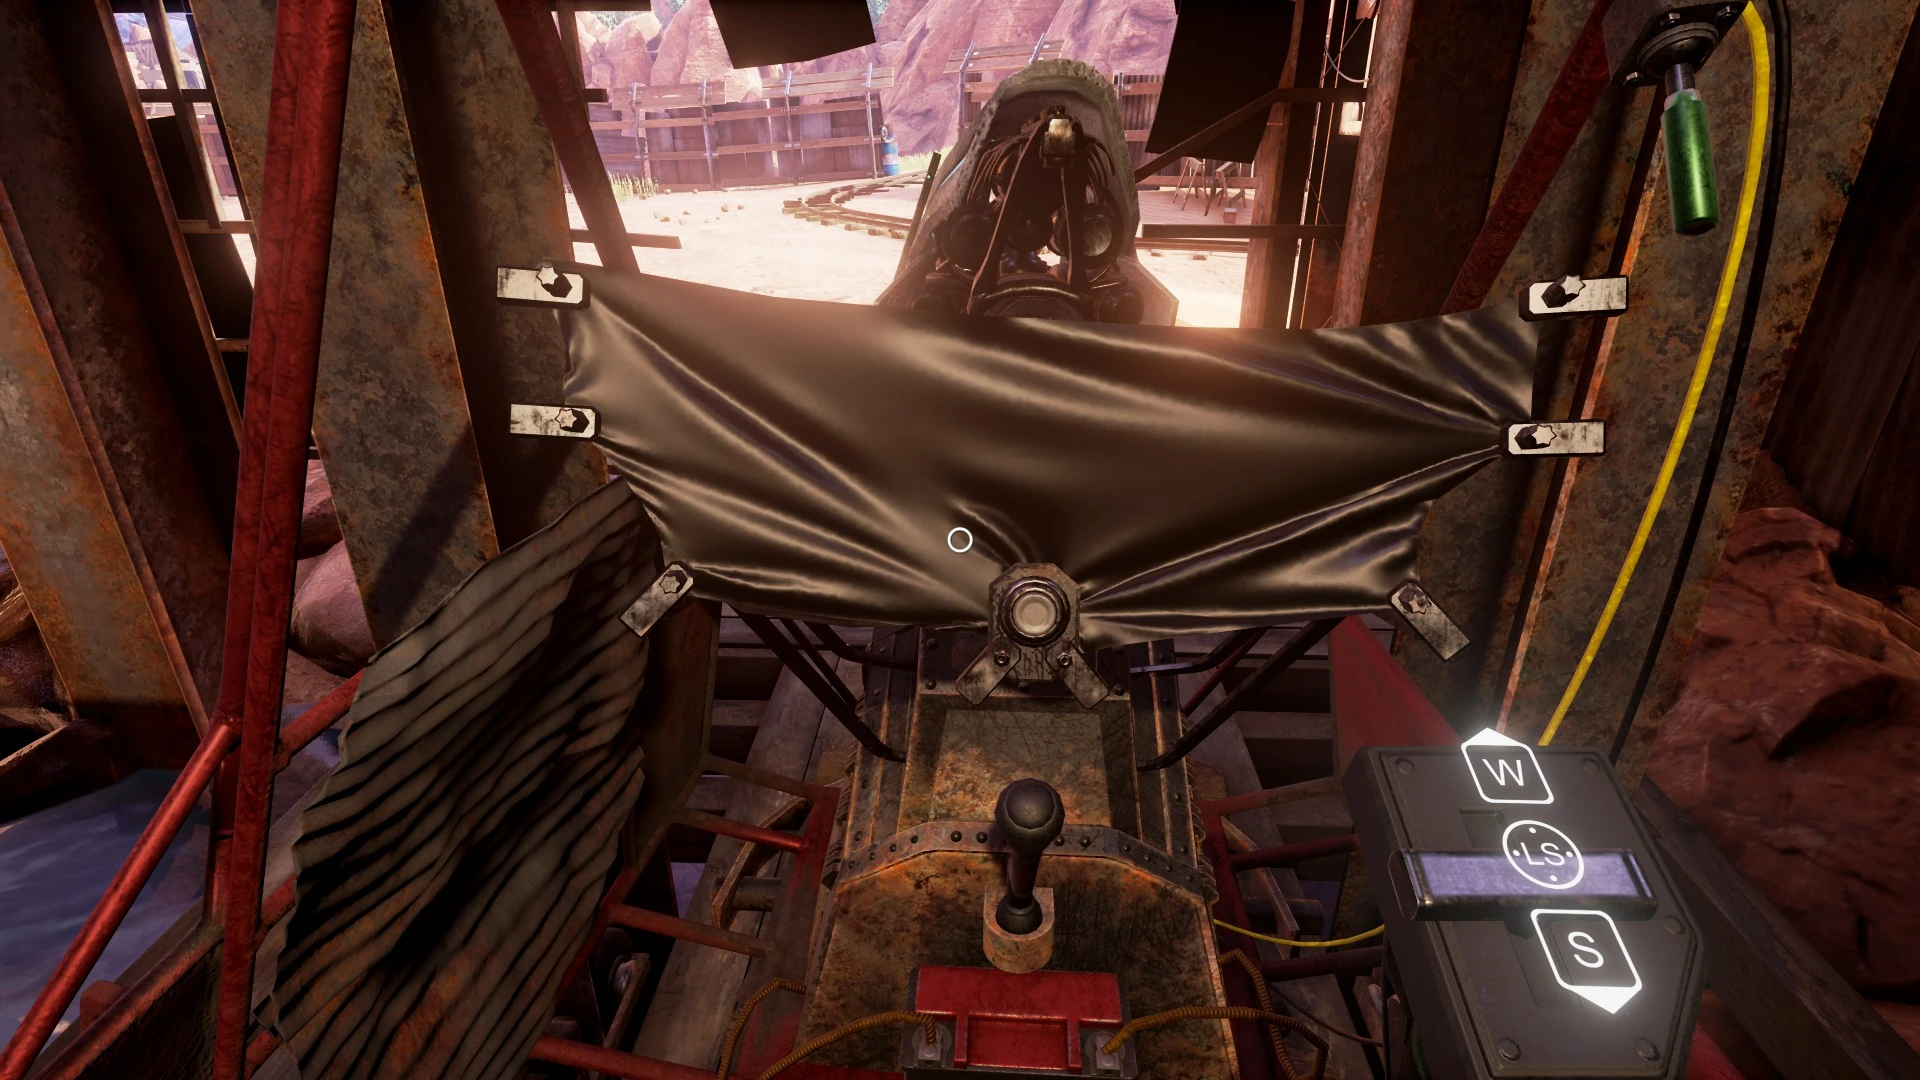
With the locomotive lowered we can now hop inside. Click on the door to open it. (You have to be close enough to the door to properly trigger the animation)
The locomotive has two modes. The first is used to control the laser. You can use W-A-S-D to aim the laser. There is a small screen that allows you to see where you are aiming. There is also a button near the bottom center of the screen to turn the laser on and off.
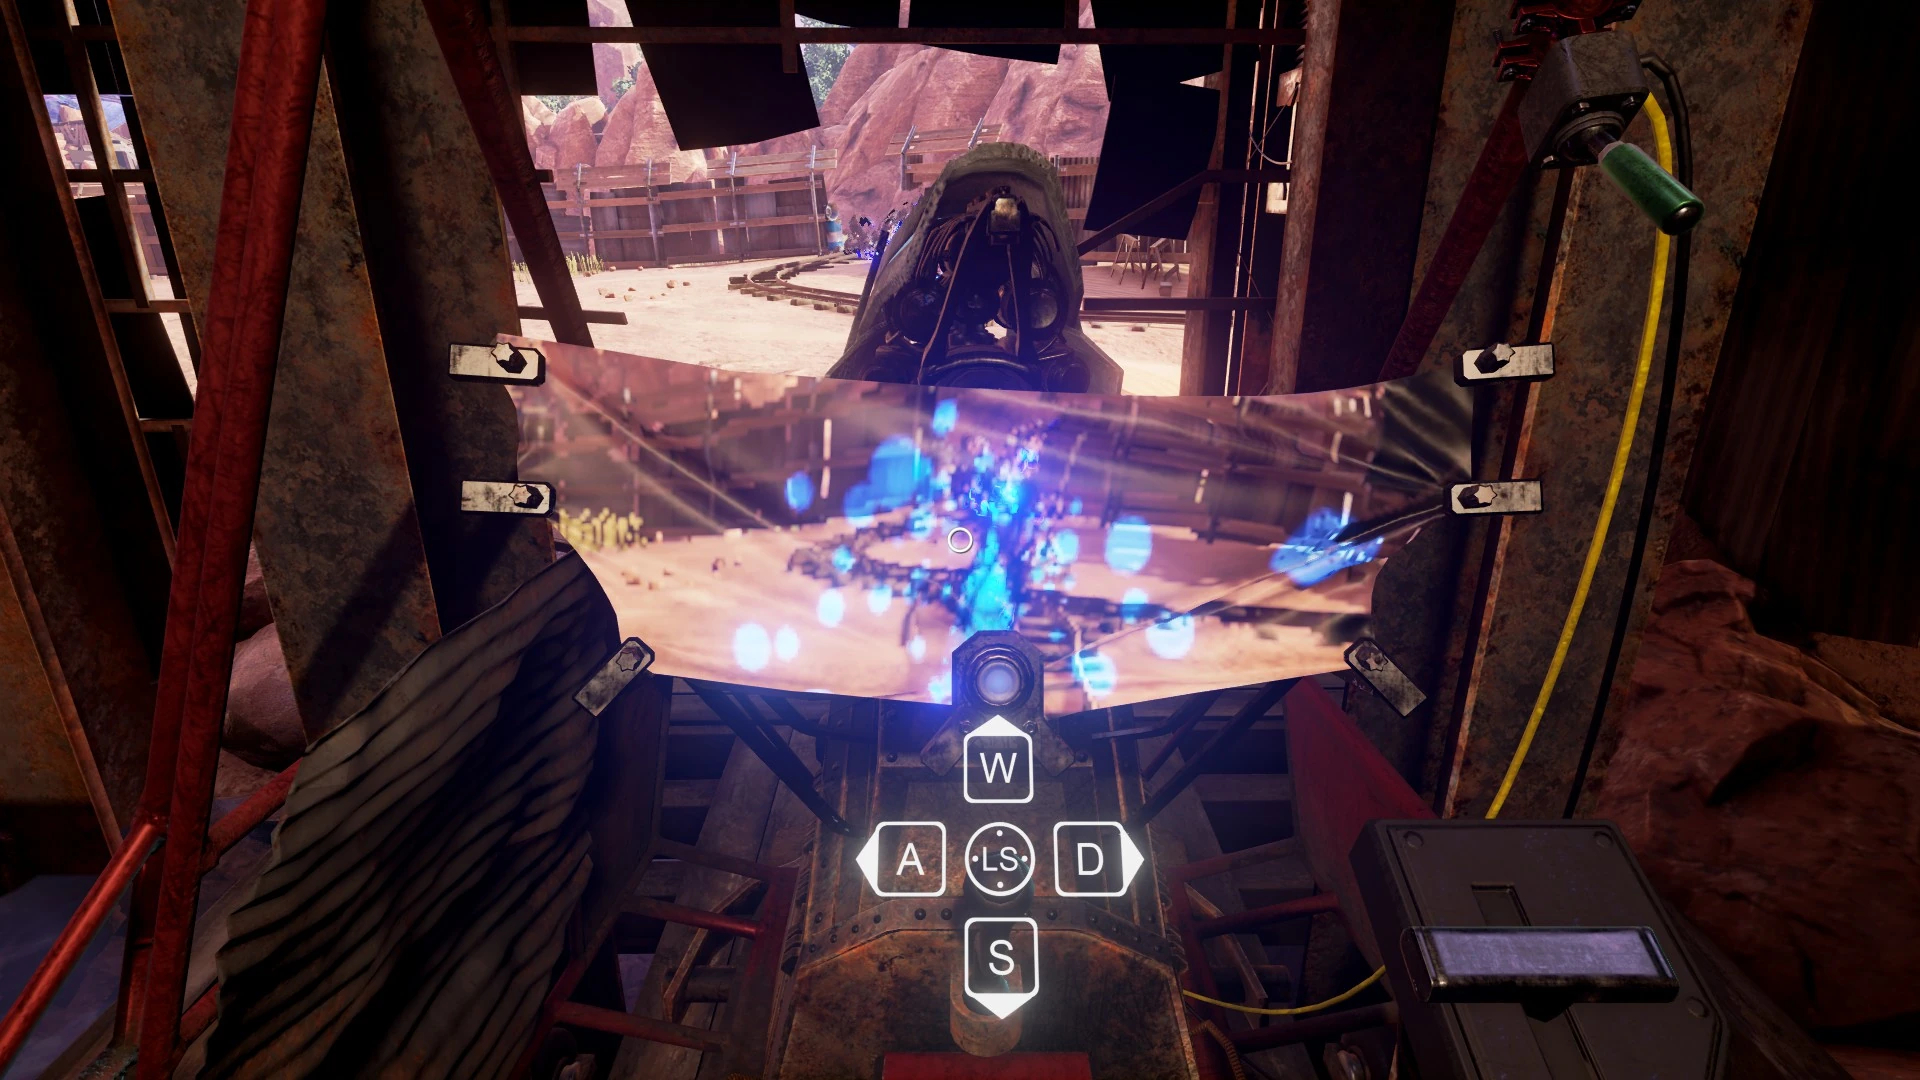
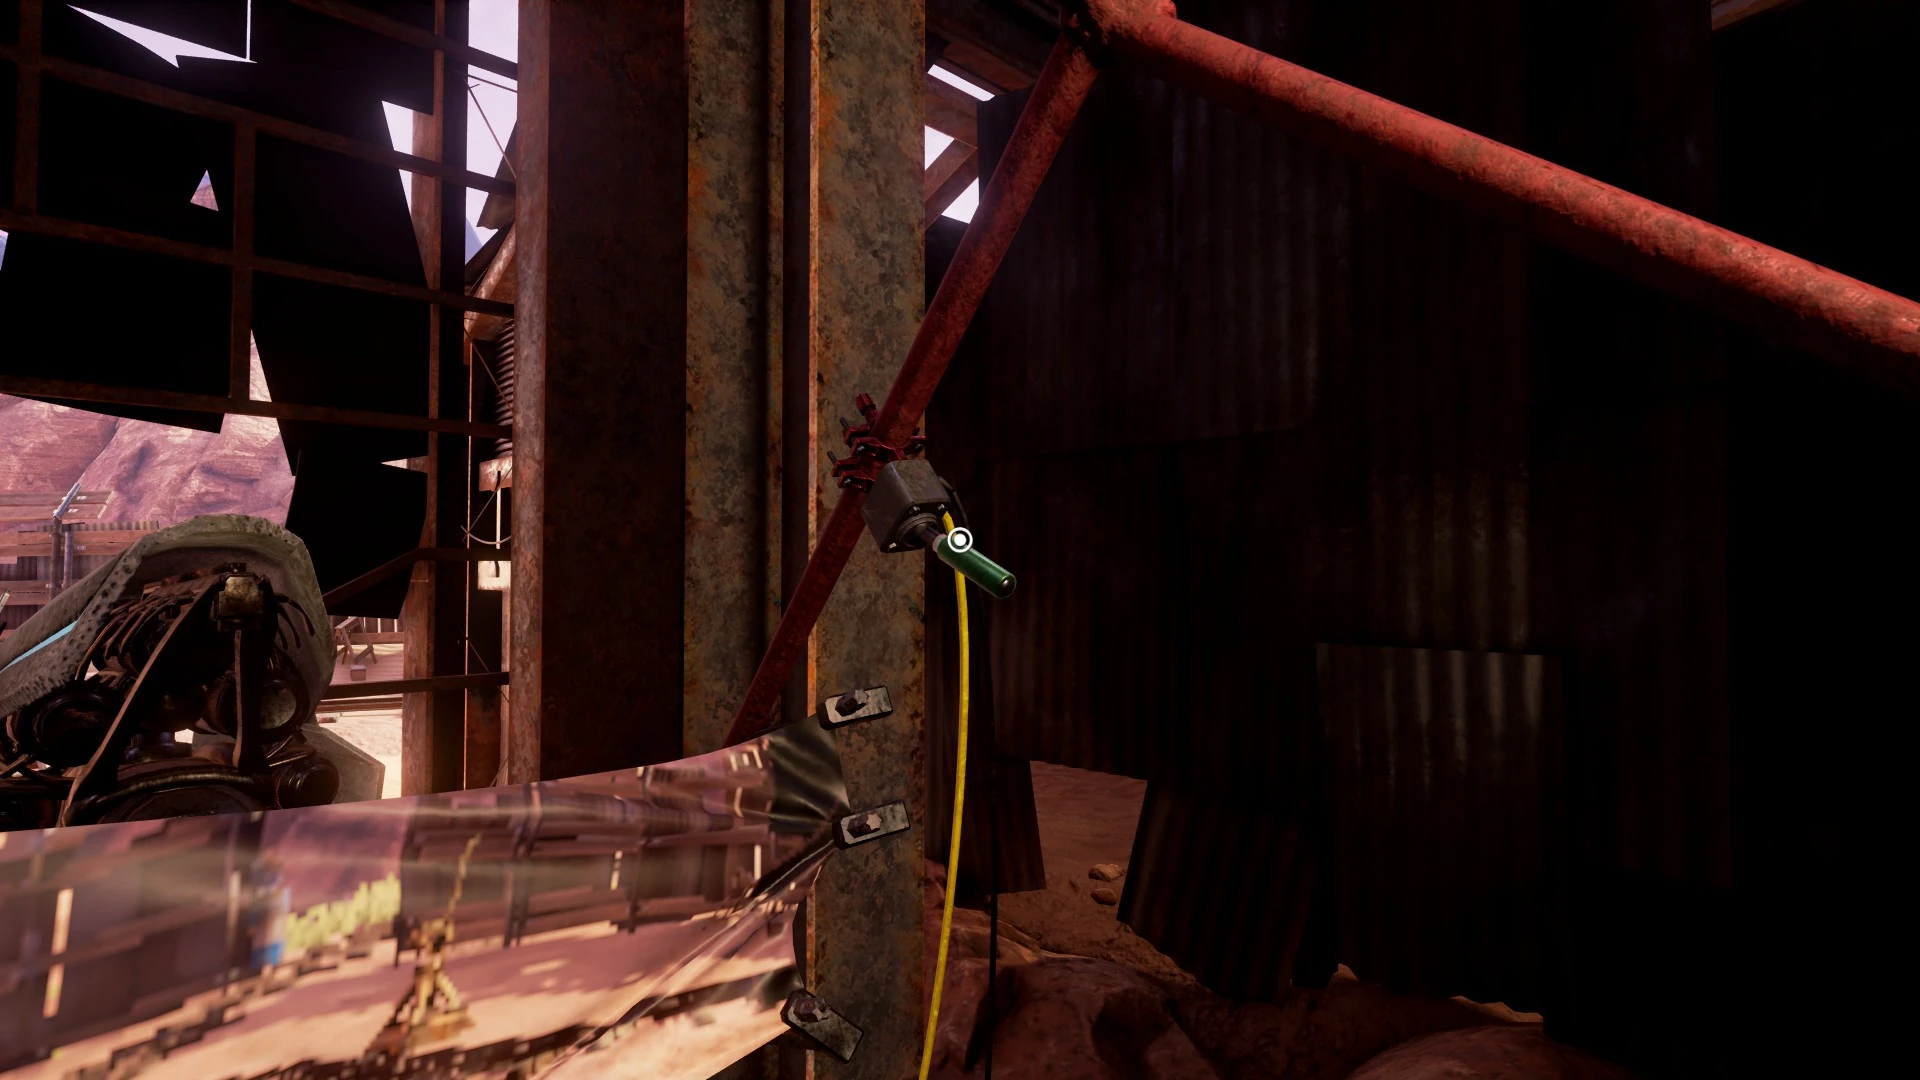
Up near the top right there is a switch to toggle between the two modes. Press it to switch to movement mode.
In movement mode the laser will be disabled and we will be able to move the cart along the tracks. You can use W and S to go forward and back.
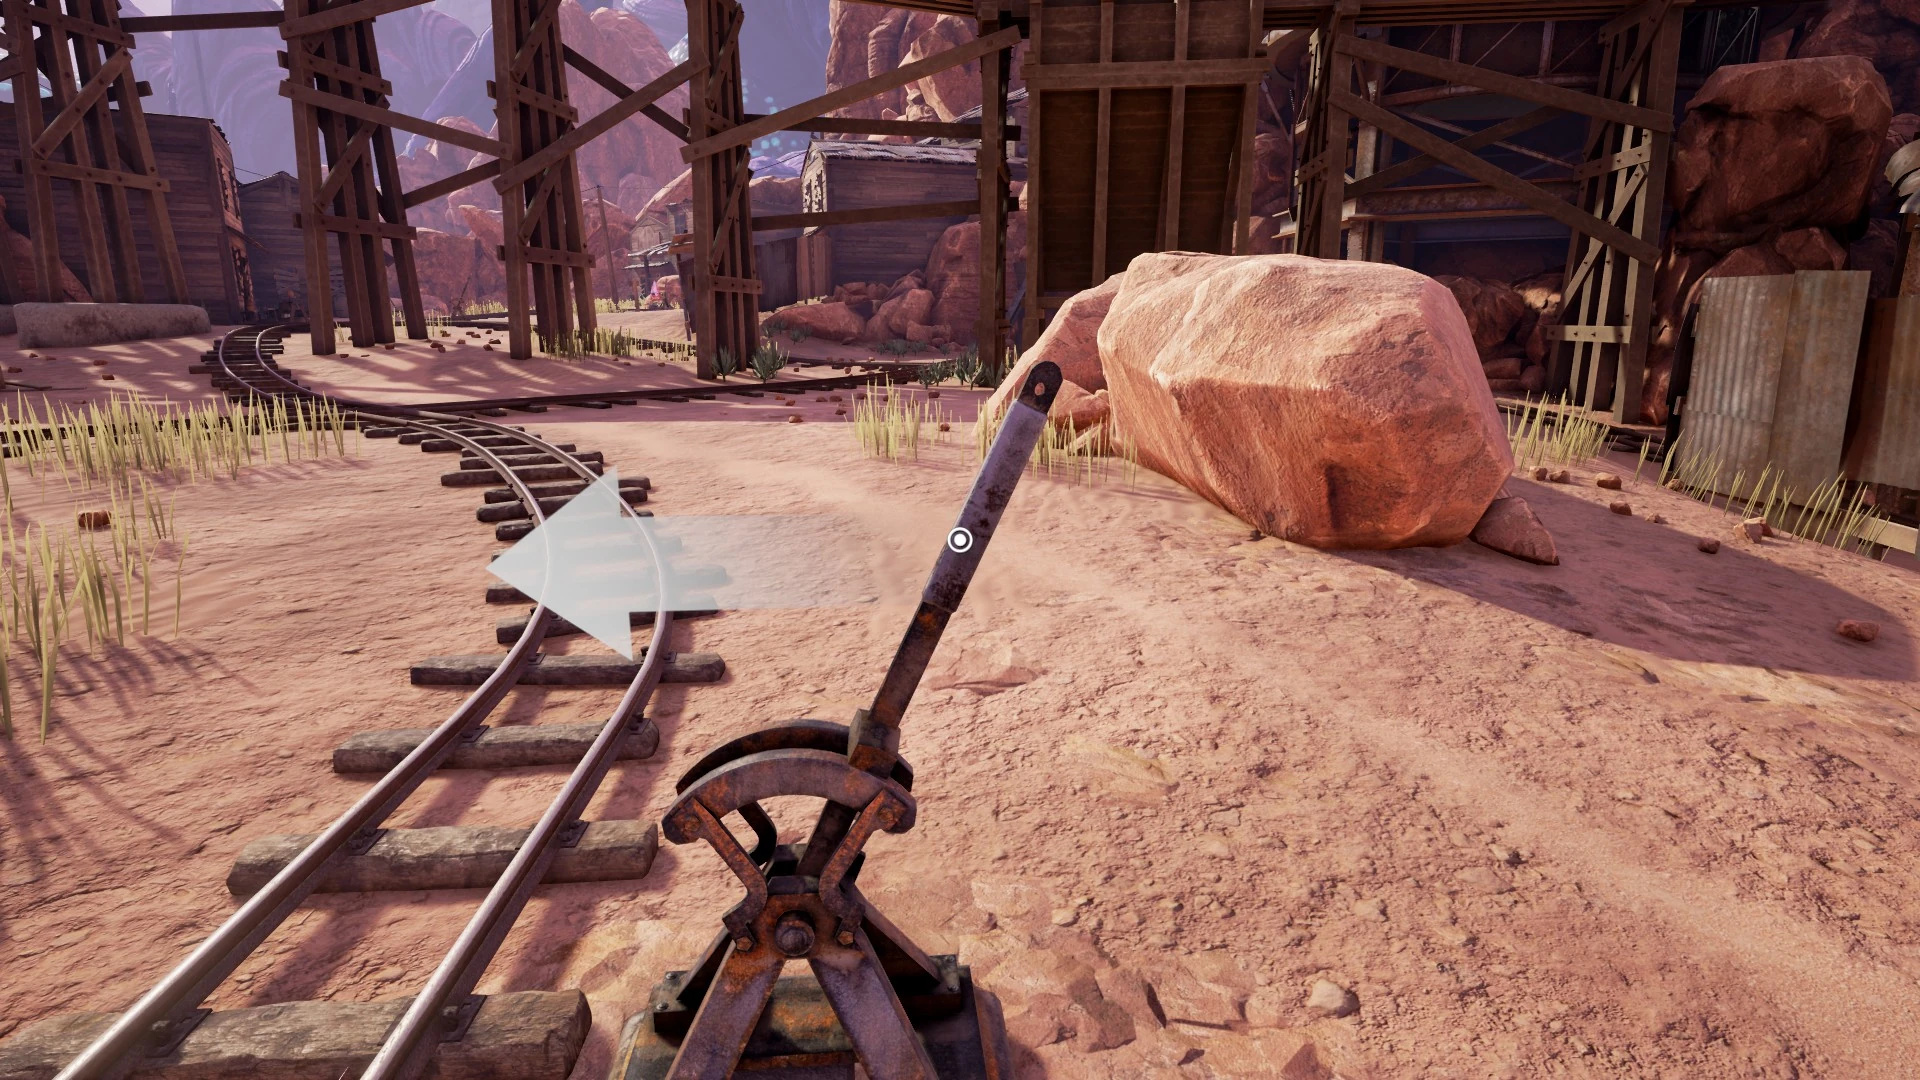
Move the locomotive out of the garage and continue till you pass the first junction just outside the entrance to C.W.'s yard.
You can click on the door again to exit the cart. Get out and flip the lever next to the junction to allow us to head towards the river.
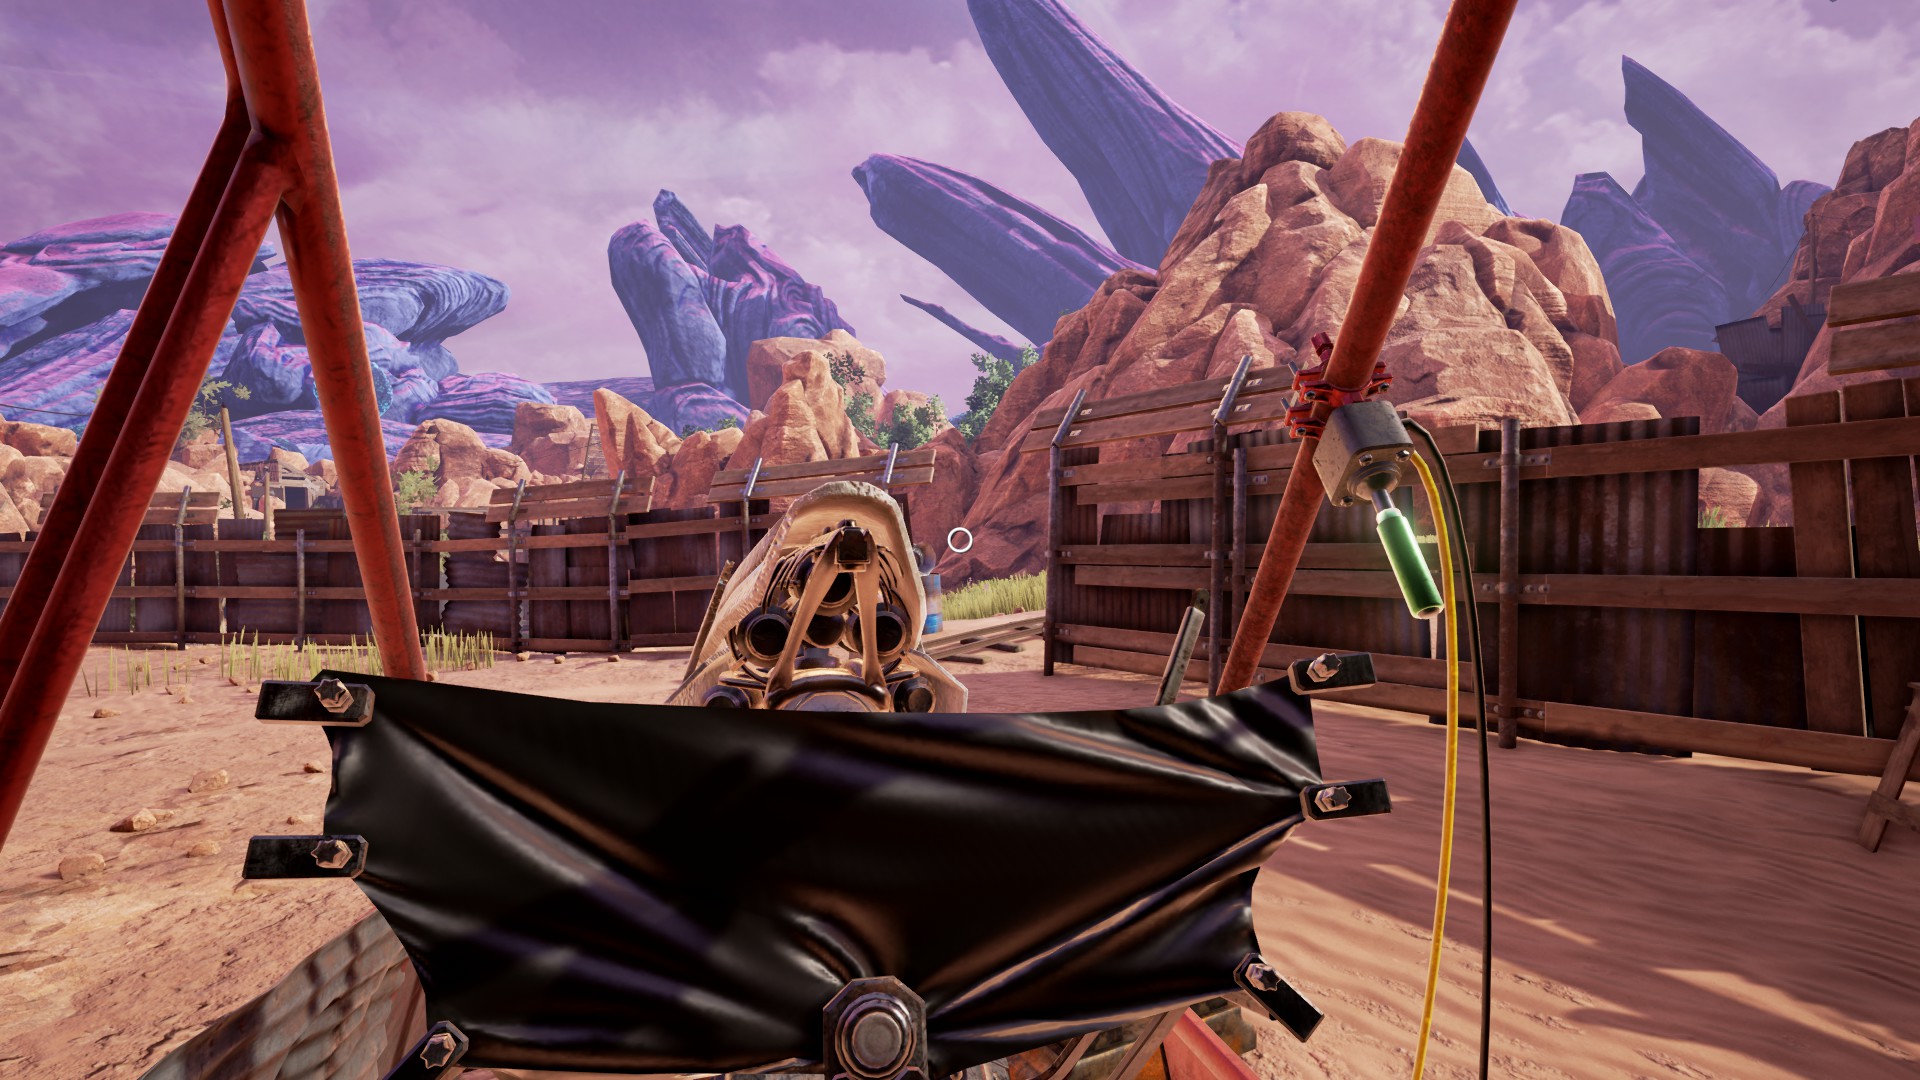
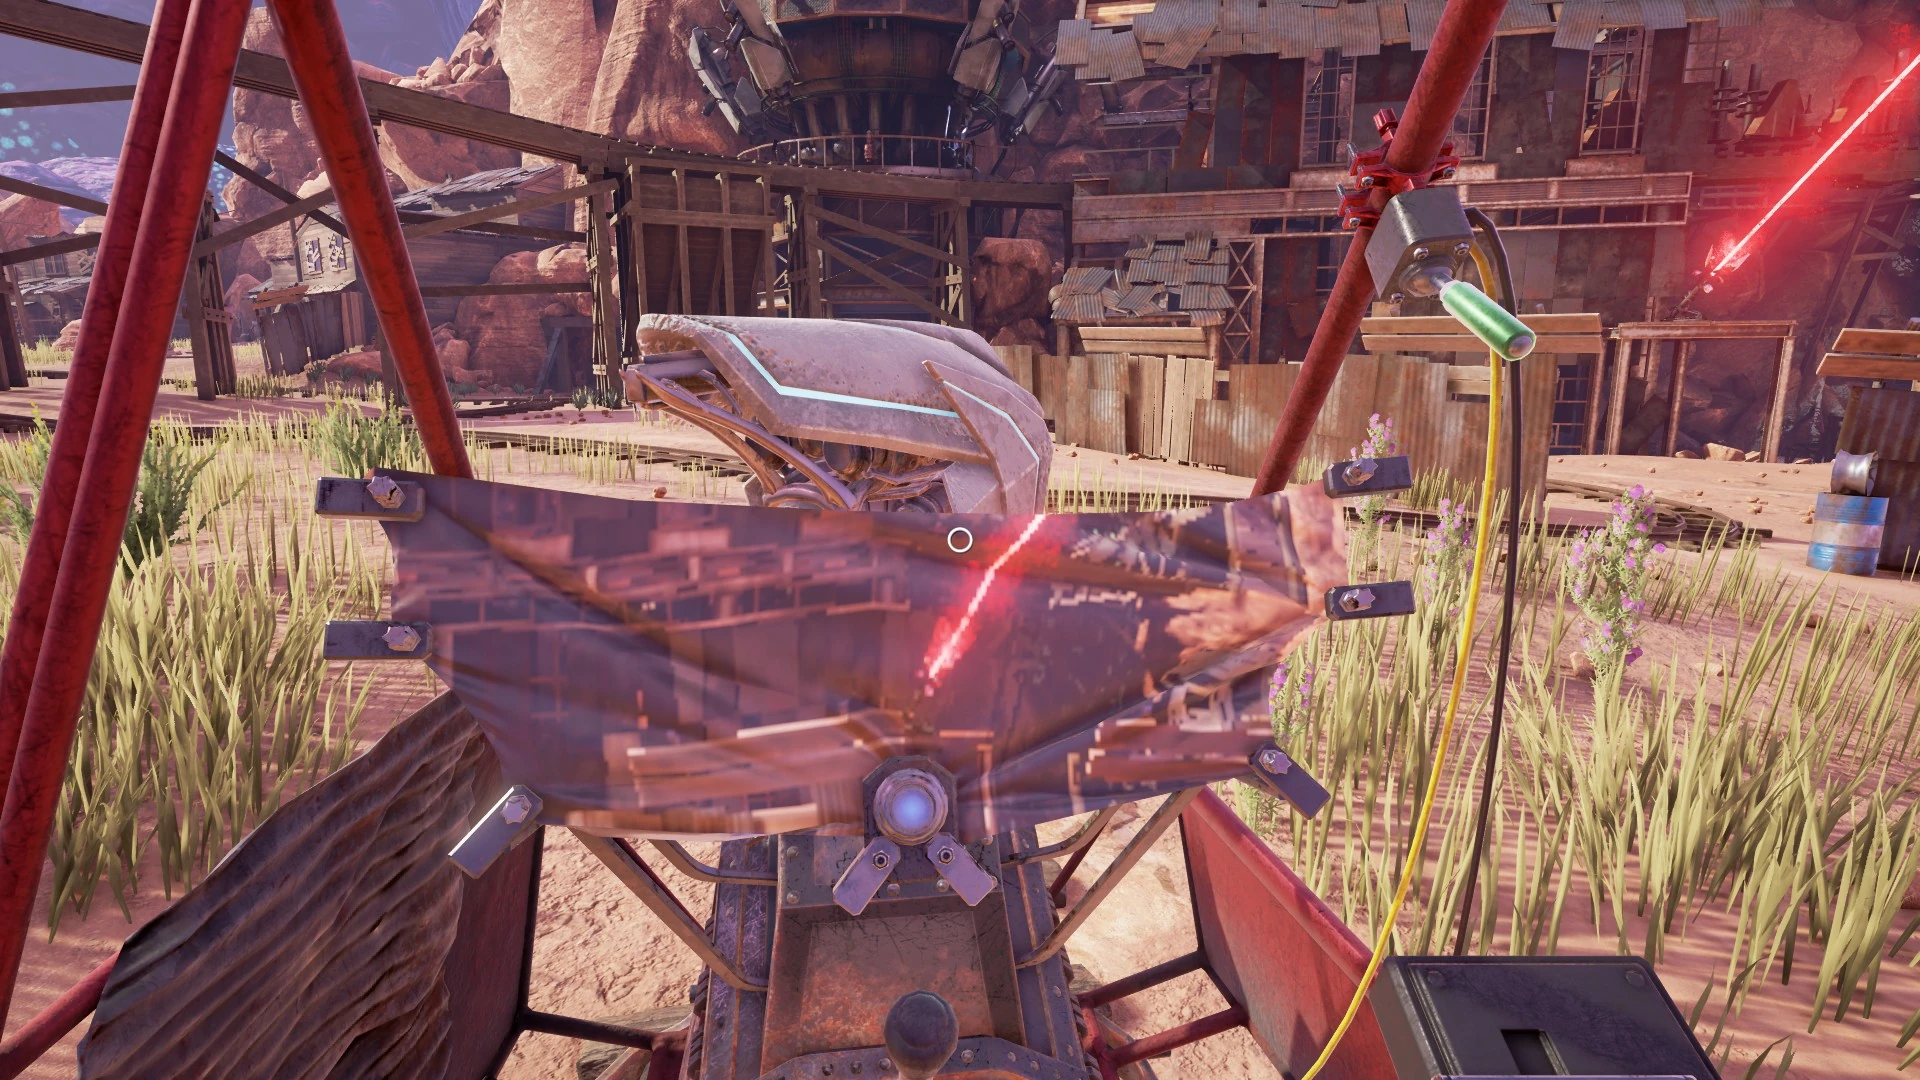
Back the cart up just enough to enable us to point the laser on our cart at the device creating the red laser. (Somewhere around where the cart is in the picture)

Flip the switch on the locomotive to change to laser mode.
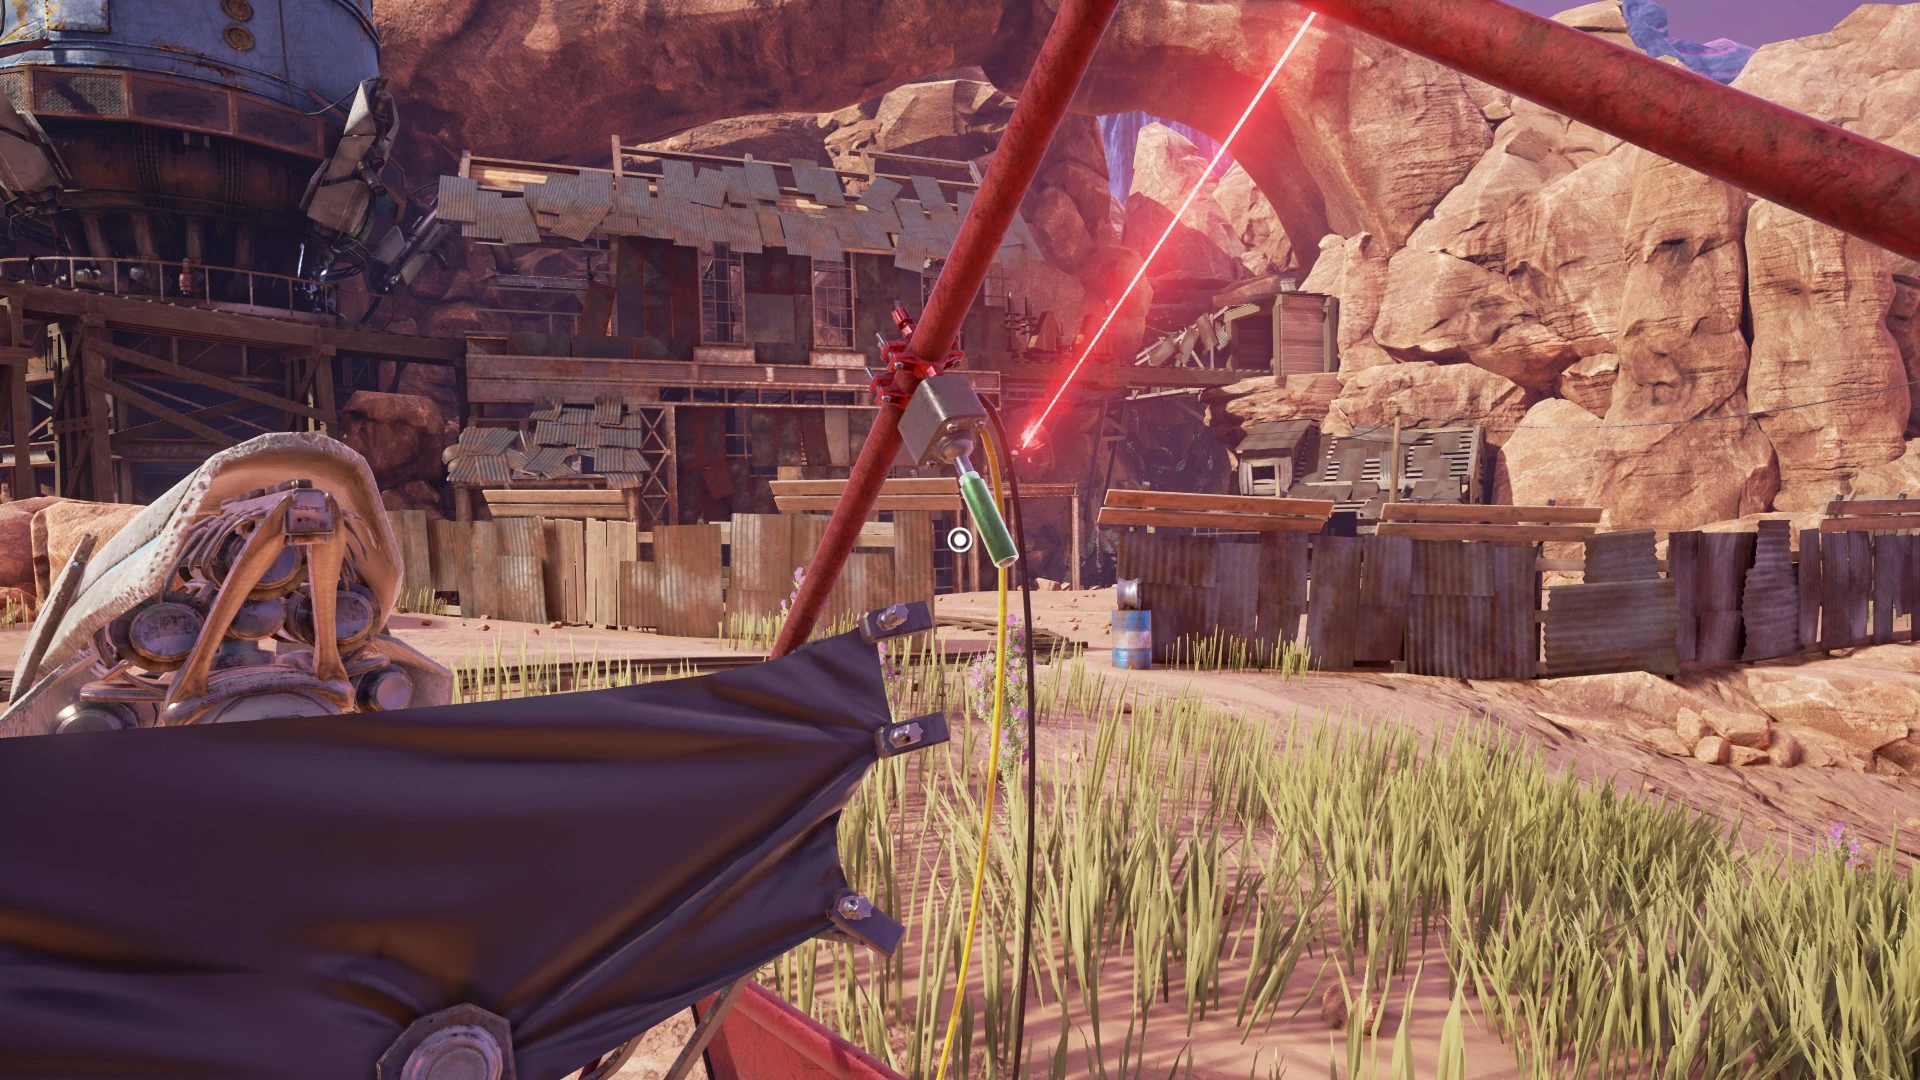
Aim the laser at the device creating the red laser. Once you have it lined up brace yourself and press the button to turn on your laser.
The red laser will explode, like the rock did, disabling it. This causes the force field that was on the dome to deteriorate, which is accompanied by some loud noises and a cool light show.

Now that the force field is down we are free to explore a large variety of new places.