(→Walkthrough: Put in links to things mentioned) |
AtagoyamaTanuki (talk | contribs) No edit summary |
||
| (One intermediate revision by one other user not shown) | |||
| Line 1: | Line 1: | ||
This page is part of the complete [[Walkthrough|walkthrough]] for [[Obduction Wiki|Obduction]].[[Category:Walkthroughs]] |
This page is part of the complete [[Walkthrough|walkthrough]] for [[Obduction Wiki|Obduction]].[[Category:Walkthroughs]] |
||
==Walkthrough== |
==Walkthrough== |
||
| + | First, inspect the room. |
||
| ⚫ | |||
| + | [[File:WT_SecretRoom00.jpg|400px|frameless|center]] |
||
| ⚫ | |||
| + | Toggle the door again, then go through the stone arch. Walk all the way down and through the purple portal again. |
||
| − | Continue down the path, then left into the building and through the portal. Keep going through, then turn right, and head back to the [[Seed |
+ | Continue down the path, then left into the building and through the portal. Keep going through, then turn right, and head back to the [[Seed-Swap Device|seed-swap device]]. Activate it. |
==Navigation== |
==Navigation== |
||
{{Walkthrough}} |
{{Walkthrough}} |
||
Revision as of 05:03, 13 April 2021
This page is part of the complete walkthrough for Obduction.
Walkthrough
First, inspect the room.
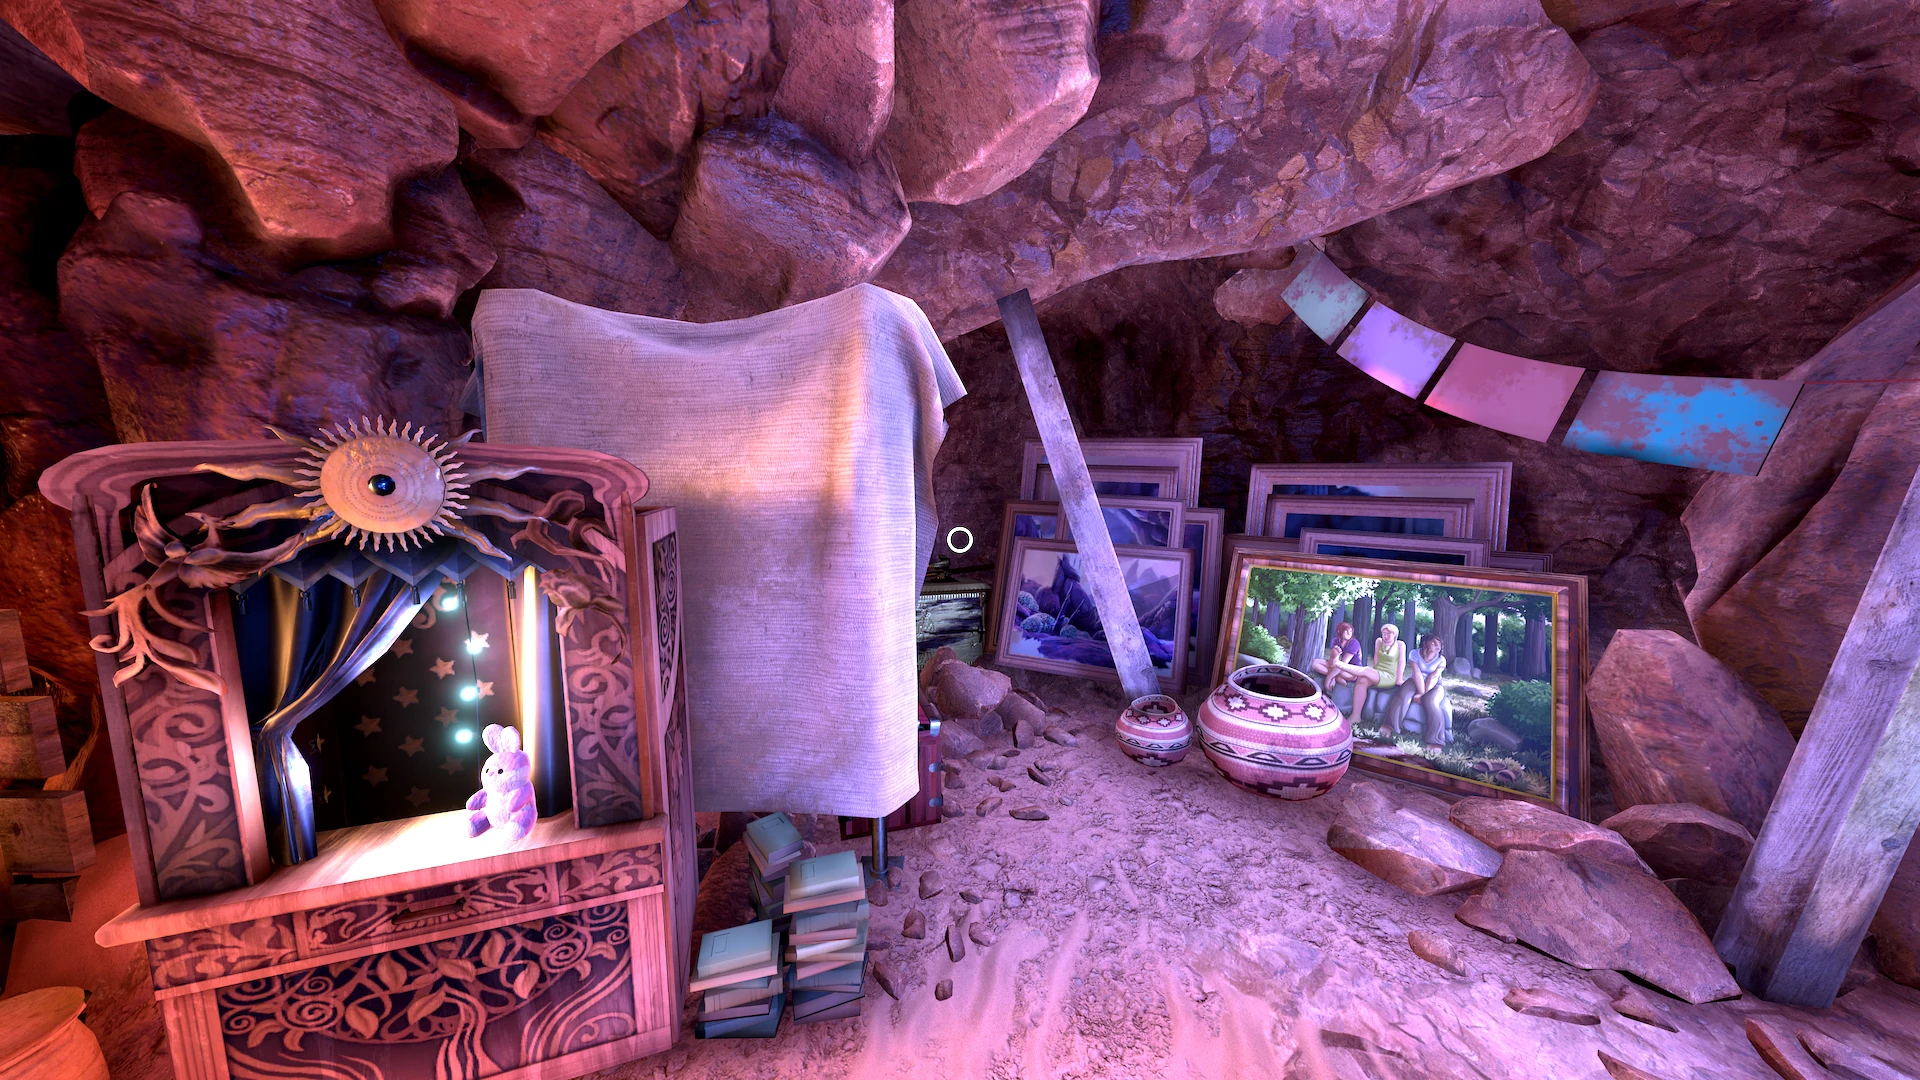
Read the paperwork herein, then turn around and go through the other exit into the cave system. Push the door open, and you'll see that you're in Farley's Community Center.
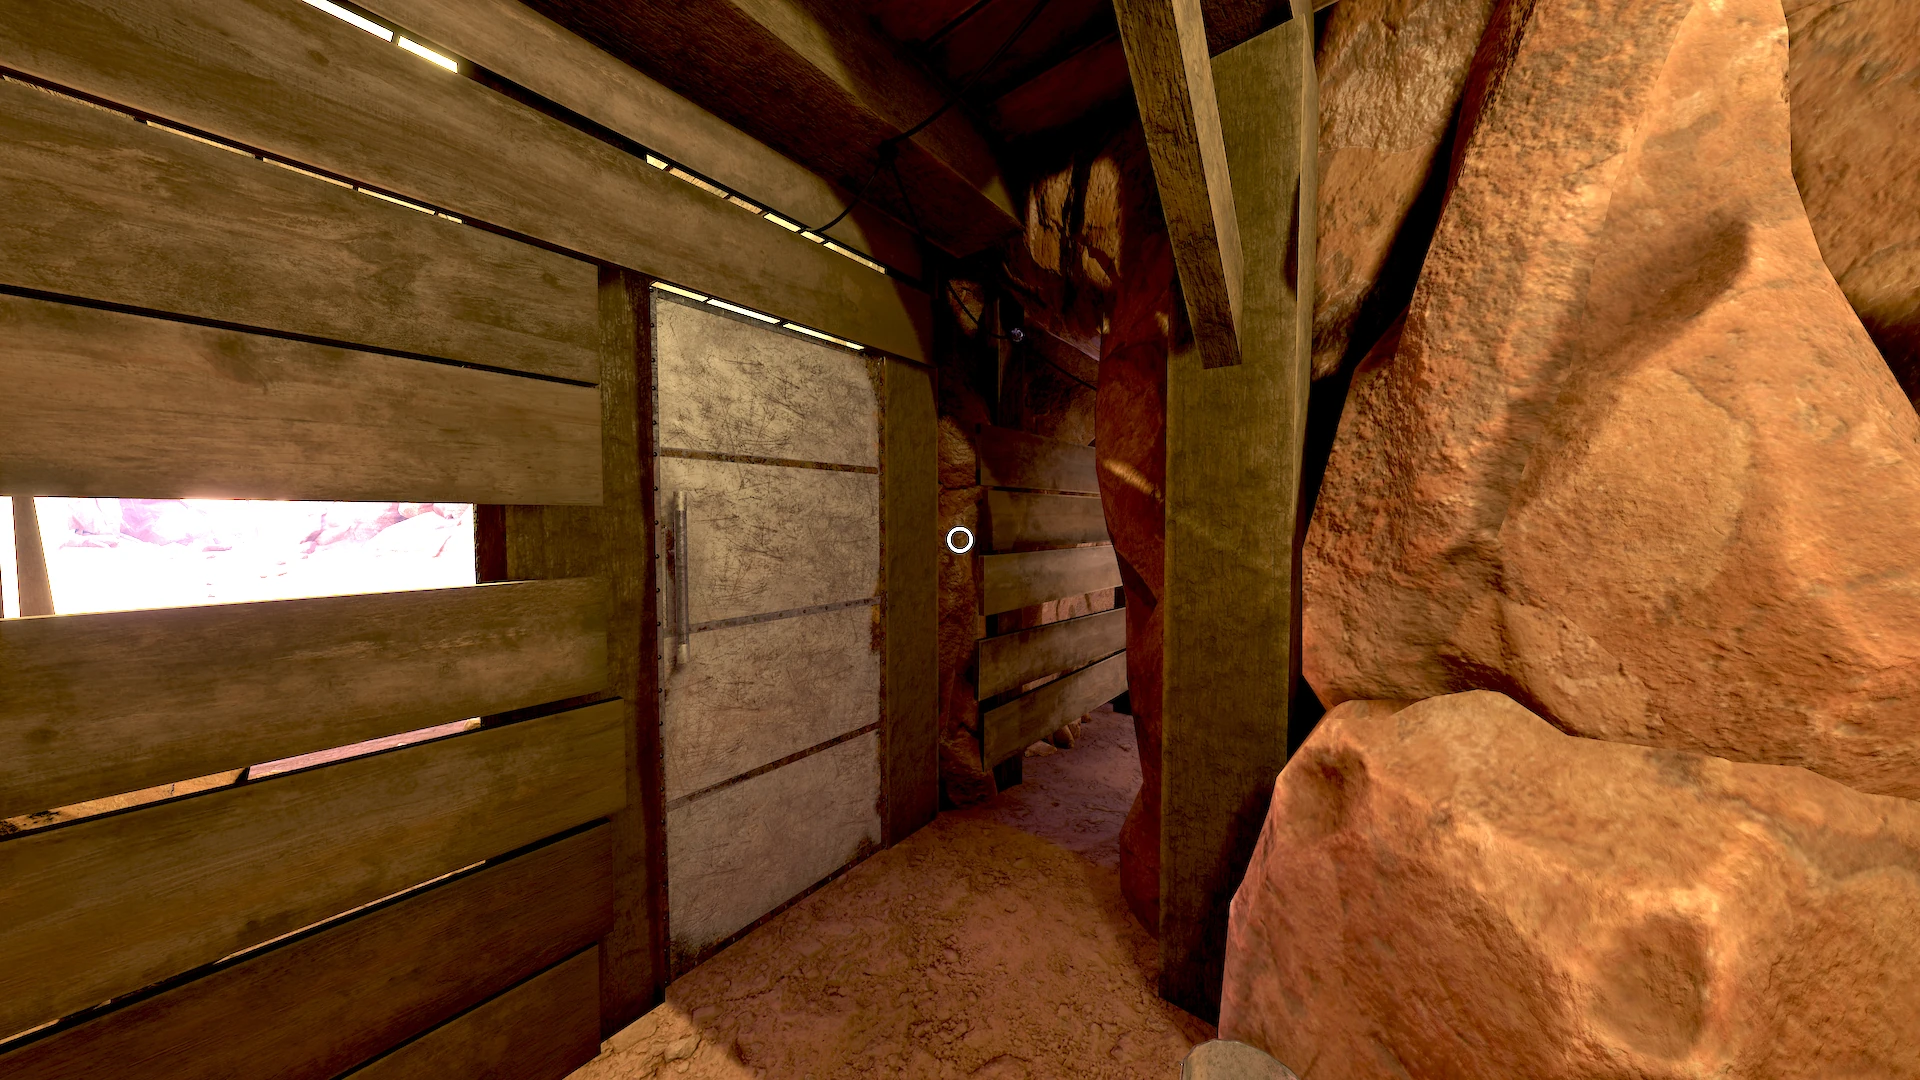
Toggle the door again, then go through the stone arch. Walk all the way down and through the purple portal again.
Continue down the path, then left into the building and through the portal. Keep going through, then turn right, and head back to the seed-swap device. Activate it.